|
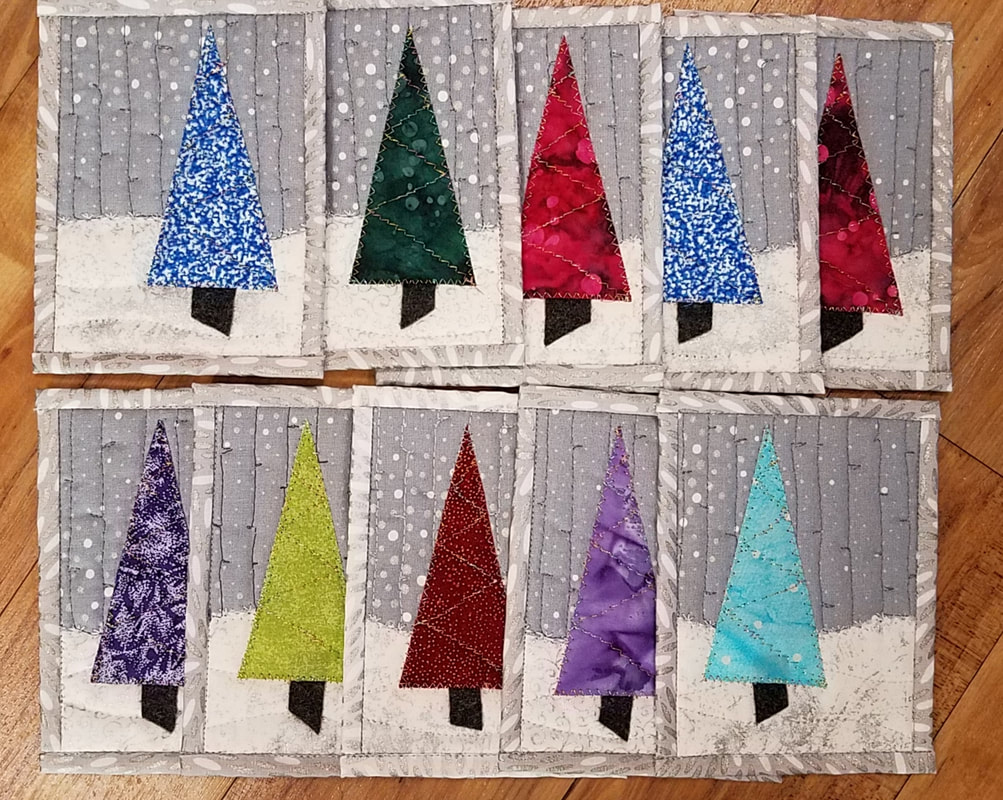
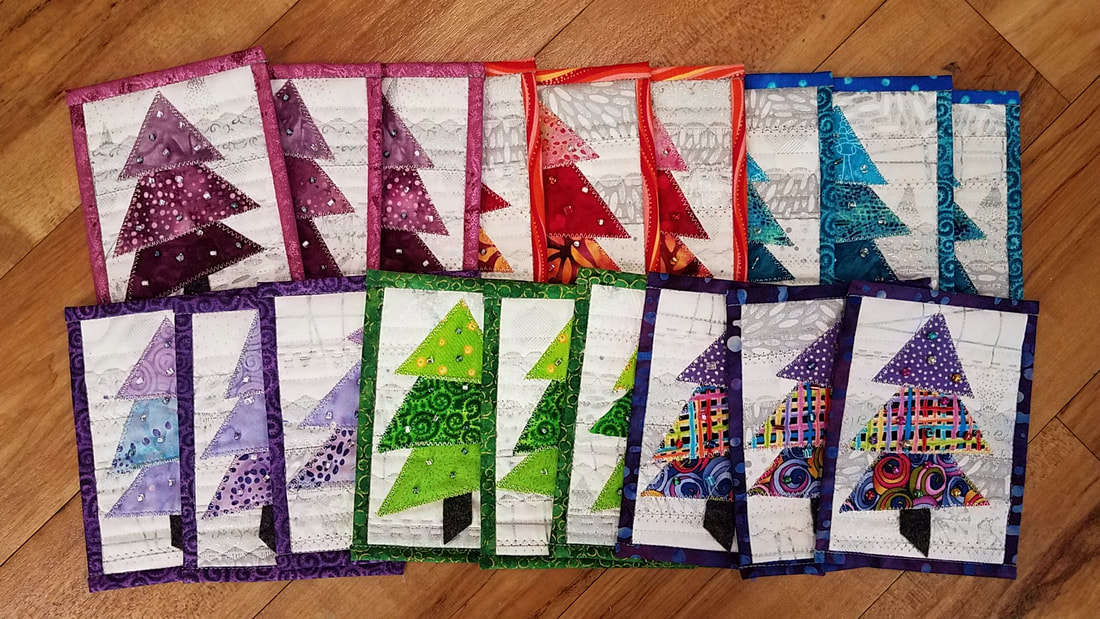
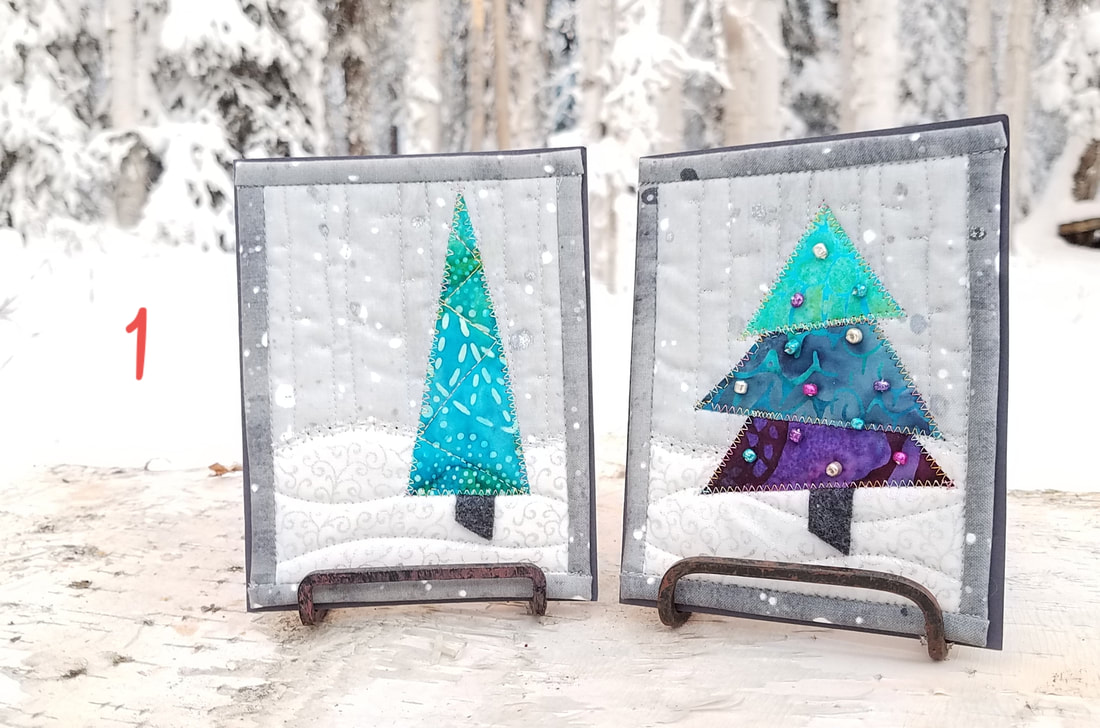
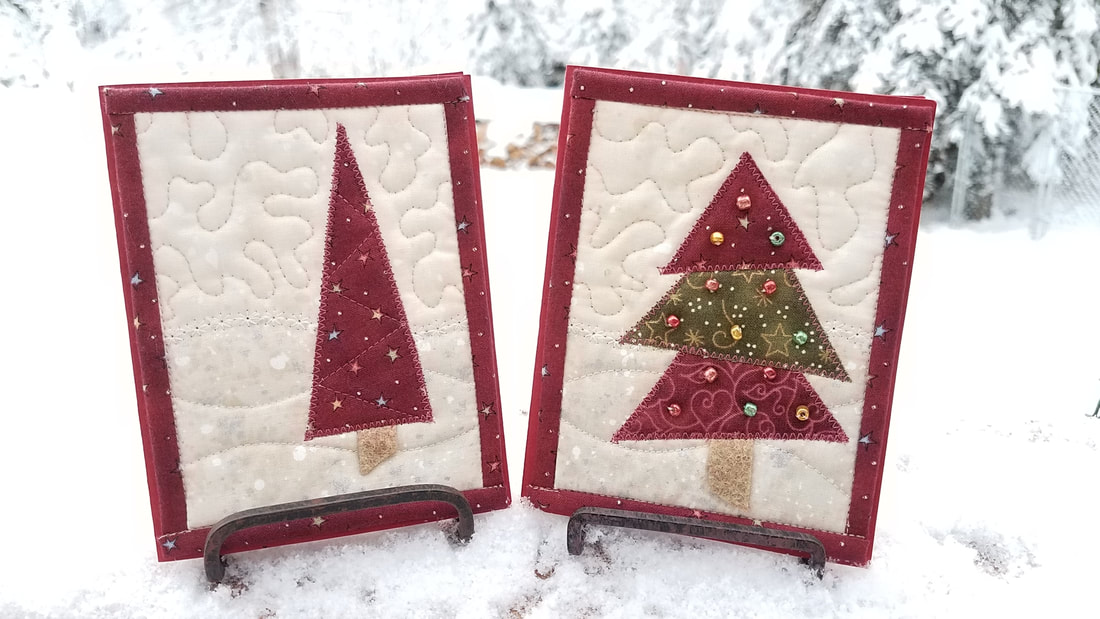
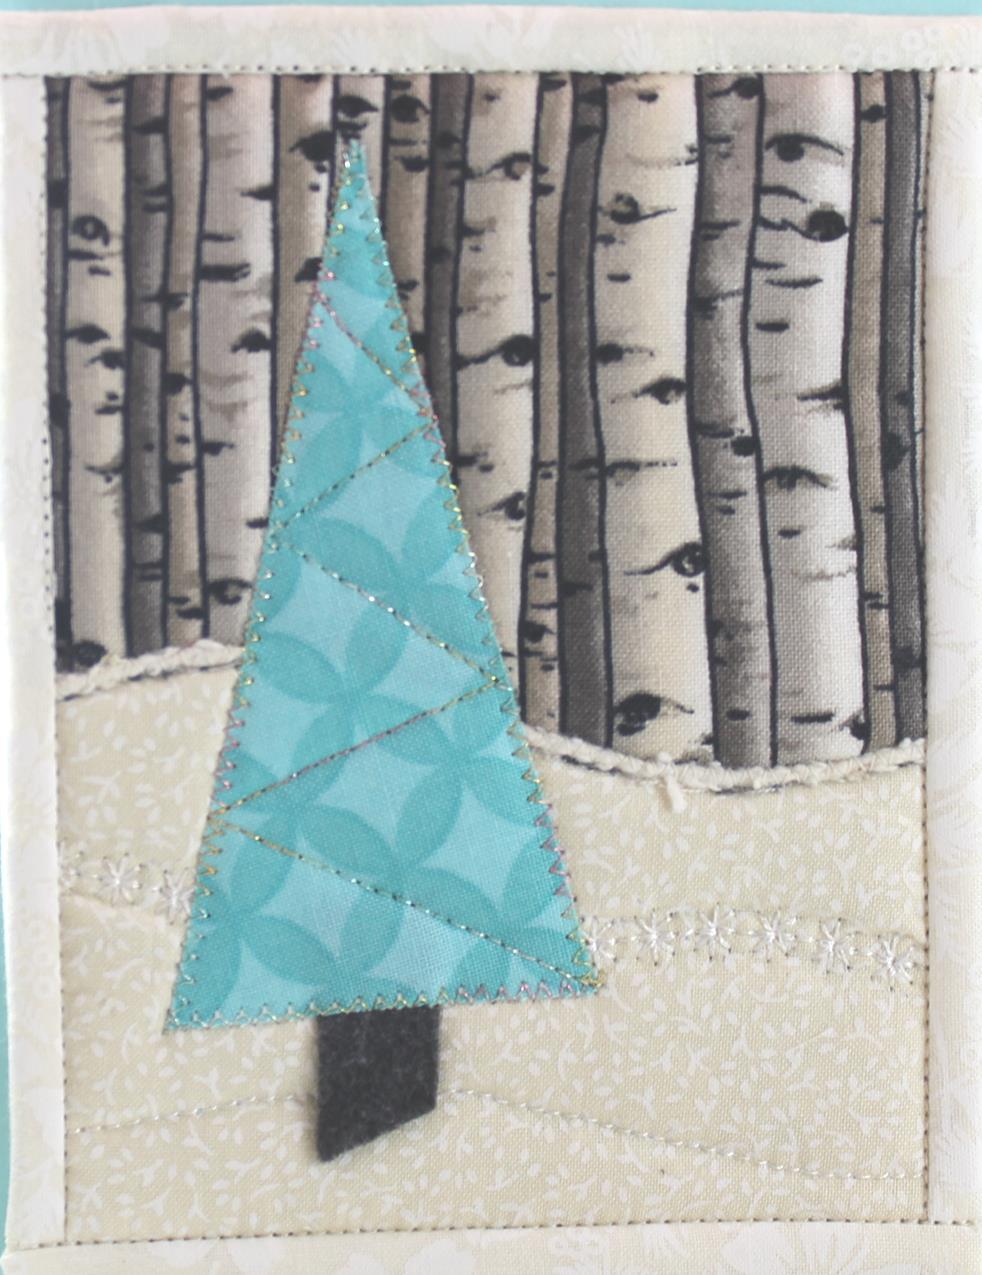
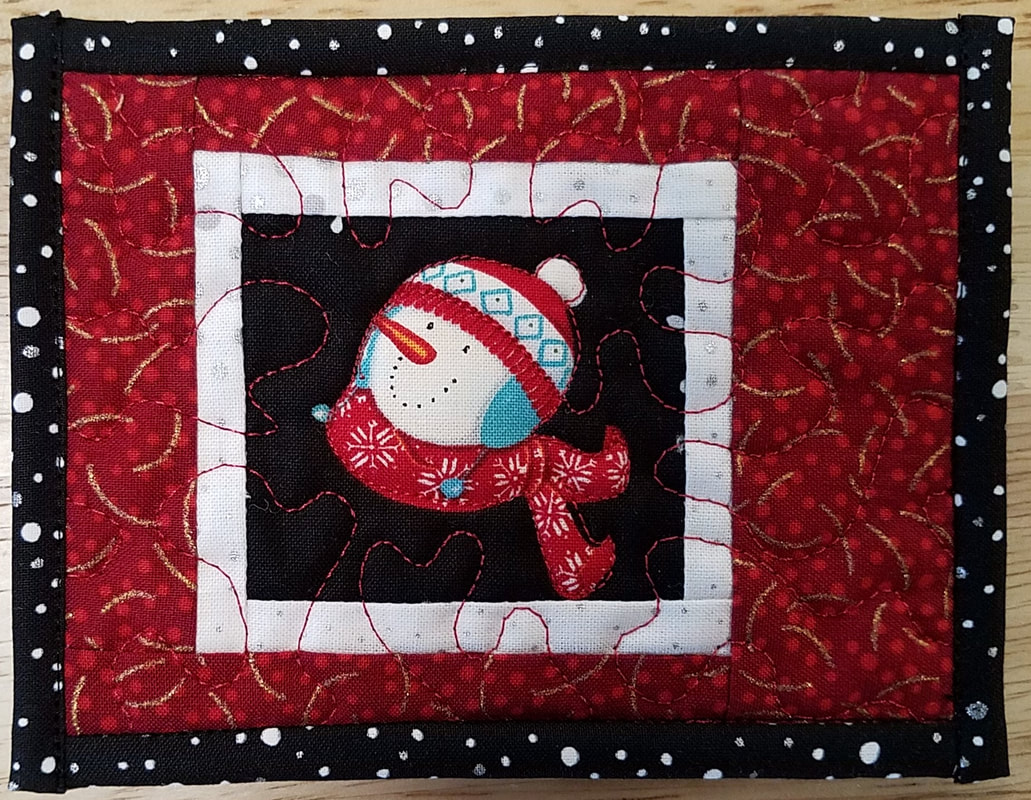
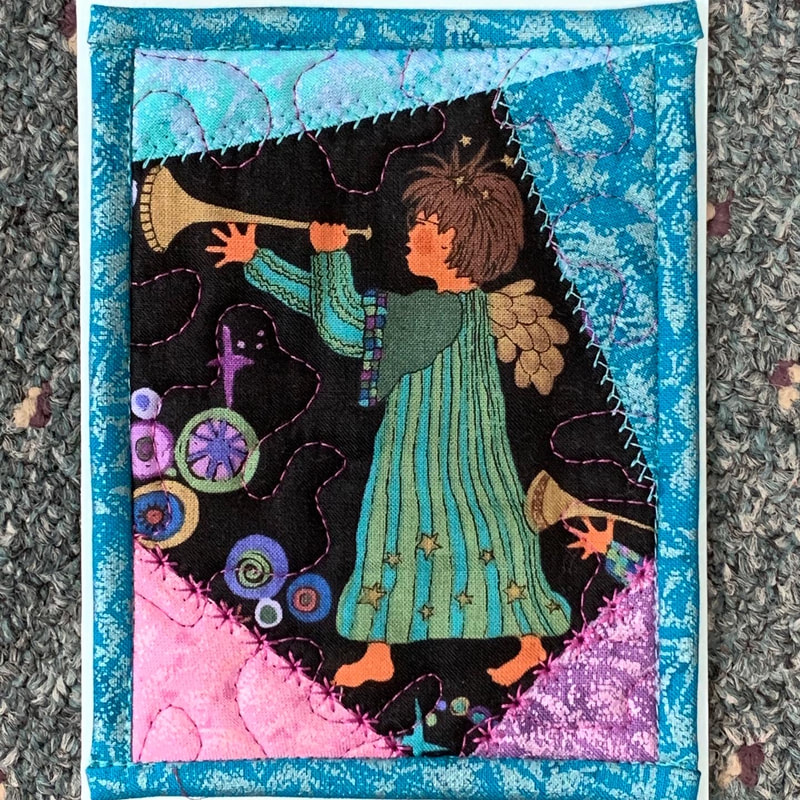
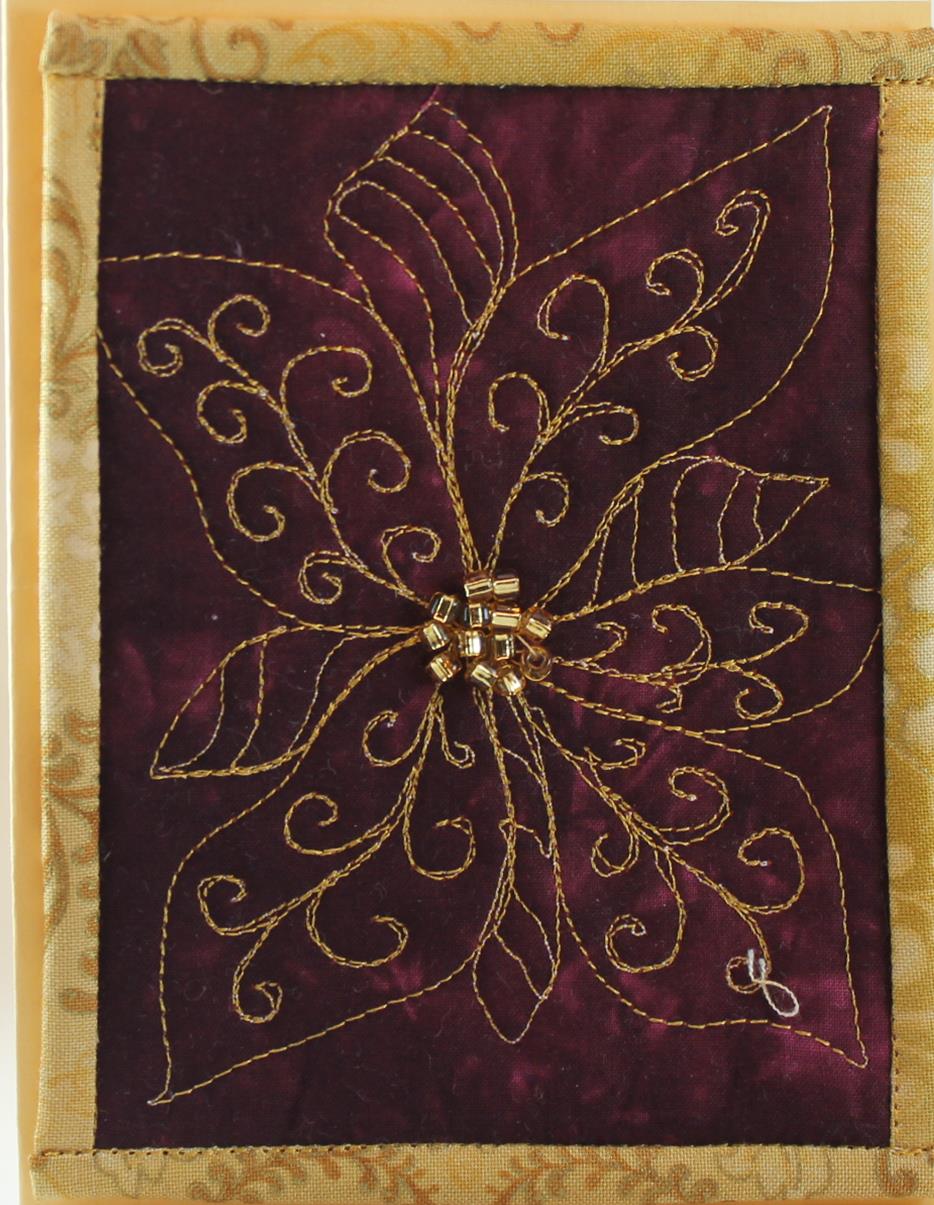
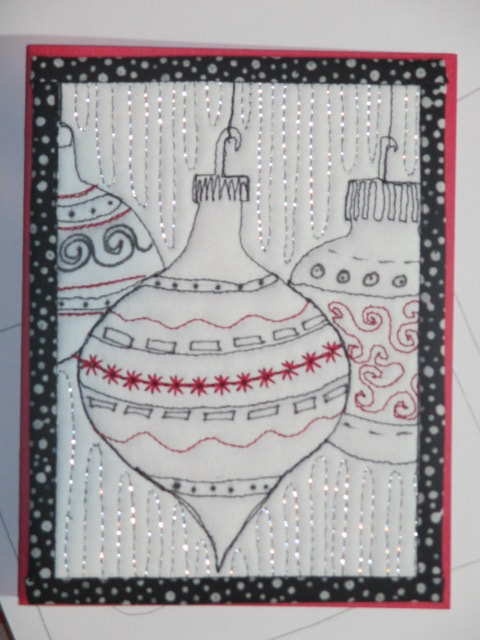
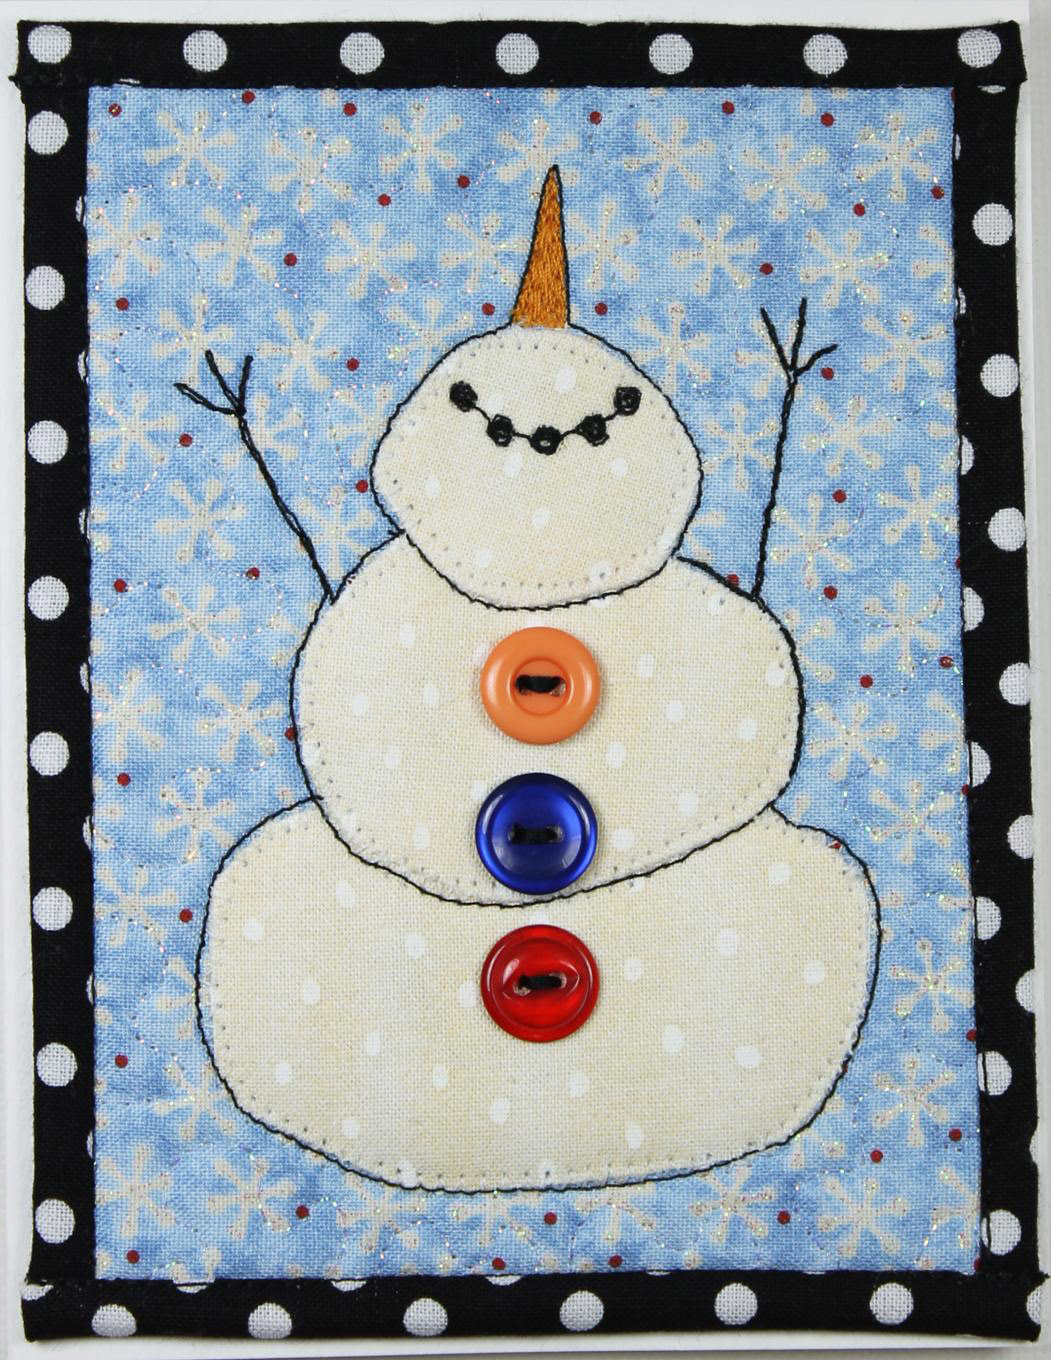
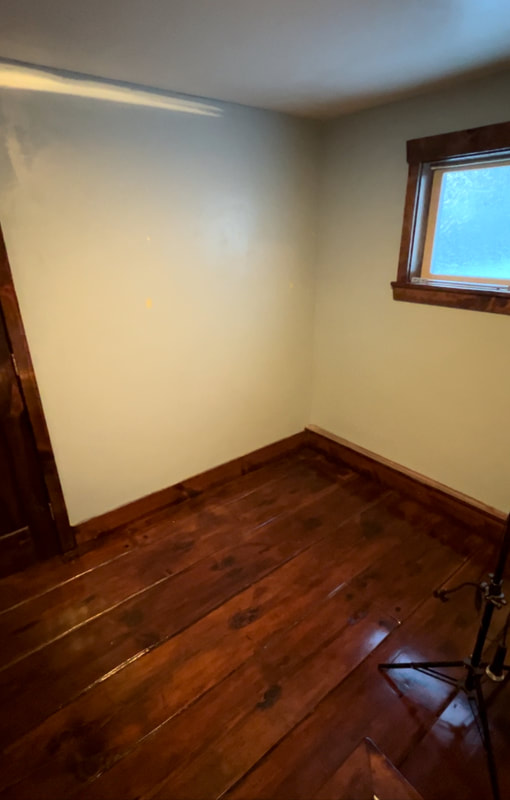
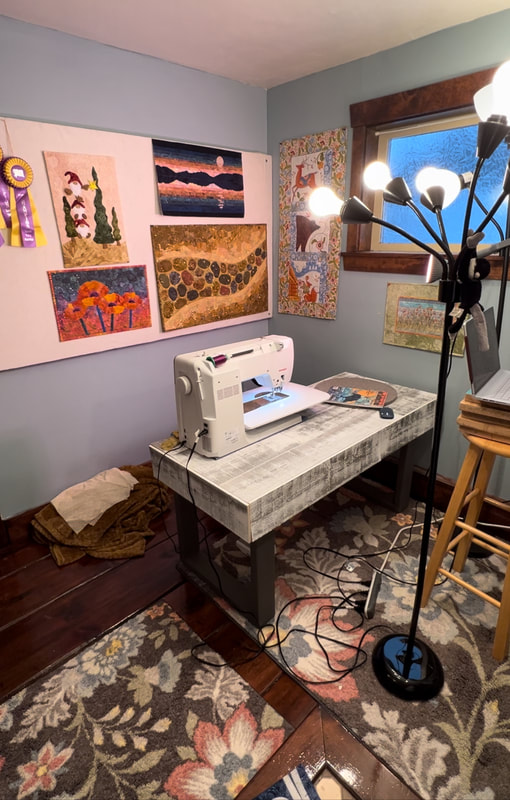
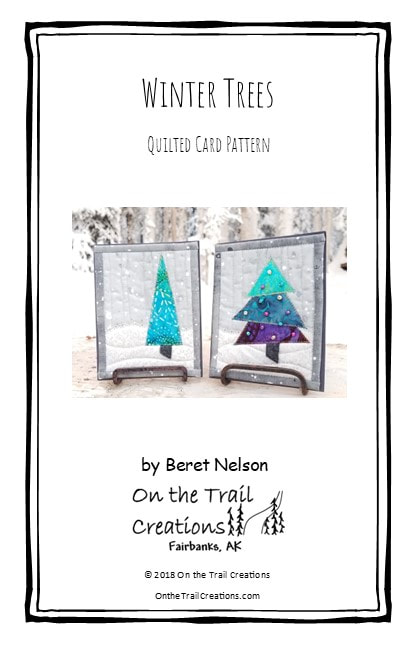
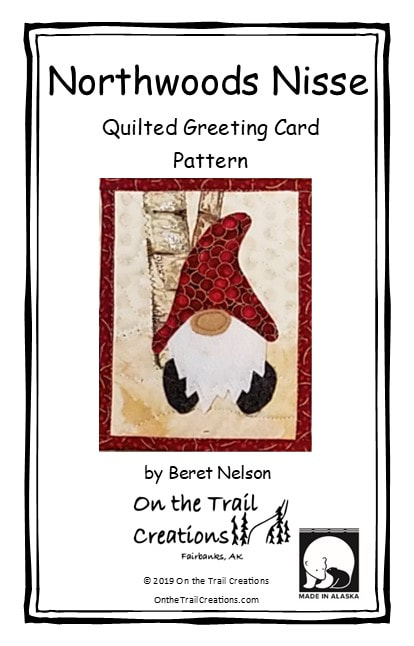
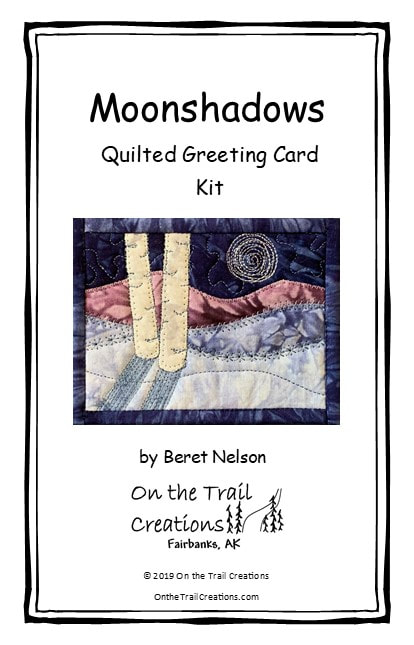
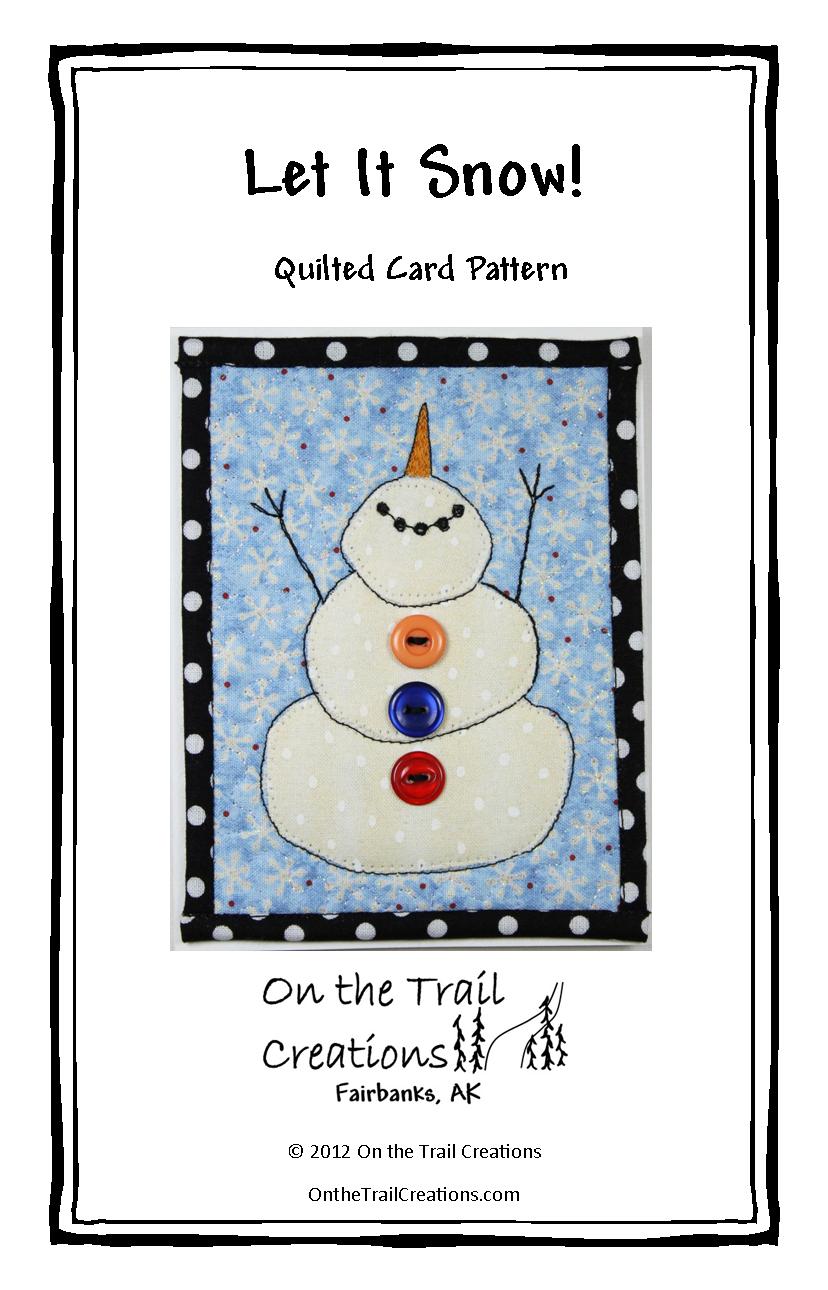
I hope you all had a good and restful holiday season, and are excited to start a new year! I don’t really do resolutions, but I do like to think about goals and plans, because nothing will get done without them! One of my goals for awhile has been to get better at making videos, but there have been lots of hurdles! I keep chipping away at them, but some things, like my slow internet, are hard to fix. (I did find one thing that bypasses it at least some of the time though, long story 😂) My new studio didn’t really have a space for a dedicated video set, so I was hoping to make do with my regular sewing area. I quickly realized that I had big issues with both lighting and sound. So, we did some drastic rearranging (we meaning my helpers 😂), and now I do have a set! If I’m doing more online teaching, it’s kind of important😅 The first video project I’m working on is a (free!) mini art quilt/greeting card workshop, hopefully coming soon! It goes well with my 100 Days of Quilted Cards project, and also with my classes. Even though Christmas is done, I decided to do a Christmas/winter theme for my first week of quilted cards. Below are most of the photos from the week. (All are on IG, FB, and my On the Trail Creations FB group!) Next week will be landscape style cards. Happy sewing! Beret Cards that have patterns: Northwoods Nisse Card Winter Trees Let it Snow
Before, during, after! That's a lot of stuff needing new homes... 😅
5 Comments
As you have probably figured out by now, one of my greatest passions is to drag as many of you as possible along on my art quilting journey 😂 I have lots of plans for this year, here are a few of them:
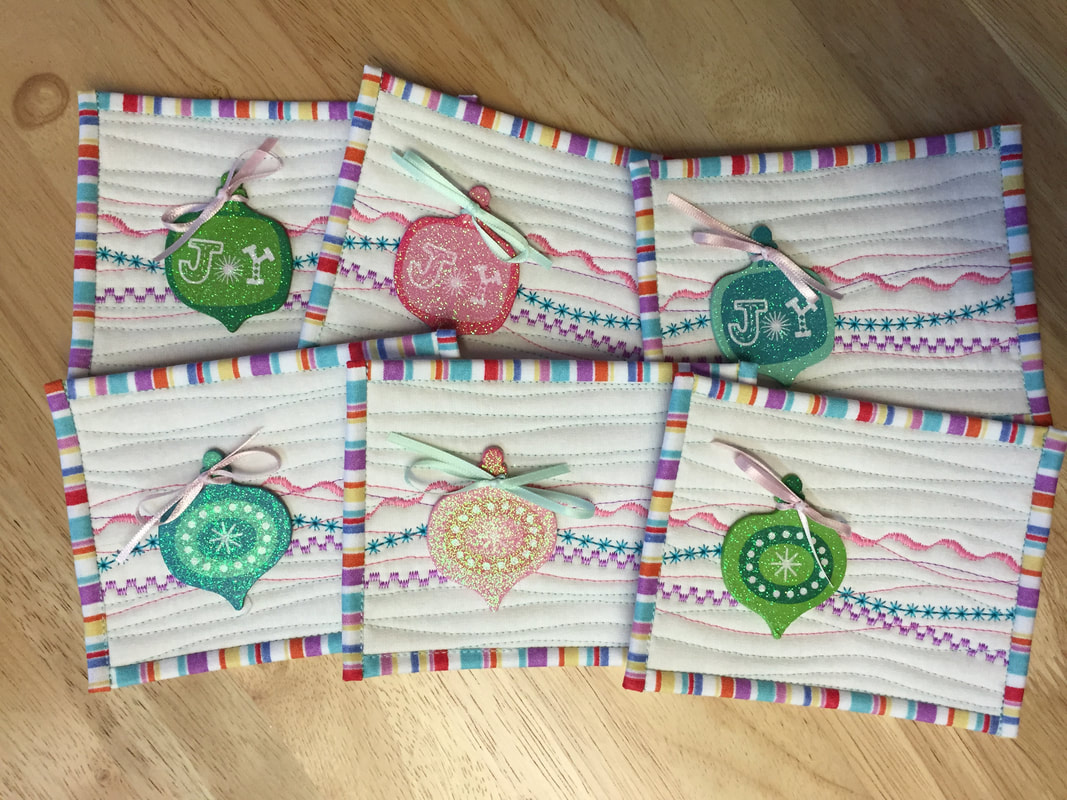
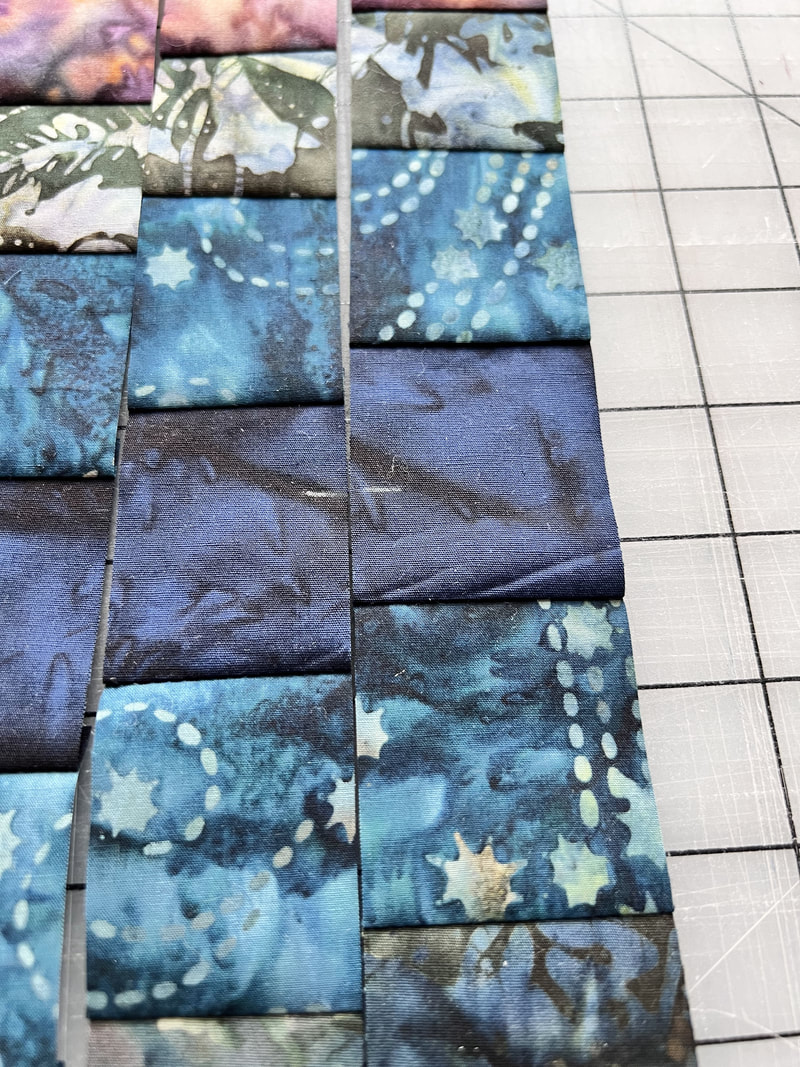
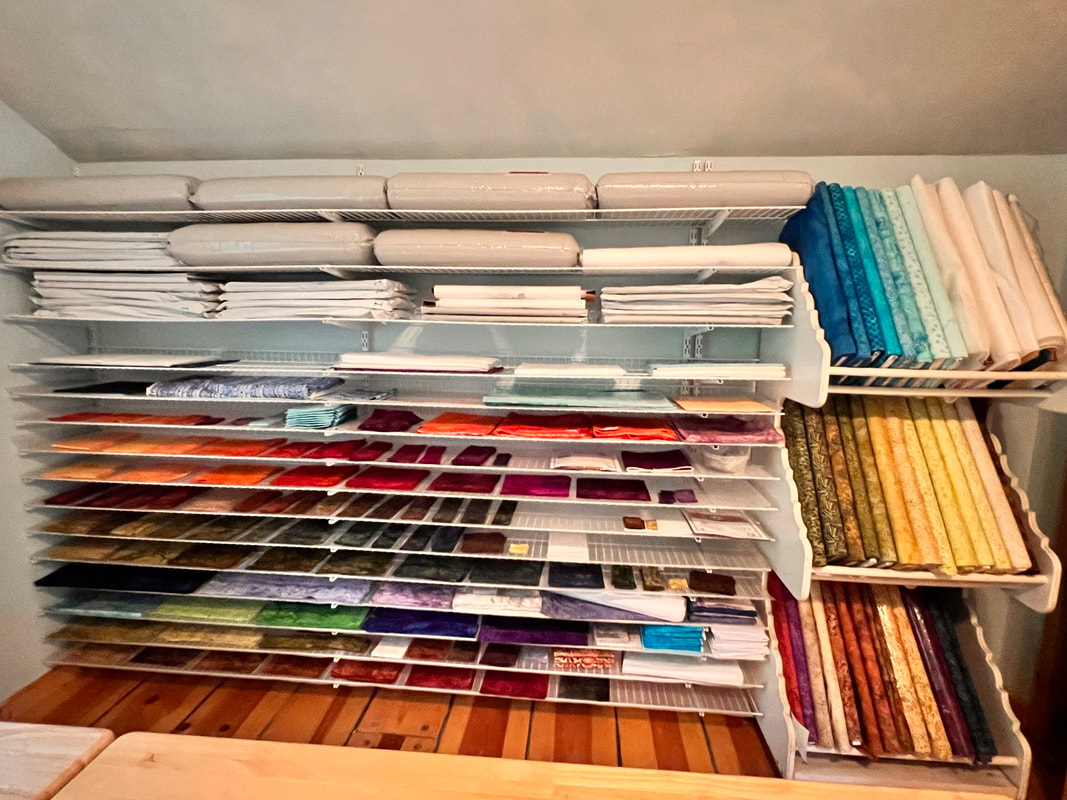
As I work on next year’s plans, I’m trying to be mindful to not overpack the schedule. (Photo of one of my favorite gifts below, to remind me to slow down 😂 The branch in my studio is perfect!) I hope you are also leaving space for taking care of yourself and your families. And of course, to be creative! I heard someone this week who is a full time artist say they decided at one point to prioritize painting for at least 25 minutes per day. Now, wouldn’t you expect someone who is a full time painter to automatically do far more than that? But I totally got it, if I’m not careful, I can go weeks without making anything! So I hope you will carve out creative space for yourself this year too. Put it on the schedule or it won’t happen! (Preaching to myself… 😅) Happy New Year, and let the card making begin! Beret PS: If you aren't getting my emails yet, sign up in the sidebar so you don't miss anything! I'm more consistent there than here, although I'm working on it 😅 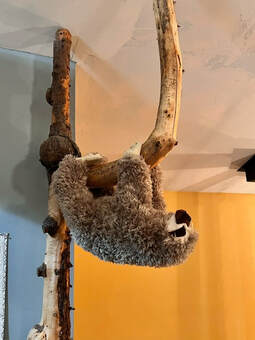 Hi Everyone, In case any of you are ambitious and are making quilted Christmas cards, this week I thought I’d share some of my tricks for making them, especially if I’m making a bunch at once! It saves a ton of time to make several of the same one at the same time, so that’s one of the things I do. There’s less thinking and thread changing involved! I think it only takes twice as much time to make four as one! Something I do with any project is to start with my batting or fusible fleece a bit larger, and then trim it down later. This minimizes the need for accuracy at first, and allows for lots of stitching which can actually change the size of a small project. But another twist on that idea is to start with a piece of batting long enough for several cards, cover it with strips or your background fabric, do the quilting, and then cut it up. This saves time on quilting, and there is also less waste, since you only need the extra once for all of the cards. I usually do four at once this way. (The purple below already had one cut off the end) It doesn’t work with every type of background, but it does with with several, like stripes, collage, single fabric, or improv! 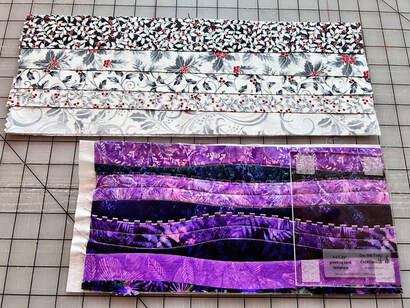 In this photo, the purple one is actually one piece of striped fabric, so all I had to do was add stitching! But doing several backgrounds at once like this is a great time saver. And of course, I use my acrylic template to cut them apart so I can add whatever applique they are going to get. (I added non skid pieces to mine, they don’t come with that. But they would, if I could find the right product! There are products made for that, but I think my favorite one was something like stair tread strips! But I haven’t been able to find the exact one, so I haven’t included that yet.) Of course I forgot to take pictures of the finished cards, but some of these are headed to the Quilt Tree in Anchorage soon! I also chain sew the binding on, which saves both time and thread. I will link my card binding video here, I have tricks for that too, of course! In case you need some ideas, I will put my five most wintery/Christmasy patterns in here. A couple are available as kits, and all come in printed or instant download form! Happy sewing! Beret
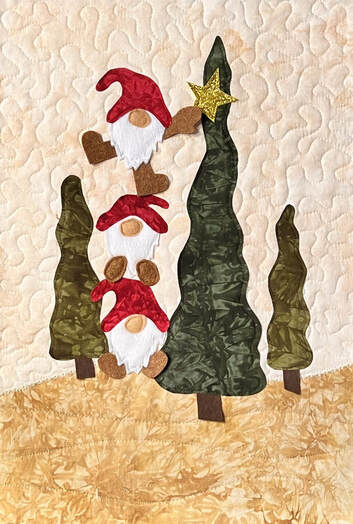 New kit!
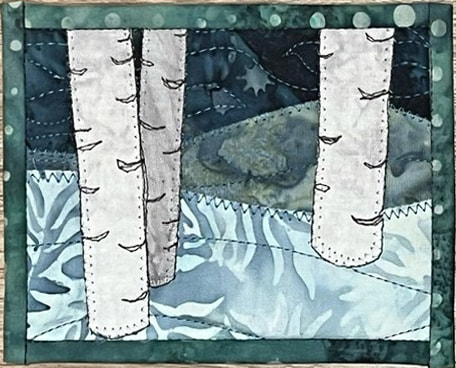
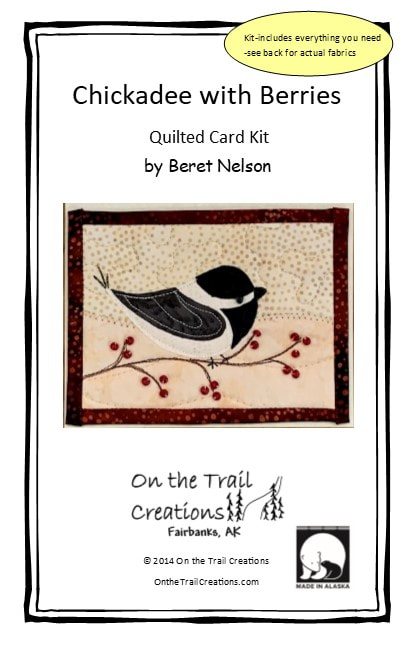
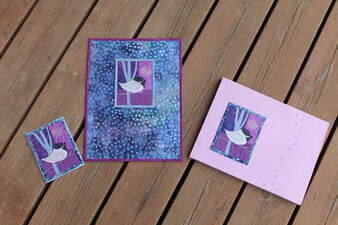
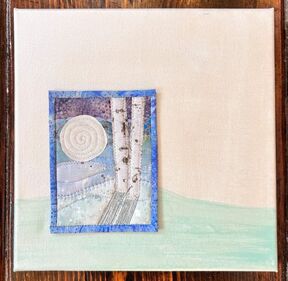
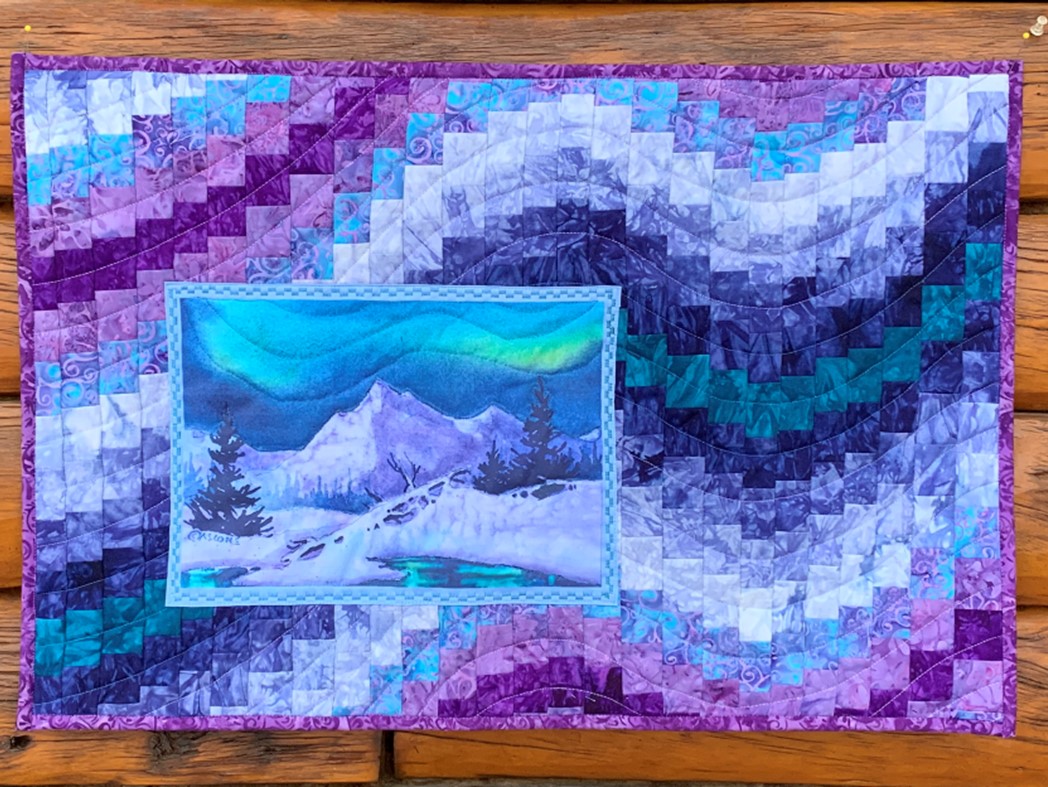
Up to Gnome Good This quilt finishes around 12 x 17" and will make you smile every time you walk by it 😊😊 It has almost everything you need, including backing and batting (fusible fleece). You will still need fusible web, and a glue stick is optional. Happy sewing and happy holidays! $45, click the photo or the name to order In class this week we are talking about borders. They are something that is familiar to traditional quilters, although not necessarily the way I do them 😂 I use borders as a way to add interest and also make a small quilt larger. They can be a really fun and easy way to add to your art quilt. I had a few examples in my mini series last summer, and here is another unconventional way to add borders. I started with greeting cards, and either placed them on a painted canvas, or made a new quilted piece to go behind the card. On one canvas I added chickadee tracks with a pen, and on the other I painted a simple hill to match the one on the card. It’s a very quick way to turn a quilted card into a little art piece! If you want to give it a try, we’re doing a ‘buy two, get one free’ sale on card kits this week! Just purchase two card kits, then write in the notes section which one you would like for your free one. Then of course I'd love to see what you do if you do add background/border with one of these methods 😃 Happy Sewing! Beret
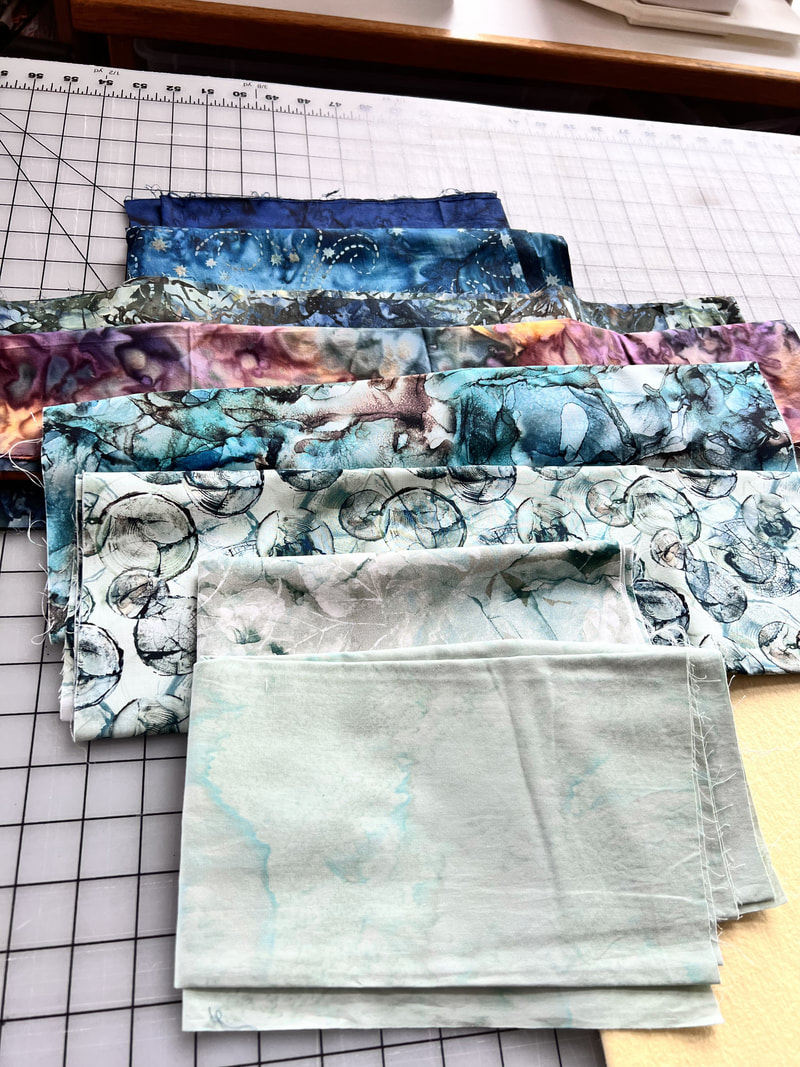
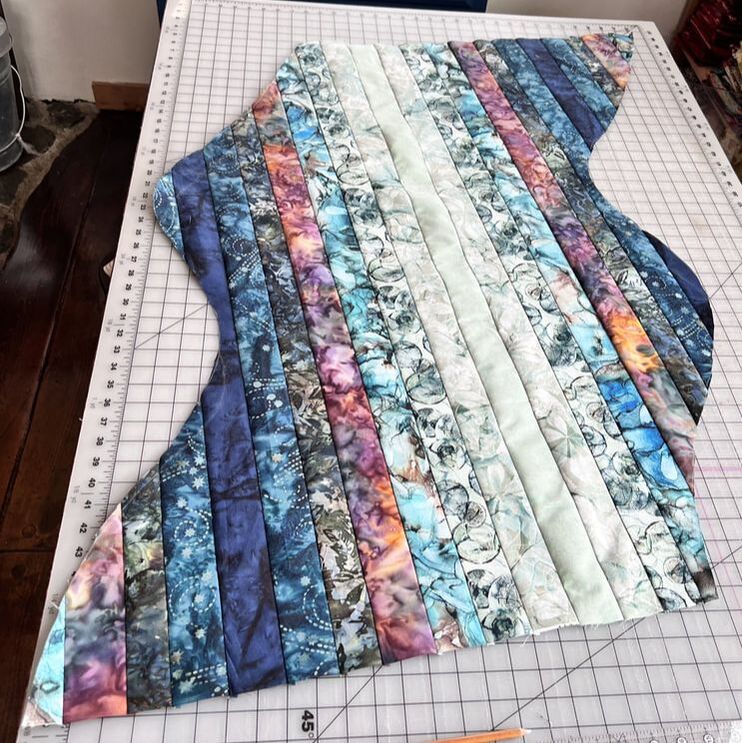
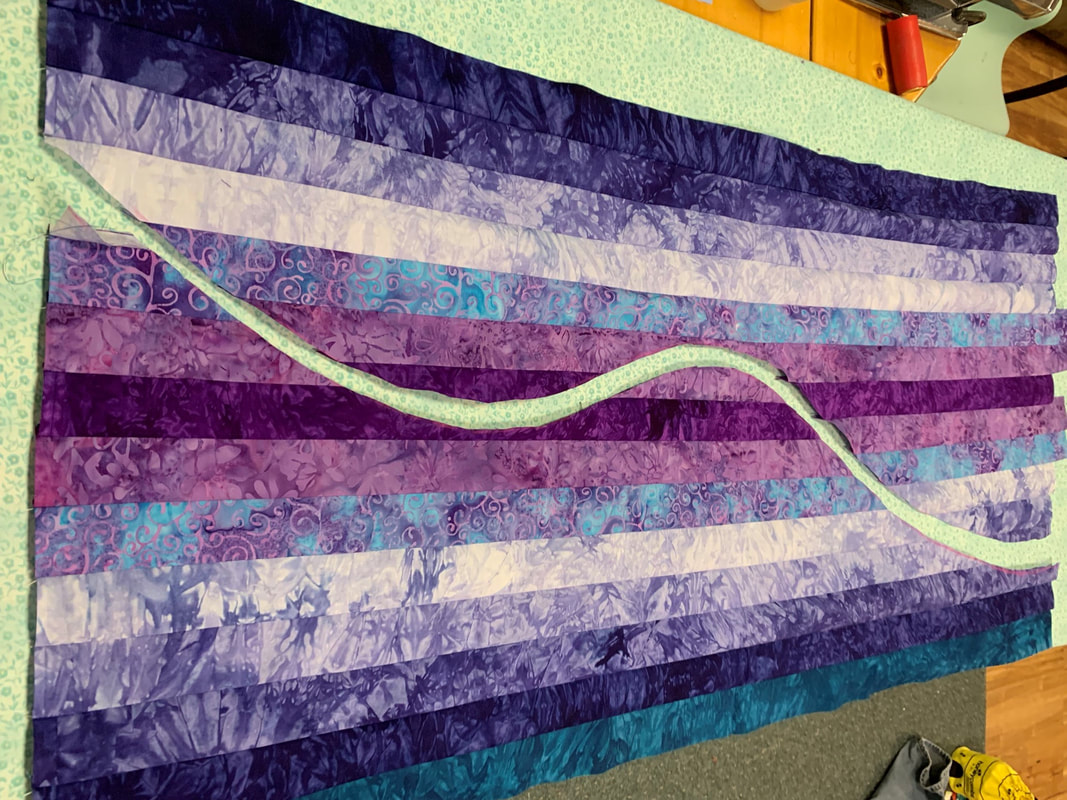
I don't do a lot of traditional type quilting/piecing, but when I see a technique like this I have to try it! I actually saw it (and tried it) more than 20 years ago first, no idea where... that was before too much internet was happening! Then a few years ago I set out to make a tutorial, and forgot a couple of the most important photos, and it took until now to make another one. There are lots of other bargello techniques out there too! I like how they can look like northern lights. It's another 'very little math' way to make a quilt top/background. It always makes me laugh that I have so many of these when I don't mind the math at all 😂 I am pretty impatient though, so that must be why.... Anyway, this is so cool! I learned a few things, which I do every time. So now you have the benefit of me trying this three times, and hopefully working out a few of the bugs!
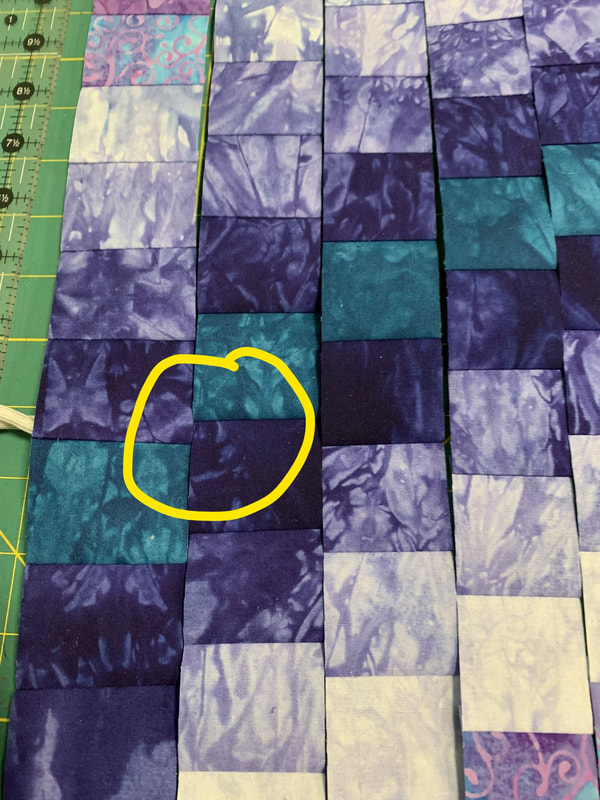
Super important thing #1: I wanted the light to end up in the middle, so I put the DARK in the middle for this step, it gets reversed! (If you were making a larger quilt, you could do more repetitions of the dark and light, hopefully that will make sense soon.
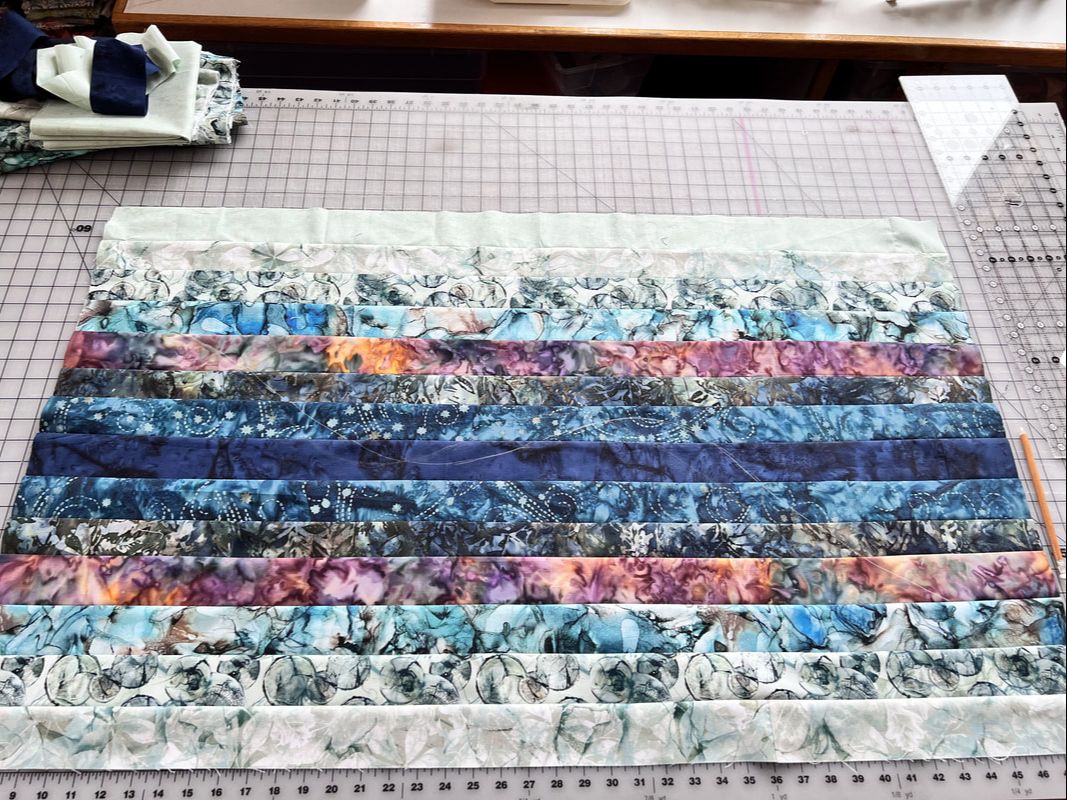
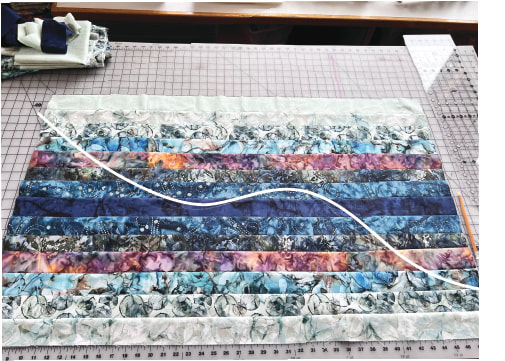
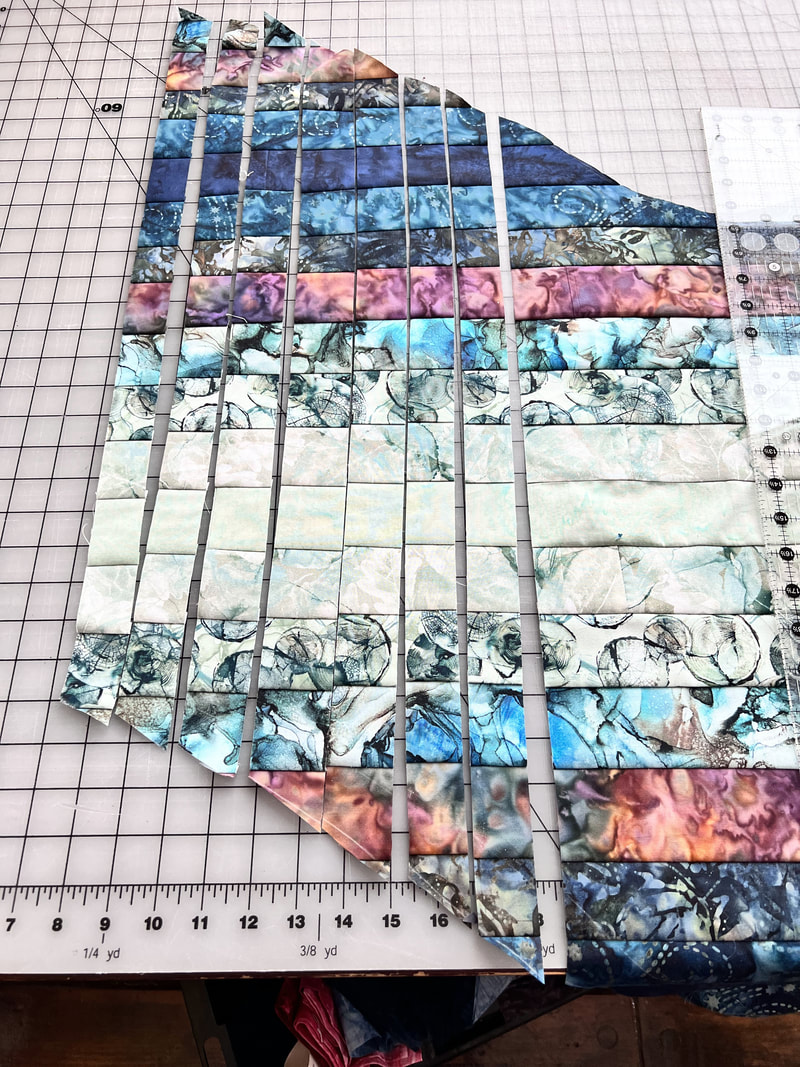
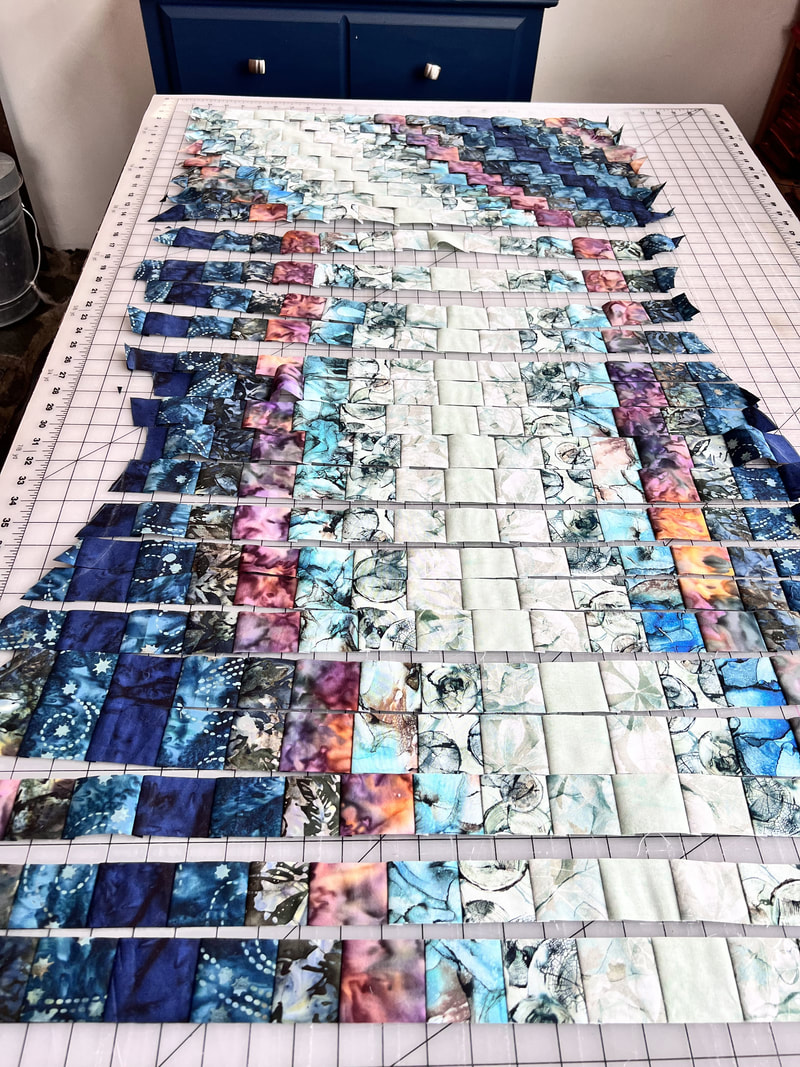
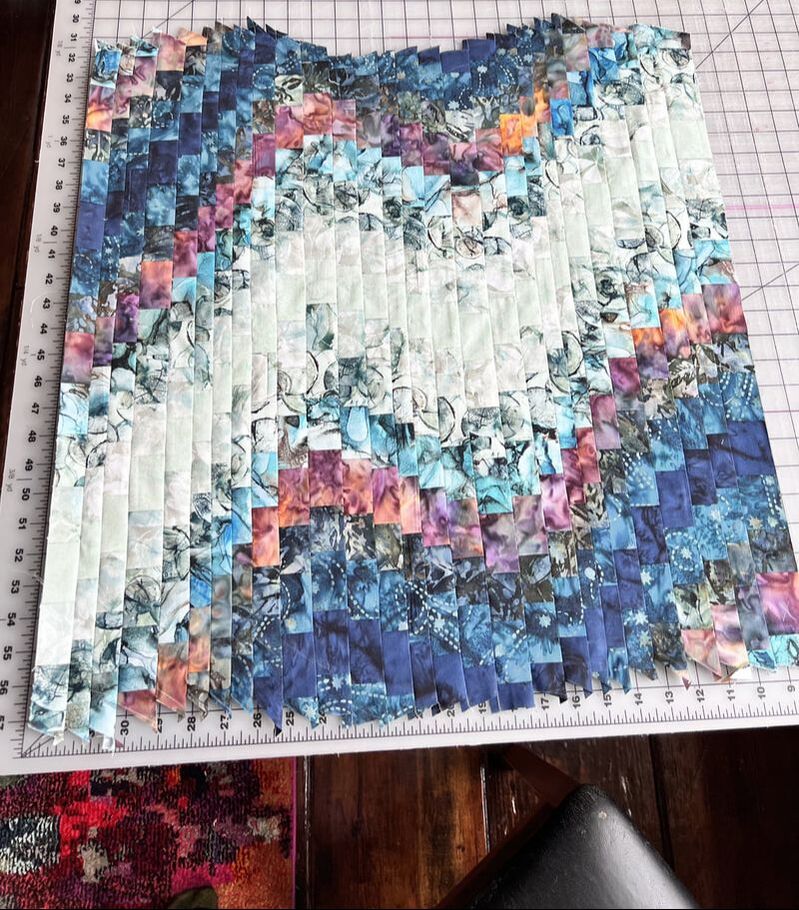
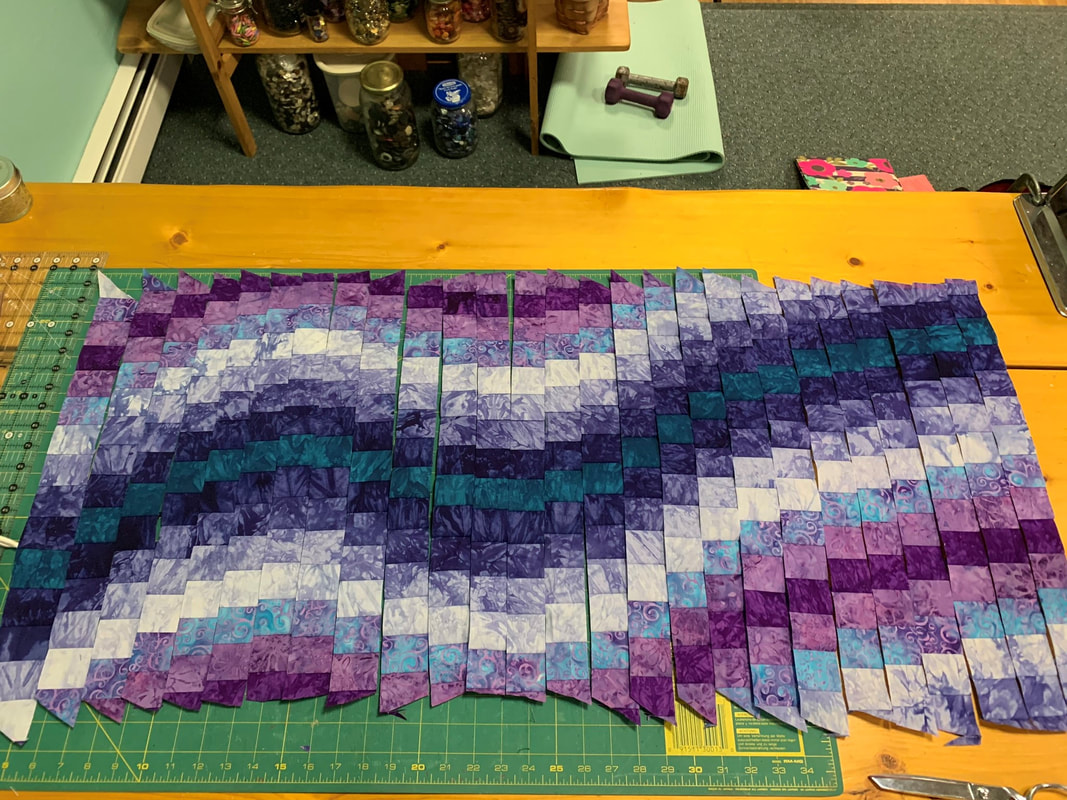
The first picture below has a few strips in the middle that don't change much, so I scooched a couple of them up a bit. The second has one with too much change, you want matching fabrics to touch at least a little! (from my second version of this technique) Again, this has to do with how you cut the curve in the first place. The first one must have had too much of a flat spot, and the one in the second photo had too steep of a curve. But I just had to scooch one of those also. The third photo shows my first one 20 years ago where I didn't notice until it was too late! Blurry ancient photo, but if you look close you can see at least one spot where the line of purple is interrupted. I did the colors a bit differently on that one also, the method I did this week isn't the only option! In the last photo in this section, I show how I used chalk pencils to add a couple of registration marks on each pair of strips. This helped tremendously in attaching them together as you can't really go by the ends.
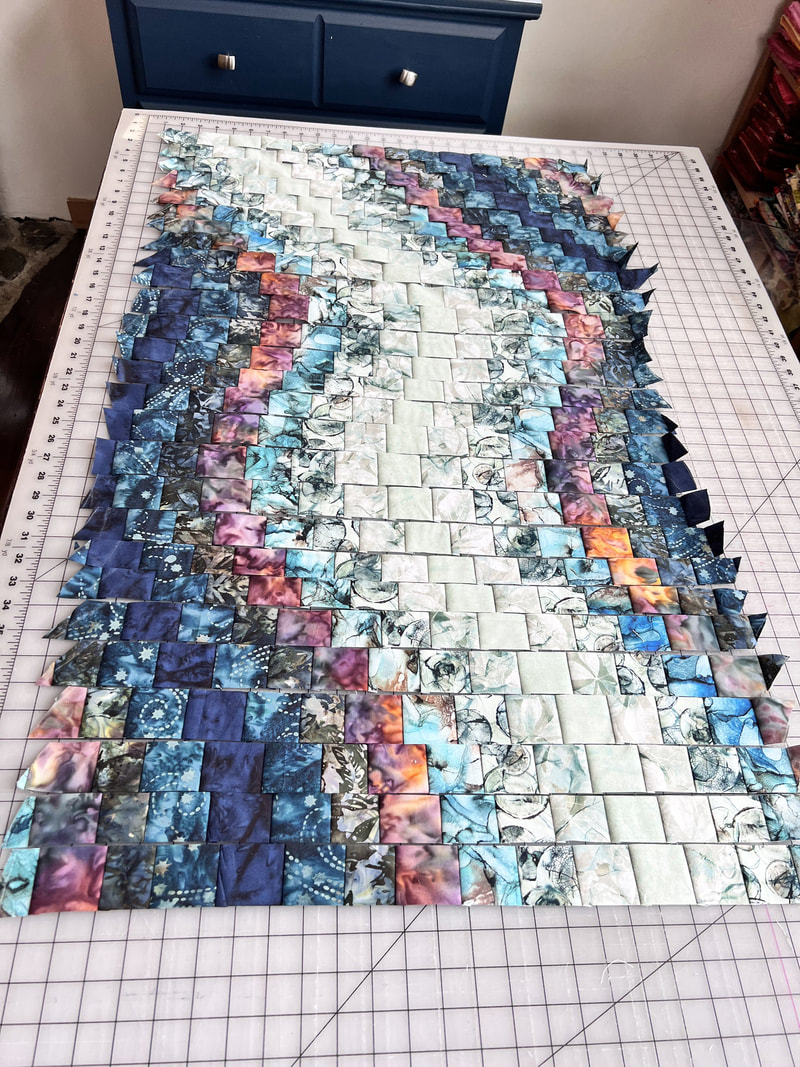
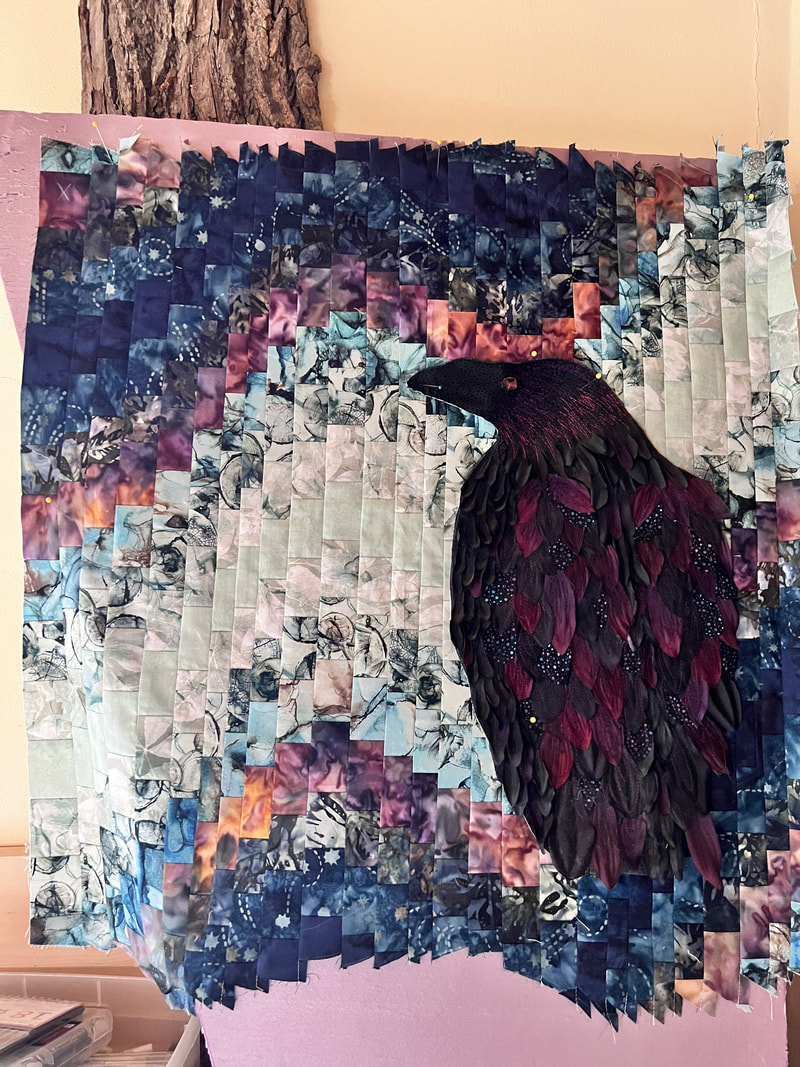
It's an unusual but fun technique, and I'm sure there are lots of ways to vary it. You can piece your original strips if necessary, but then you may have to trim off a bit when cutting vertical strips if a seam lands in an inconvenient place. This is about as wide as you can make it with wof strips though. I'm sure I'll post a picture of the finished quilt, follow my newsletter (sidebar) if you aren't, so you see it!. And let me know if you try it! Happy sewing, Beret
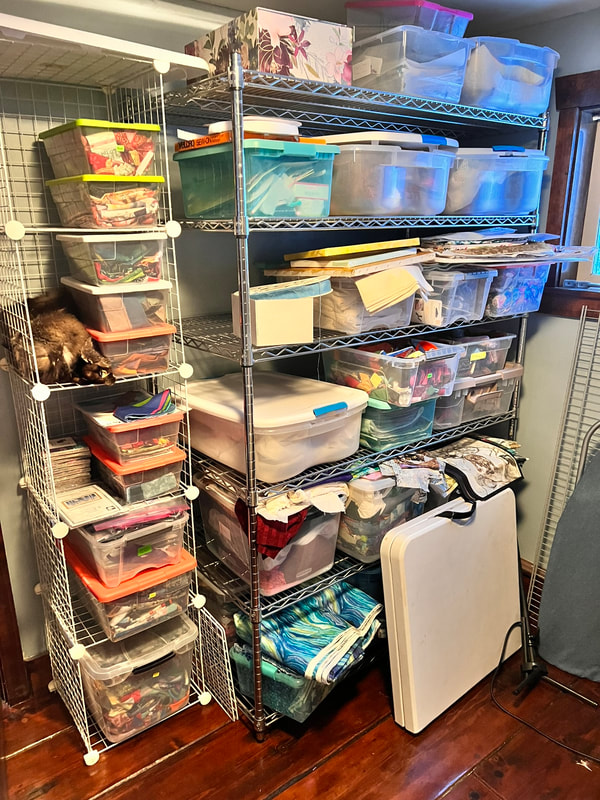
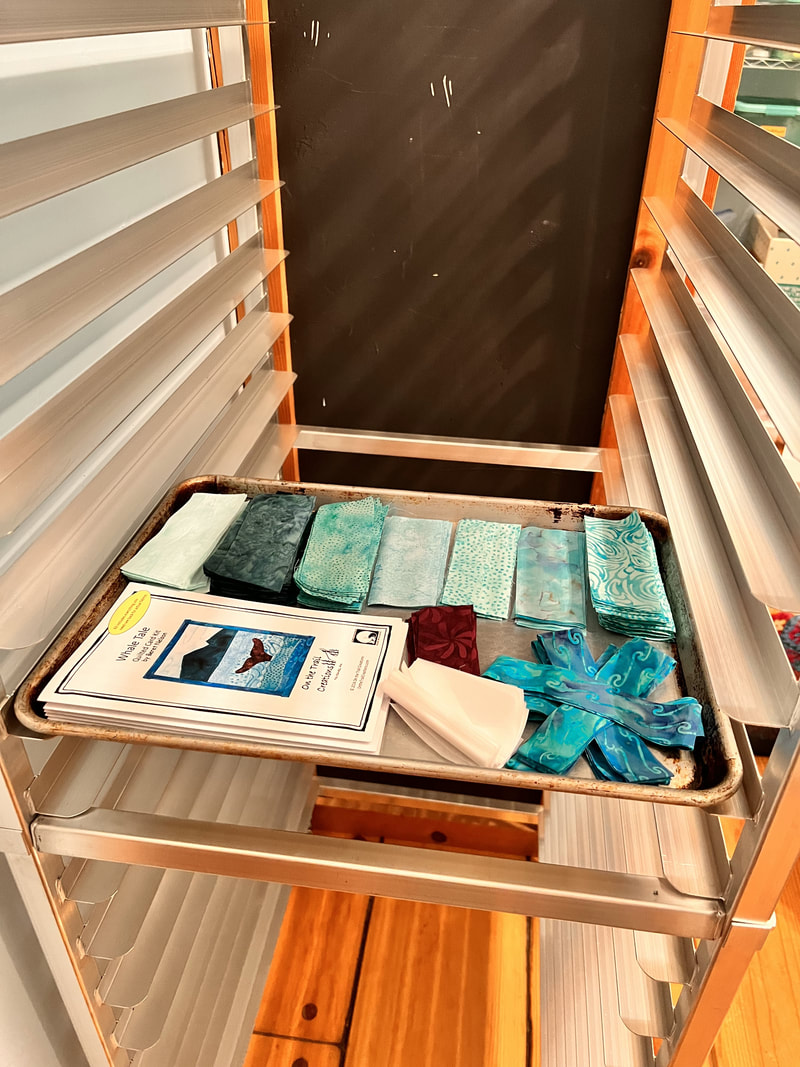
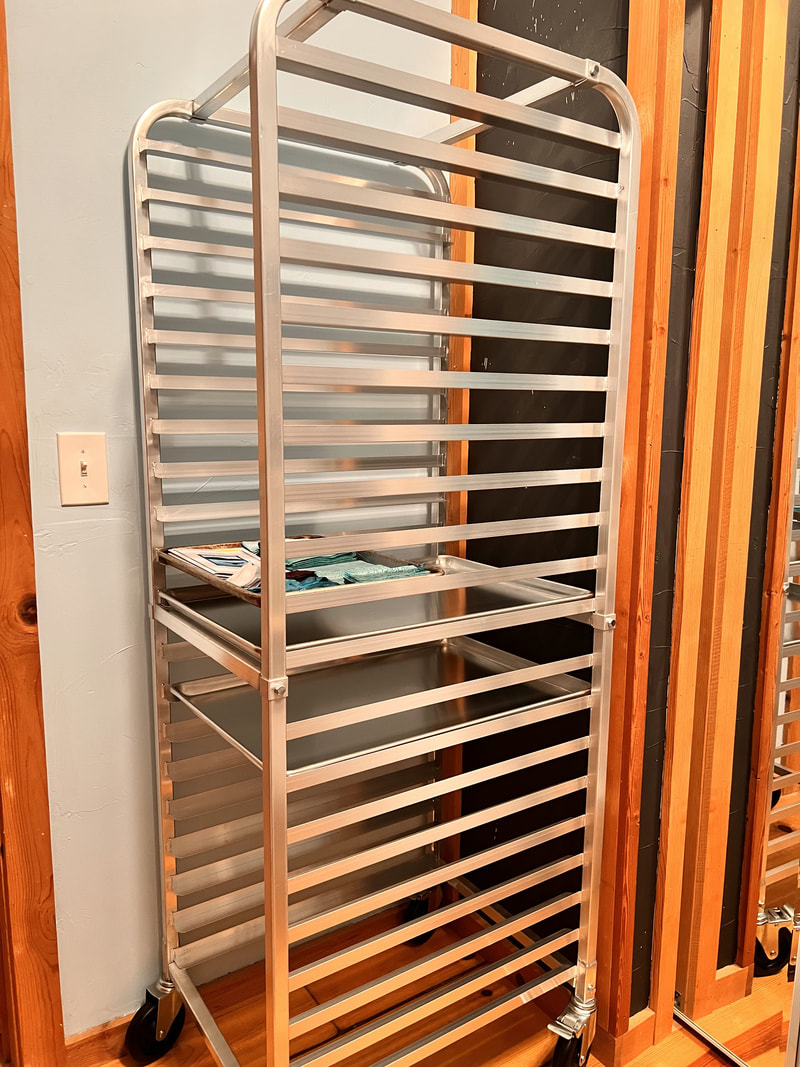
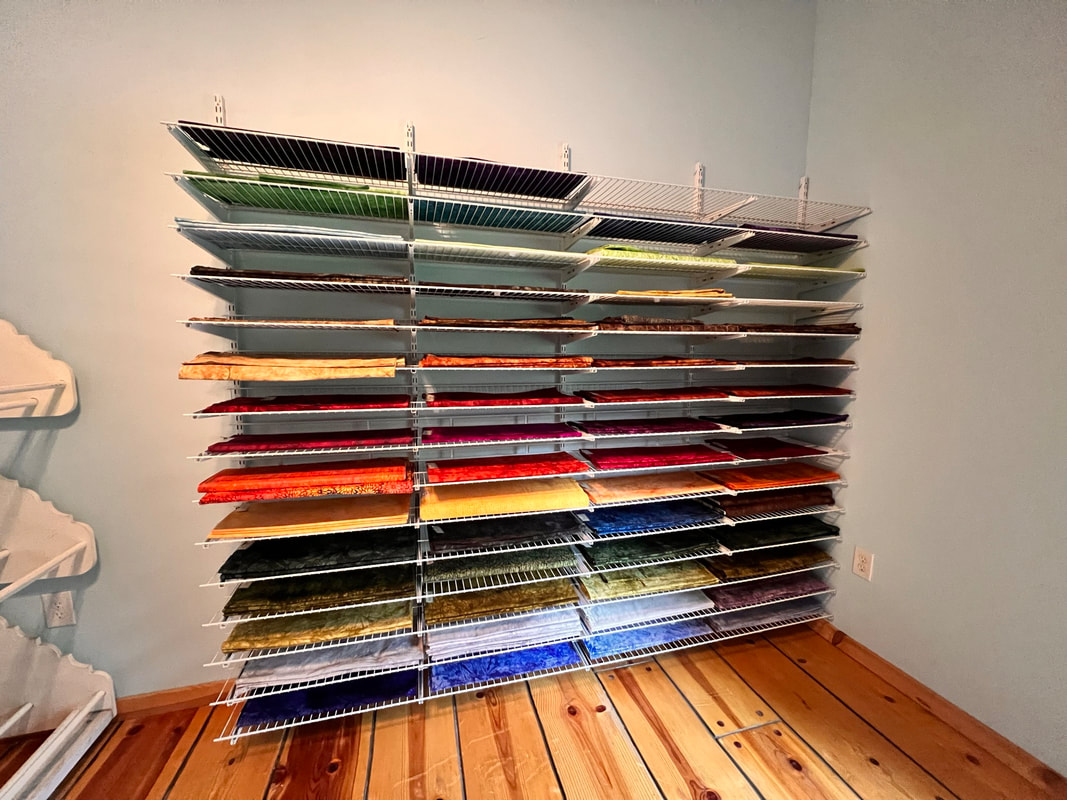
This will be another short one as I have an open house tonight (local people invited, but yeah… several inches of fresh snow…😅), and class starting Monday! Usually at this time of year I’m in the mad rush to make quilted greeting cards for bazaars. It definitely feels weird to not be (just doing the Raven Art Show November 3rd), but I’m also very excited about doing the class instead! But I thought I’d include a link to a gallery of some of my cards from the past. The greeting cards are great for trying a technique, and you end up with something practical too. I think my grand total for 15 years is around 5,500 now! And hundreds of different designs over the years. I think I have 12 kits and maybe another 12 or so patterns, but that’s a drop in the bucket 😂 Many are inspired by a particular fabric, so aren’t really suitable for a pattern. But I hope these give you some ideas and inspiration! I have another batch coming soon, I hope, that will be very different from any previous ones, hmm… 😃 Quilted Greeting Card Gallery Happy sewing, and local people, enjoy the snow, and if you don’t live too far away, I hope you will still come tonight, 5-8 pm, 2335 Nugget Loop, between Valatta and Ivory Jacks! Beret 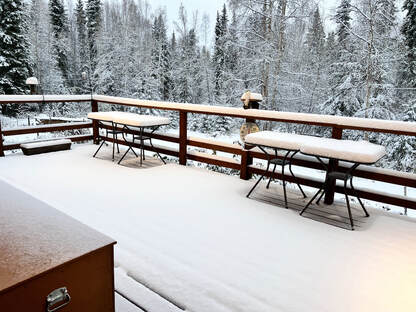 When you move to a new studio, you find out just how much stuff you have… I even got rid of a bunch when I moved last time, but it just grows 😂 One of the things that I had even more of than I realized was UFO’s. Those projects that get started and then abandoned for various reasons! I am determined to go through them and see what needs to be finished, and what needs to be let go. But in the meantime, I found a great way to organize them 😂 I had been wanting one of these sheet pan racks for a long time for organizing my quilted greeting card kit parts. They’ve been in tubs, so we have to lay everything out every time we pack one. But with these trays, they can stay set up and all I have to do is grab one, plus another tray for the parts that go in every kit. But I also discovered that it’s great for UFO’s! I have more half sheet pans since this photo, but I still need a few more full sheets for the bigger kits and bigger UFO projects. My previous method was to stack them with foam board sheets, and that also worked pretty well. And I will still need to do that if I have more projects than pans… I even do small projects that I can finish quickly partly to help prevent this, but it still happens for various reasons! Some are potential kits that run into a snag, and some I just get sidetracked, usually by a new idea 😂😛 But it’s also great for projects that I haven’t abandoned, I’m just still in the middle of them. I’m so thankful to finally have space for this unusual piece of ‘furniture’ 😂 How about you? Are you a UFO collector, or do you finish one thing before moving on? Happy sewing! Beret
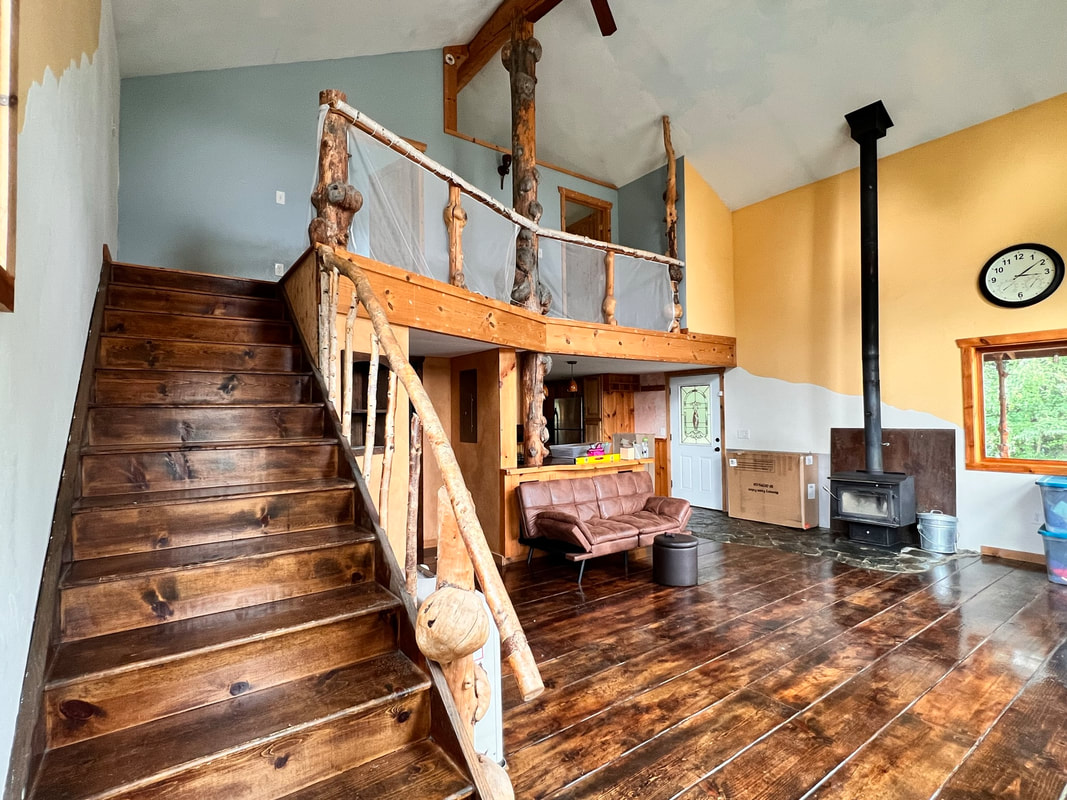
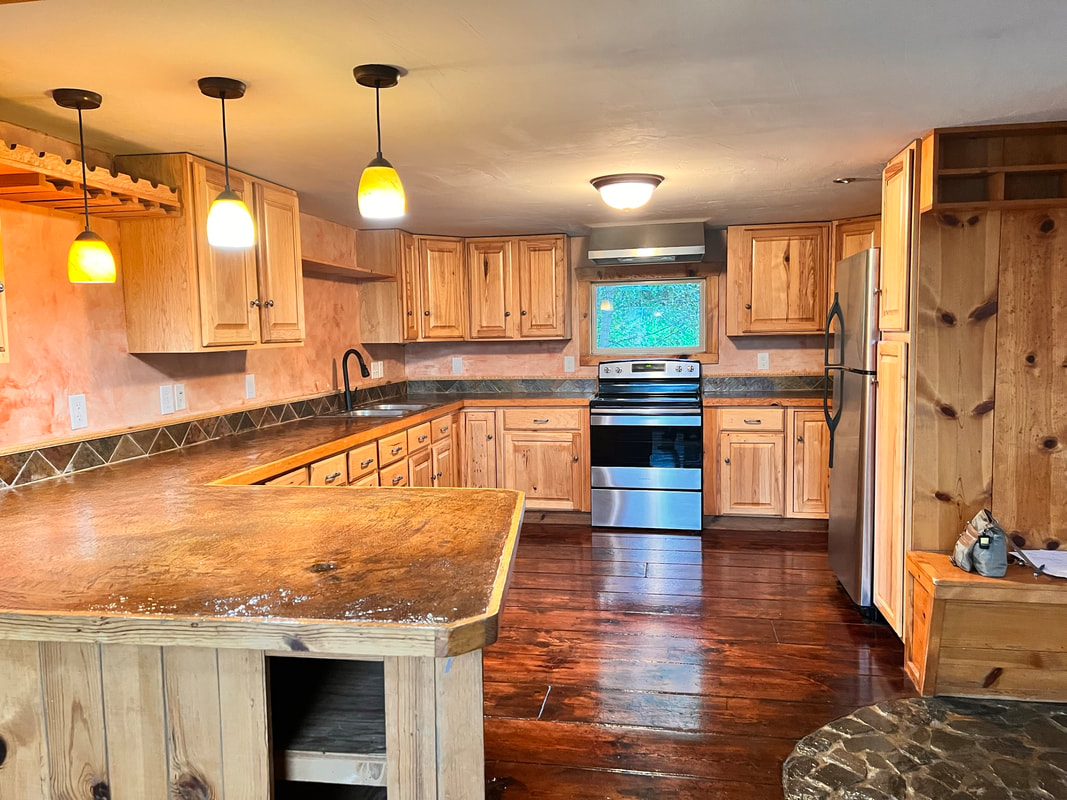
Have you ever had someone say to you, “Wow, you MADE that'!?” I’ve been thinking a lot about my upcoming Simple Secrets for Starting Art Quilting class, (Live version!), and mostly about what I want YOU to get from it, because that’s kind of the point…😀 There are a lot of benefits to anything you do with your hands and creativity, but I have a few specific goals in mind for my students: 1. I want you to have success quickly, as that motivates you to do more! 2. I want you to feel like you have a clear path to follow. 3. Anything creative involves making a bunch of decisions, which is partly what makes it hard, so I want you to feel more confident in doing that. 4. I want you to have some practical skills for bringing your ideas to life. 5. I want you to have a ‘toolbox’ full of simple concepts that make things look more complicated than they are! (That’s how you get the ‘you made that?!” 😀) I’m also working on a fun box of goodies for students! I think I will have an extra special box for the first 30 people to sign up 😮 The goody boxes will be about $130 or so value for the first 30 people (a couple of bonus bigger items), and around $60 for everyone else, but still quite fun! Some of the items will be specific for the class, and some just for fun 😀 I’m also working on a special project for the class that will be a way to remember/track what you have learned, which I’m very excited about…hmm…🤭 Registration will open next Wednesday, September 6, at 8:00 am Alaska time and be open for one week. (9:00 Pacific, 10:00 mountain, 11:00 central, noon eastern) I will probably send a few extra email reminders leading up to it, and during the week registration is open! Set a reminder on your phone too 😀 Class dates: October 6, 2023-November 18, 2023 Cost: $297 ($217 for current students of the self paced version, you will get an email with a code ahead of time) If you are already in the self paced version, nothing is going to change with that, you will still have the same access indefinitely! The Live version is going to be hosted on a new platform, and will have some new content, plus 6 or more live Zooms. (Which will be recorded if people can’t make it live.) But of course you do not have to take the live one if you don’t want to! The self paced version will still remain available to current members and be available for purchase, at least for awhile. That version is $79. I’m looking forward to being a part of your art quilting journey! And feel free to ask questions. I will be sending some more informational emails over the next few days as well. Happy sewing! Beret 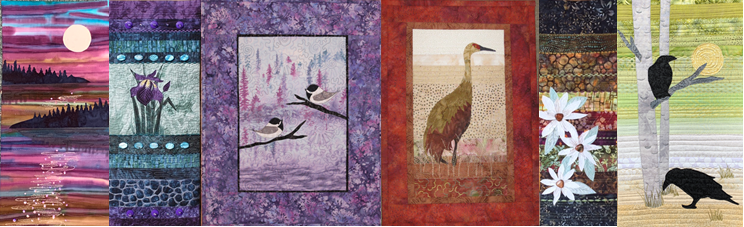 We are definitely having a busy week of moving things into the new studio, both from the room in town and our house. Setting up shelves, figuring out where everything will go.... We got the kit packing up first so there would not be interruptions in orders! I'm also finally nailing down some details for some events this fall this fall. I'd like to have an open house, an in person class or two, and an online but live version of my Simple Secrets class. Here's the plan so far: Simple Secrets for Starting Art Quilting, Live Version! When: October 9-November 17, Six weeks. What: Each week will have a module/topic/lessons. And each week there will be at least one live Zoom meeting for questions or for me to explain things live. (And hopefully recorded for anyone who can't be there.) I'm busy thinking up some fun surprises to include in this version! And I'm excited to try this format after having only self paced classes so far. More details and registration coming soon. Because it will involve so much of my time, the price will be higher than the self paced version. However, if you are in that one, you will get the entire cost of it deducted from the new one! And, I'm planning a physical box of goodies to go with it! New Studio Open House For local people, I'd love to have you come and see my new spot! When: October 6 (First Friday), 5-8 pm In person classes No details for this yet, stay tuned! But I'd love to start doing these regularly. If you are local and have a few friends who would like to do either free motion or wall hangings, (or something else😂) let me know! I probably will only have room for 3-4 people, the first class will be an experiment... Here are a few pictures of my new place. It's coming together, so I will post more when it's done! Happy sewing, Beret
|
Beret Nelson's On The Trail Creations Blog Page
Beret NelsonI am a homeschooling mom of three fun kids, who are now old enough that I have a little time to pursue my passion for sewing! After several years of making quilted cards and art quilts, I'm now designing kits and patterns. Some of my designs have been in Keepsake Quilting and Art Quilting Studios magazine! I teach classes online, and am starting to do more traveling and teaching. I also have many tutorials, including some on YouTube. I am blessed to live in Alaska where I am surrounded by the inspiration provided by the beauty of God's creation! Free mini art quilt workshop for new subscribers!
"Like" my facebook page!I am also an independent distributor for Plexus supplements, since I credit them with enabling me to be healthy enough to do all these fun things! They target blood sugar and gut health, which are at the root of so many modern health issues. E-mail me for more info, or check out my website! I am as passionate about getting people healthy as I am about getting people creating :-)
[email protected] or https://plexusworldwide.com/beretnelson  Archives
June 2024
|


 RSS Feed