Fabric Quiet Book Tutorial |
|
Our family and a couple others drew names this year for gifts. I drew a mildly autistic 5 year old boy, so this is what I made for him. This isn't a full tutorial, because I made it in a hurry and didn't have time to take a lot of process photos! (I may update it if I borrow it back, or made more sample pages...) But I will tell you roughly how I did each page, and this pretty easy method for putting it all together! If you want to make one, do a search on Pinterest for quiet book page ideas, the possibilities are endless! It was hard for me to limit it to this many, except that I ran out of time! I was literally finishing it as our friends came through the door for our gift exchange...My daughter had the gift bag ready, and was helping me stuff all the little items in at the last minute! I didn't even have time to free motion quilt the backgrounds, that was torture :-)
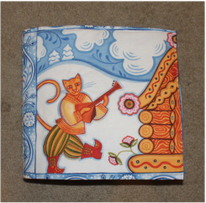
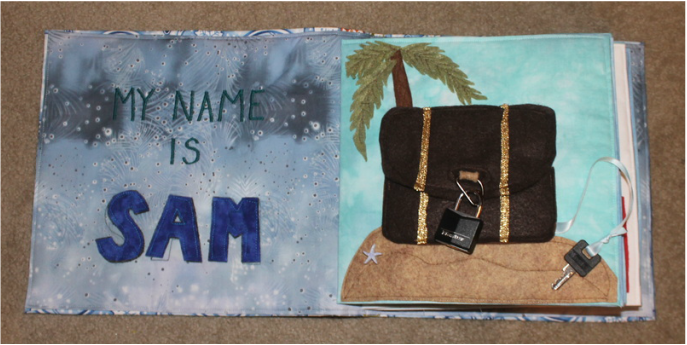
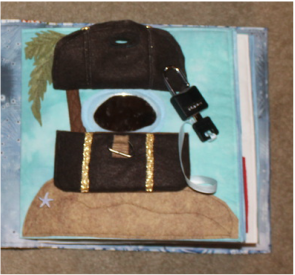
For the cover, I used a fabric print leftover from a quilt for my mom. On the name page, the letters have Velcro so they are removable. His name is stitched on the background for a guide. To make the letters, I traced them (in reverse) on wonder under, fused that to the back of the blue fabric, cut them out, then fused them to felt and cut them out again. The treasure chest has a padlock holding the lid shut, the key is on a ribbon to help keep it from getting lost, and tucks into the chest. Inside the flap there is a mirror, he is the treasure! :-) To attach the mirror, which was oval, I cut a piece of felt a little larger, then cut a hole in it a little smaller than the mirror. I then stitched down most of it around the edge, slid in the mirror, and stitched the rest of the felt "frame". The smaller hole in the felt keeps the mirror in place. All of the other parts on the page are felt as well, no edges to finish!
|
|
Ok, now I will go back to the beginning. I made the book using "signatures" , (what they are called in the real bookbinding world), of four pages. I cut fusible fleece the exact size of the finished pages, then placed them fusible side down on the back of my hand dyed background fabric. I left a space of 1/2 inch between them, so they would be less bulky to attach to the cover. Then I left at least an inch all around them, this does not have to be exact, it will just get folded over the edges of the fleece. Each signature has two of these units. After all 4 pages are decorated, I simply folded over the seam allowances and fused them down in a few spots, then put them wrong sides together and stitched around the edges. They had too much stuff on them to stitch inside out and turn, and this worked great! Two of the pages will be facing each other, and the other two will be the front and the back of your little signature, so plan accordingly. I made three signatures, for a total of 12 pages, plus the inside of the front and back cover of the book made 14 pages total. The insides of all of my signatures are either continued across both pages, or they go together somehow. It's fairly easy to plan when you do 4 page units like this. (If you want even more facing pages that go together, you can plan the last page of one signature to go with the first page of the next...)
The cover is made basically the same way, but a little bigger, and the fleece went all the way across, no space. I made it about 1/2" or less taller, but quite a bit wider to account for the thickness of the book, that depends on how many pages you make and how thick they are. After all of your pages are done, you can stack them like they will be in the book, and measure from one edge, around the spine, and to the other edge to get a measurement, then add about 1/2 inch so it sticks out a bit. The fleece can be cut to the exact size, the fabric needs seam allowances.
The cover is made basically the same way, but a little bigger, and the fleece went all the way across, no space. I made it about 1/2" or less taller, but quite a bit wider to account for the thickness of the book, that depends on how many pages you make and how thick they are. After all of your pages are done, you can stack them like they will be in the book, and measure from one edge, around the spine, and to the other edge to get a measurement, then add about 1/2 inch so it sticks out a bit. The fleece can be cut to the exact size, the fabric needs seam allowances.
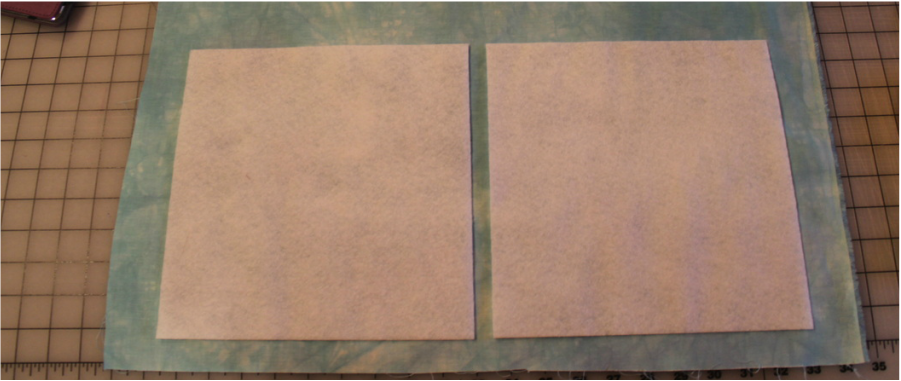
Two of these for each "signature", 4 pages (sides) in all
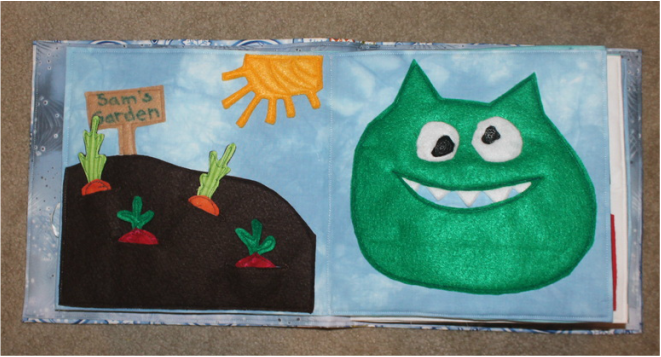
The 'dirt' on the garden page is felt backed with fusible interfacing (Décor Bond) to make it more durable. I then stitched around the slits for the vegetables to strengthen them a little more. The veggies are made the same way as the "Sam" letters above, except with two parts to the veggies. If I did it again I would probably add some interfacing in the center to make them stiffer, they're a little floppy... The bottom of the monster's mouth is a pocket so he can eat the veggies after they are picked :-)
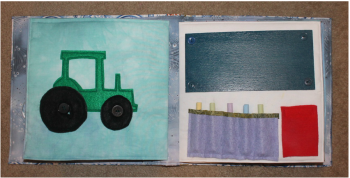
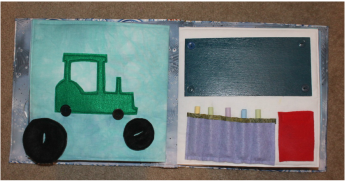
The tractor wheels are just two layers of felt, with a slit stitched around for reinforcement. That goes over the button so they are removable. The chalkboard was interesting...it's a piece of balsa wood painted with chalkboard paint. I fused a piece of décor bond to the back of that for strength, we'll see how it holds up.... I attached it by stitching buttons in the corners, on the sewing machine. The wood is very soft. The red thing is a piece of polar fleece with Velcro to use as an eraser.
|
|
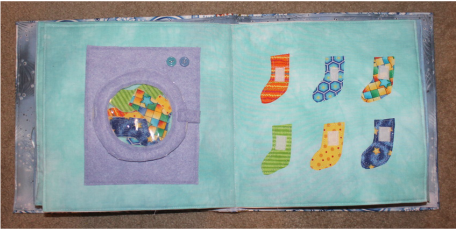
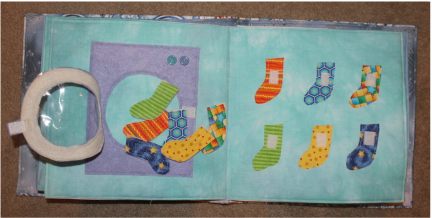
These pages were fun, socks to match in the dryer :-) The socks on the right are just fused to the background and stitched around, then Velcro on them. The socks in the dryer are fabric fused to felt, like the veggies and SAM letters. The dryer has a clear vinyl window, a Velcro closure, and buttons for knobs.
|
|
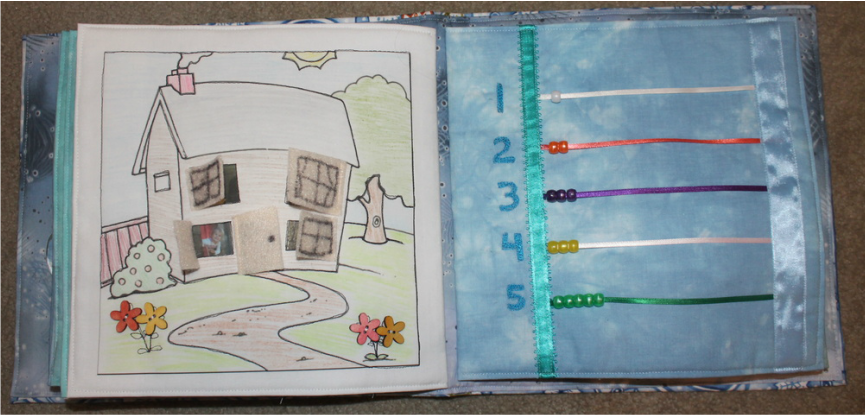
The page on the right was made using Transfer Artist Paper (TAP) My daughter found a clip art image, then put the family photos in each window and door on the computer. We then reversed it, and printed it on the TAP. I colored the TAP with colored pencils, BEFORE fusing it on to my white background. The felt windows and flower buttons were added at the end. I also stitched around all of the black lines. The counting page seemed simple enough, but it looks like I may need to go back to preschool...still trying to figure out how to fix that... :-) They are pony beads that slide on ribbons.
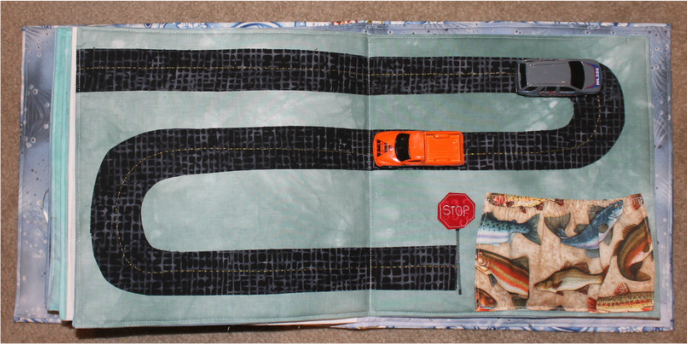
Car page: the road is fused and then stitched on. I played with the 'hand stitch' looking stitch on my machine for the yellow dots, not sure how well that worked :-) The cars go in the pocket.
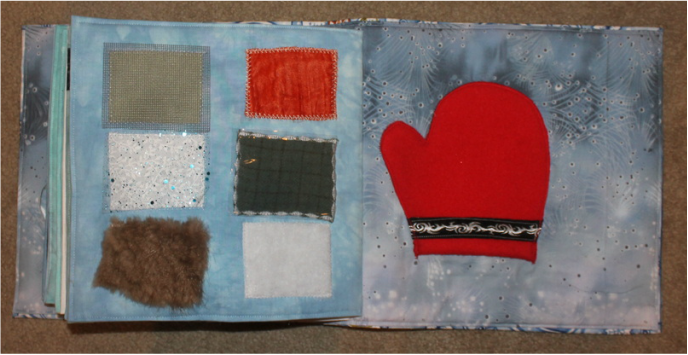
Last two pages! The mitten is the inside of the back cover, and is open at the bottom so he can stick his hand in it. The texture squares are stitched to the background, then some of them have another flap just stitched across the top so they can be lifted up. Hard to see in the photo, but there is screen, glitter tulle, and clear vinyl for those. The textures include suede, cotton quilt fabric, fur, velvet, wool, and a piece of fuzzy plush fabric.
Without a photo, it's a little hard to explain how I attached them to the back cover. Each signature is attached individually, not stitched through the whole stack...About 3/8 inch apart to accommodate the thickness, that amount may vary. I'll work on getting a photo of that! With that method, it doesn't matter how many pages you make, you just have to make the cover bigger to accommodate. There are other methods of binding them together, some need to be made differently from the beginning, check Pinterest for ideas!