Birch Tree Card Tutorial |
|
This was a fun and quick project, I'm sure I'll have fun doing other designs with this method also!
Here's what you need: batting, interfacing and tulle (netting) a little bigger than your final project; fabric scraps and thread; and fusible web and card stock. (I'm not including measurements or detailed binding instructions, those are available in any of my greeting card patterns, which are quite reasonable if you want to make this size. I can't give away ALL of my secrets :-))
Here's what you need: batting, interfacing and tulle (netting) a little bigger than your final project; fabric scraps and thread; and fusible web and card stock. (I'm not including measurements or detailed binding instructions, those are available in any of my greeting card patterns, which are quite reasonable if you want to make this size. I can't give away ALL of my secrets :-))
Cut your interfacing (this could be a layer of thin backing fabric instead), and batting about 1/2 inch larger than your finished project on all sides. Stack them with the interfacing on the bottom, then batting. Cover the batting with scraps of fabric, any size or shape, just make sure it's all covered. Cover that with a layer of tulle.
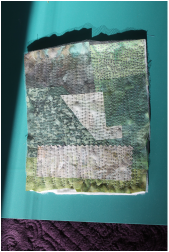
Quilt all over the whole thing fairly heavily, either free motion or straight stitching will work.
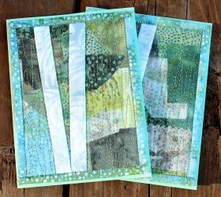
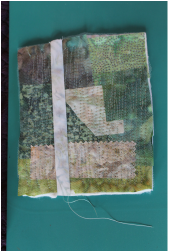
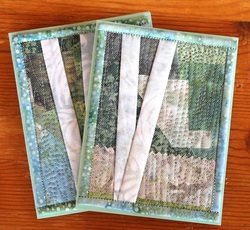
Cut a straight line through the whole thing where you want your first tree to go. Then cut a strip of tree fabric as tall as your project and 1 inch wide. With right sides together, and a 1/4 inch seam allowance, stitch the tree into the opening. If your measurements are accurate, the batting layer will just meet in the back. You can make a wider tree, just use a wider fabric and seam allowance. The tree needs to be cut 4 times as wide as the seam allowance, and will end up 2 times as wide, so in my example, the tree ends up 1/2 inch wide.
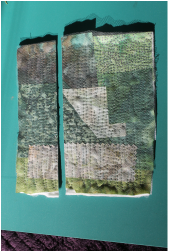
Repeat for the second tree, at a different angle. You can slice through bottom of the first tree if you want them to overlap. (see last picture)
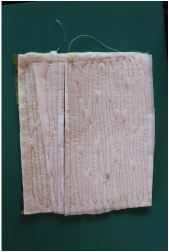
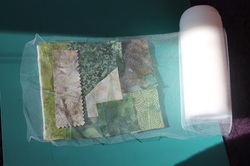
The back after the first tree, the batting edges just meet.
With a ruler and rotary cutter, cut it down to size and put narrow binding on the edges. If you are going to glue it onto a card, the binding doesn't have to be turned under on the back. Cut a piece of fusible web slightly smaller than your project, and fuse it to the back. Peel the paper off and fuse it to your card stock, I press from the paper side. (no steam on paper, or use a Teflon pressing sheet)