Quilted Book Cover Tutorial
|
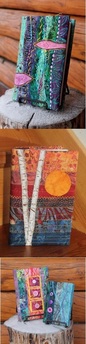
Many more variations at the end! Trying to keep this more mobile friendly so I moved them...
|
Quilted book cover tutorial steps
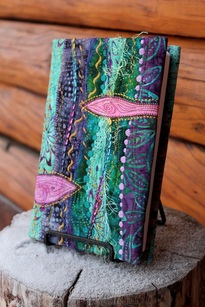
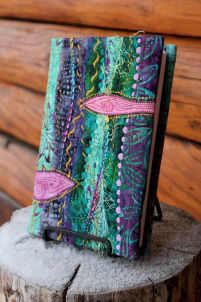
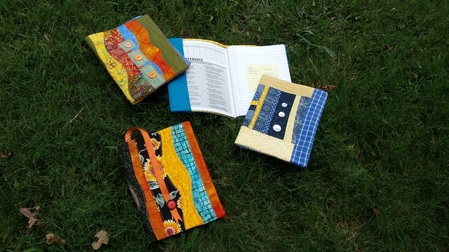
This is a really easy project that is great for using up those small scraps that you can’t bear to throw away! It’s a great introduction to art quilting, as it covers some unconventional techniques. (I get almost as excited about helping other people start art quilting as doing it myself :-) Link to my online classes at the bottom!) It's even a good beginner sewing project for kids or people just starting to sew.
It works with any size book, and really any binding types, although I prefer non wirebound books. It’s a little bit of an unconventional process, so read all the directions before you start :-) At the end there are alternate instructions for a more traditional version, keep reading! The text in black applies to both versions, purple is for the art quilty ones, and green for the more traditional.
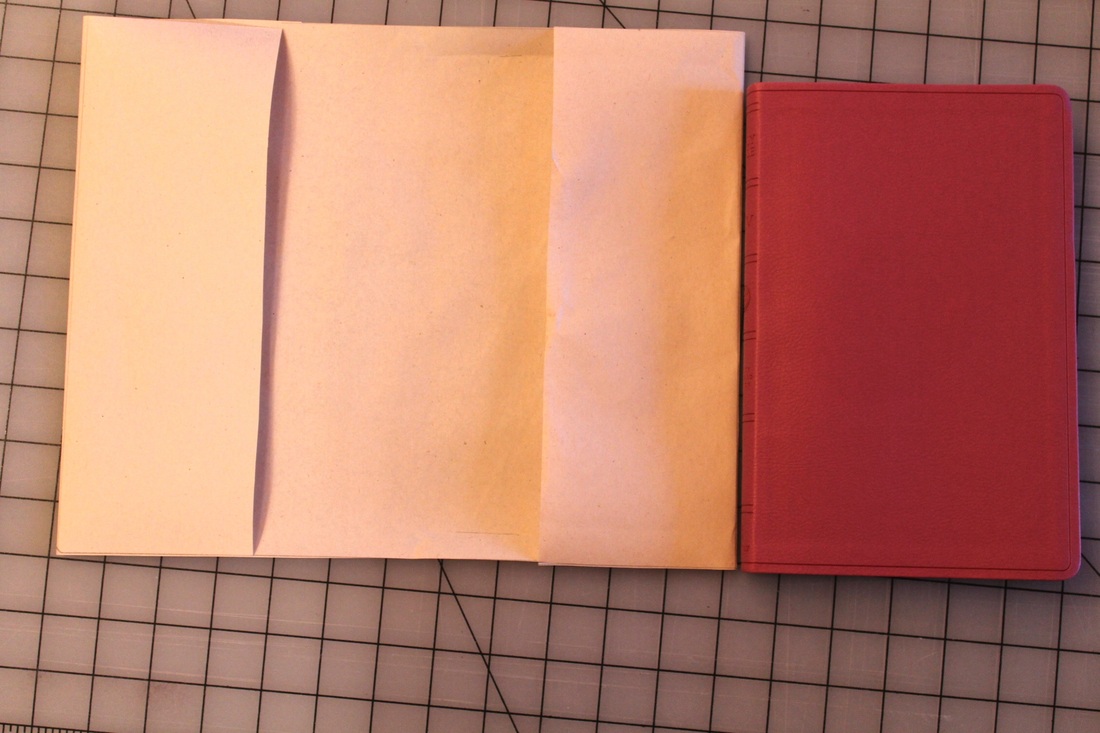
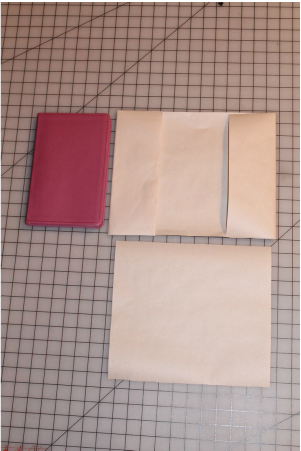
First you need to make your pattern. This is easier than it sounds. The easiest way to do it is to wrap a piece of paper around the book, folding in flaps inside the cover. Make the flaps approximately half of the width of your book. For larger books, you will need to tape a couple of pieces of paper together, or use something larger, even newspaper will work. For the ‘top to bottom’ measurement, make it one inch taller than your book. This will allow for 3/8 inch seam allowances plus a bit for the cover to extend beyond the book, it looks better that way. It also gives you a bit of wiggle room on your seam allowance so the cover doesn't end up too short. It’s easy to make it shorter if necessary, but if it’s too short it’s hard to fix.
It works with any size book, and really any binding types, although I prefer non wirebound books. It’s a little bit of an unconventional process, so read all the directions before you start :-) At the end there are alternate instructions for a more traditional version, keep reading! The text in black applies to both versions, purple is for the art quilty ones, and green for the more traditional.
First you need to make your pattern. This is easier than it sounds. The easiest way to do it is to wrap a piece of paper around the book, folding in flaps inside the cover. Make the flaps approximately half of the width of your book. For larger books, you will need to tape a couple of pieces of paper together, or use something larger, even newspaper will work. For the ‘top to bottom’ measurement, make it one inch taller than your book. This will allow for 3/8 inch seam allowances plus a bit for the cover to extend beyond the book, it looks better that way. It also gives you a bit of wiggle room on your seam allowance so the cover doesn't end up too short. It’s easy to make it shorter if necessary, but if it’s too short it’s hard to fix.
|
|
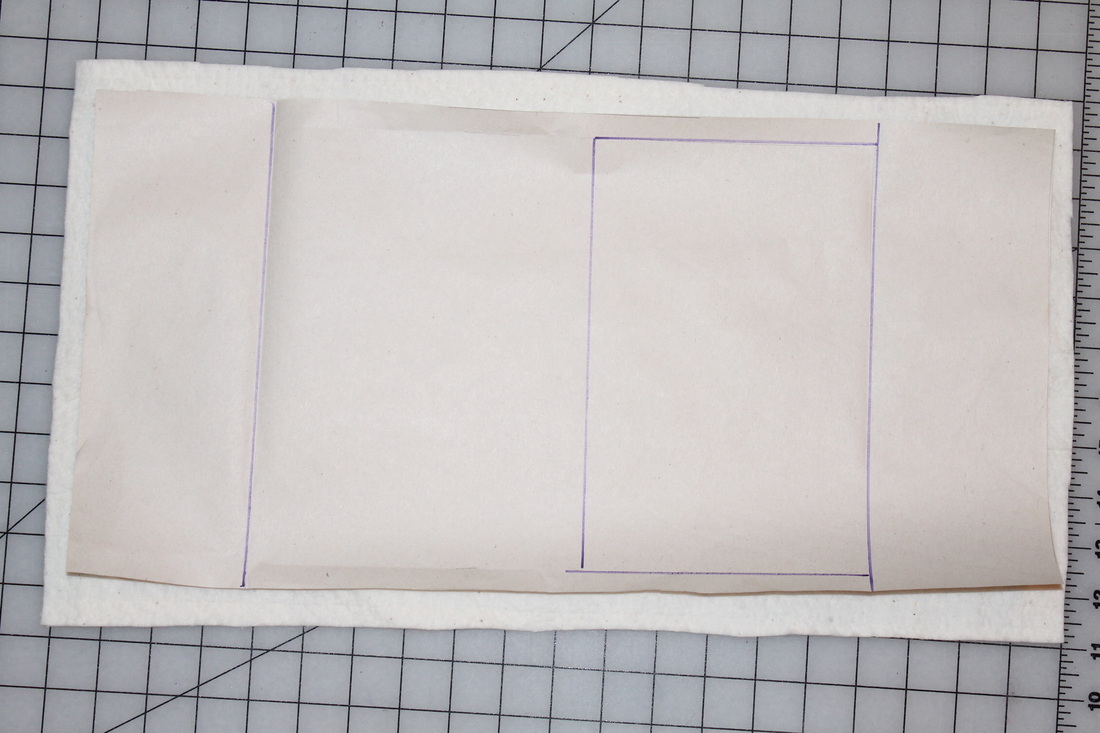
To make the lining pattern, take your cover pattern and fold the flaps in. Trace that, then make it one inch narrower. When it is centered, it will be 1/2 inch away from each edge (see picture).
When you cut out the lining, cut it exactly to size. For the cover, however, you are going to cut a piece of batting and a piece of muslin or other thin fabric, each a bit larger, maybe half an inch all the way around. This is most important on the top and bottom, the sides don’t need much extra. This can be cut roughly, you don’t need to measure. This allows you to not have to make the edges neat or precise, we will trim it to size and square it up after it is done being decorated. The decorating sometimes can make it a bit different in size, so this is an easy way to make it precise without a lot of measuring at the beginning. (see later pictures) Notice that I also traced the book on the pattern, lining it up with the fold of the flap. This is a reminder when you do your decorating of what will actually show on the front cover when you are done, I use it as a reference throughout the process. My paper was curling, it's really straight :-)
When you cut out the lining, cut it exactly to size. For the cover, however, you are going to cut a piece of batting and a piece of muslin or other thin fabric, each a bit larger, maybe half an inch all the way around. This is most important on the top and bottom, the sides don’t need much extra. This can be cut roughly, you don’t need to measure. This allows you to not have to make the edges neat or precise, we will trim it to size and square it up after it is done being decorated. The decorating sometimes can make it a bit different in size, so this is an easy way to make it precise without a lot of measuring at the beginning. (see later pictures) Notice that I also traced the book on the pattern, lining it up with the fold of the flap. This is a reminder when you do your decorating of what will actually show on the front cover when you are done, I use it as a reference throughout the process. My paper was curling, it's really straight :-)
|
|
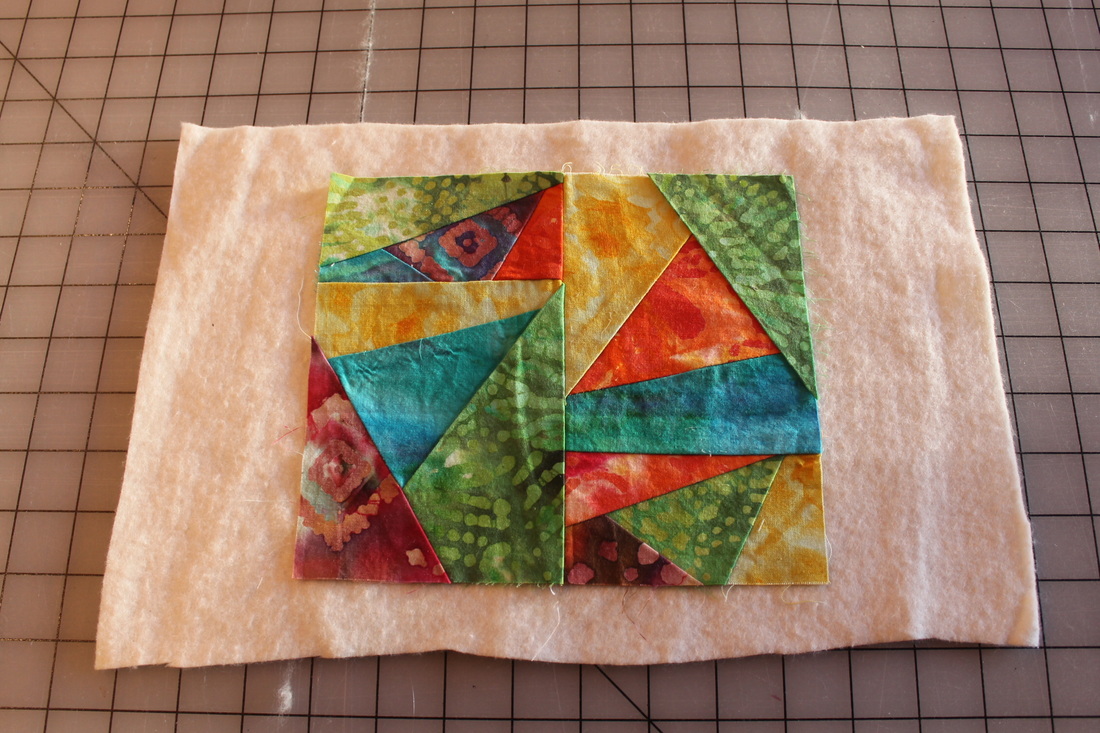
Now for the fun part! Lay your batting on top of your muslin, set the lining aside for now. (If you are making the more traditional version, insert the green text from below where the purple text is here. Then jump back in where the text turns black again :-))
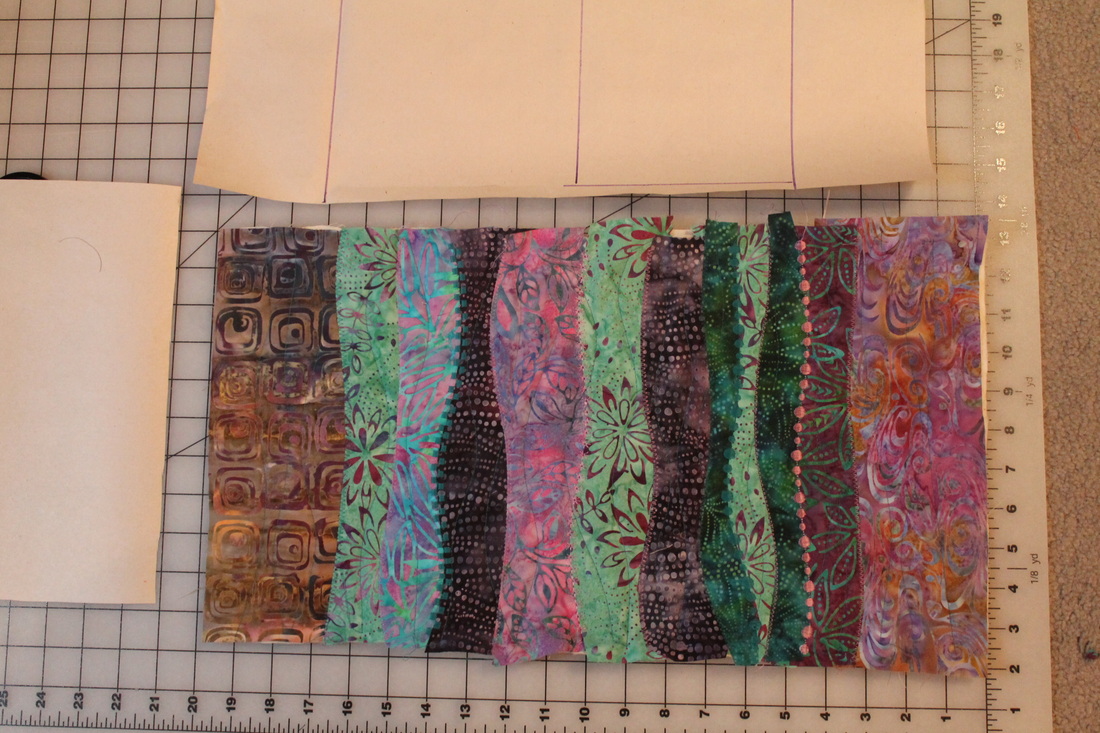
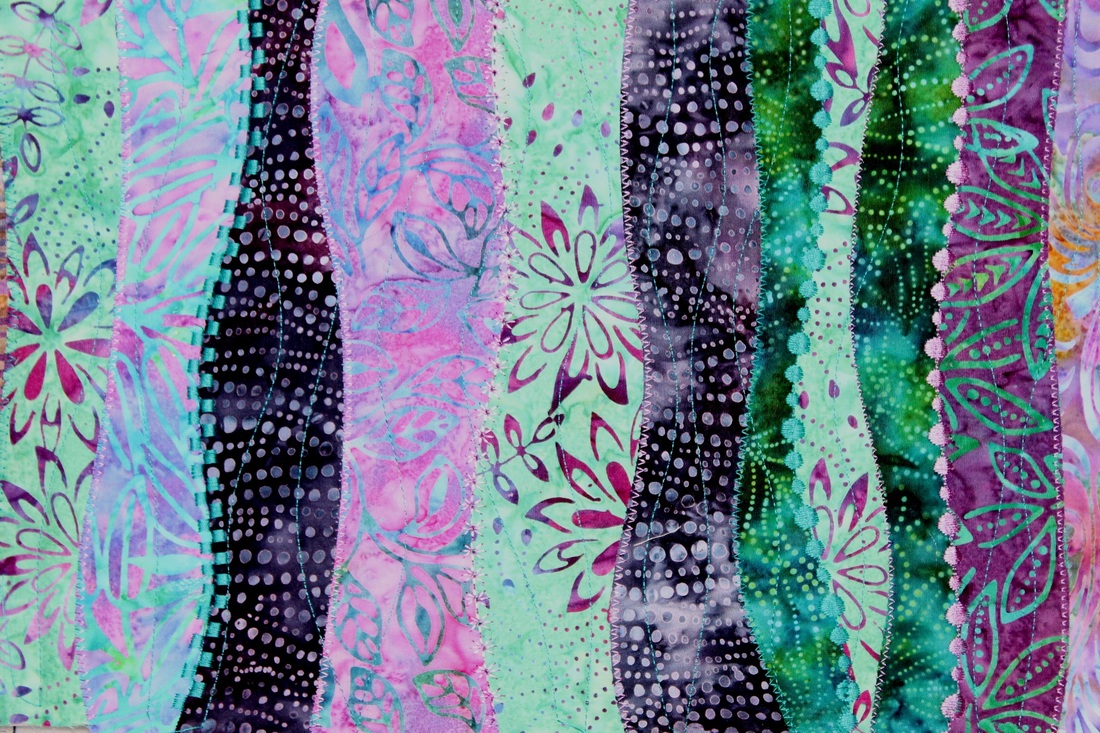
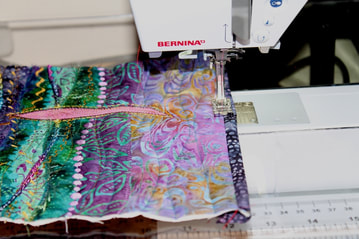
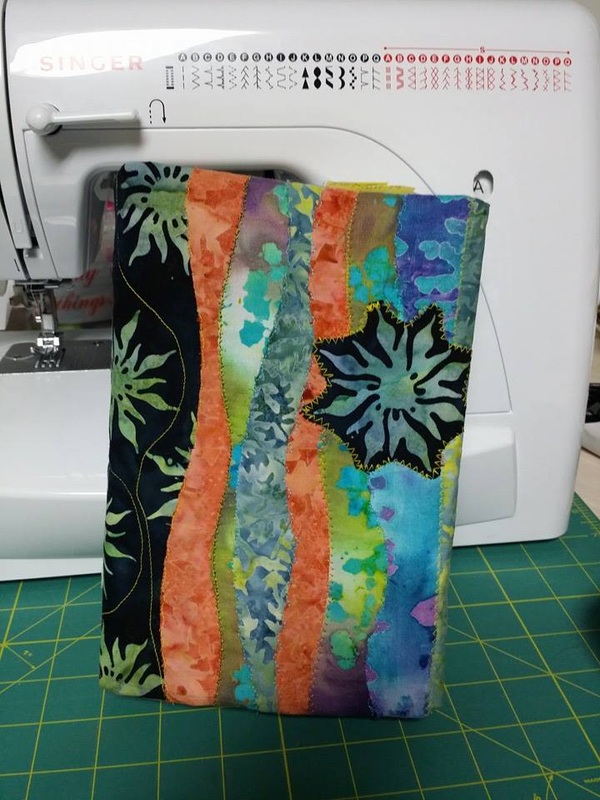
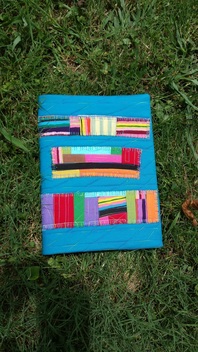
Start covering the batting with fabric strips, overlapping them about 1/4 inch, no need to measure. You can do anything from one large piece that covers the whole thing to lots of strips or pieces, make them as wide or narrow as you’d like, straight or curvy. I usually do a wider piece at the ends, which will be under the flaps, you don't want bulk there. The pieces don’t have to go all the way across like mine, they can be patchy, just make sure the batting is covered and each piece overlaps a bit. After I get it set, I usually press them, it helps them stay put. Spray starch helps too. You could use a fusible product or spray glue, I don’t usually do either and it works just fine. UPDATE: I just learned a new trick. A regular school glue stick works great for holding down the edges so they don't move when you stitch them, just a thin line on the edge of the top piece is all you need. Now stitch over all of the raw edges, using either a narrow zig zag or decorative stitch. You can use different thread colors or not, either way is fine. You don’t have to do the strips in order, do the same color ones first so you aren’t changing thread constantly…If they are not fused down, it helps to smooth them with your fingers as you go so you don’t get puckering.
Start covering the batting with fabric strips, overlapping them about 1/4 inch, no need to measure. You can do anything from one large piece that covers the whole thing to lots of strips or pieces, make them as wide or narrow as you’d like, straight or curvy. I usually do a wider piece at the ends, which will be under the flaps, you don't want bulk there. The pieces don’t have to go all the way across like mine, they can be patchy, just make sure the batting is covered and each piece overlaps a bit. After I get it set, I usually press them, it helps them stay put. Spray starch helps too. You could use a fusible product or spray glue, I don’t usually do either and it works just fine. UPDATE: I just learned a new trick. A regular school glue stick works great for holding down the edges so they don't move when you stitch them, just a thin line on the edge of the top piece is all you need. Now stitch over all of the raw edges, using either a narrow zig zag or decorative stitch. You can use different thread colors or not, either way is fine. You don’t have to do the strips in order, do the same color ones first so you aren’t changing thread constantly…If they are not fused down, it helps to smooth them with your fingers as you go so you don’t get puckering.
|
|
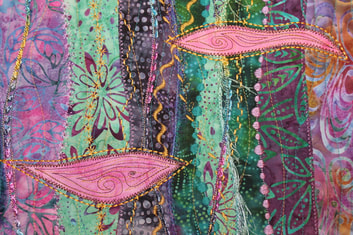
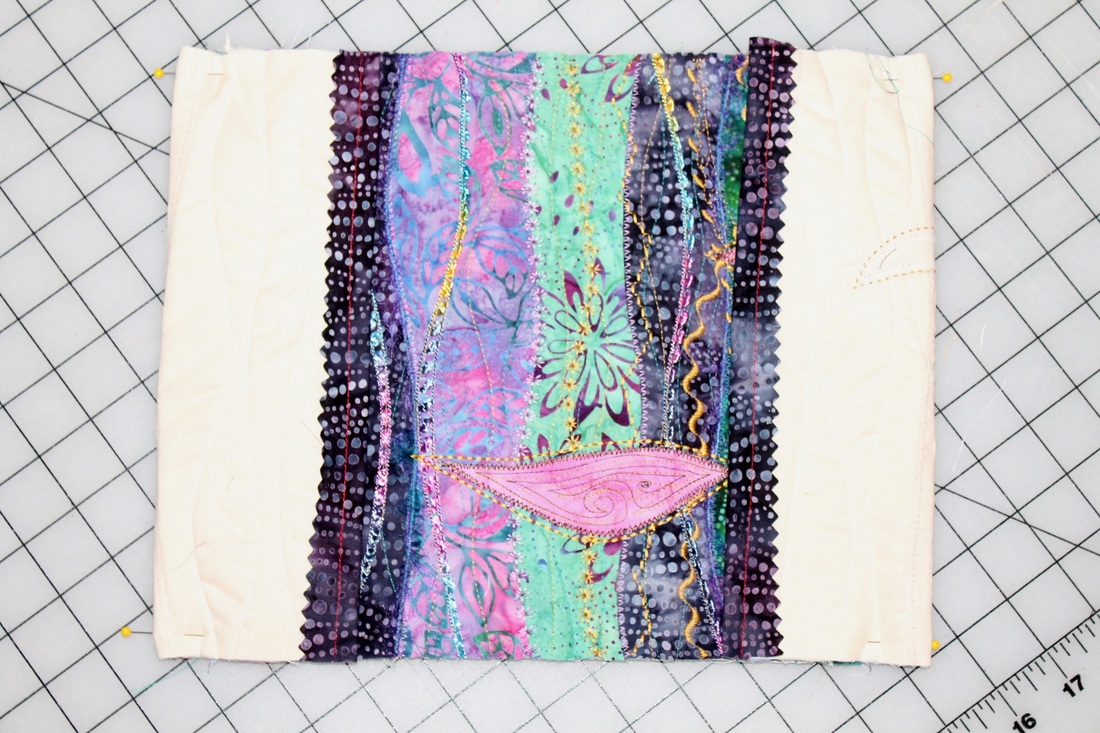
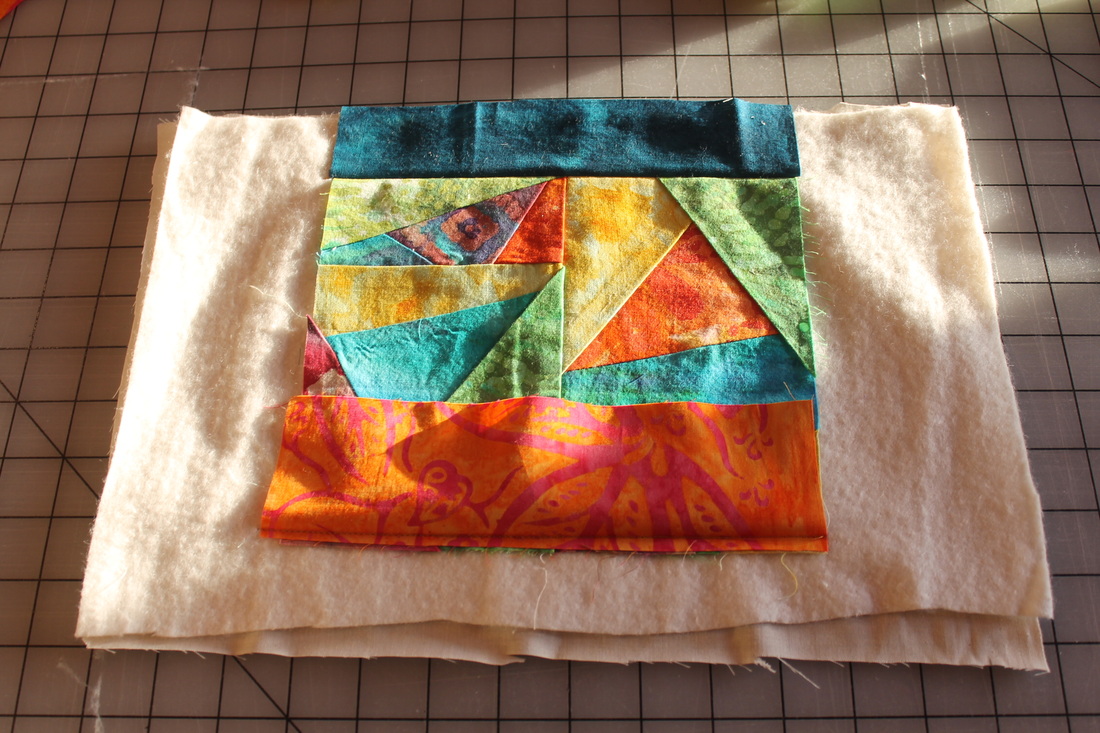
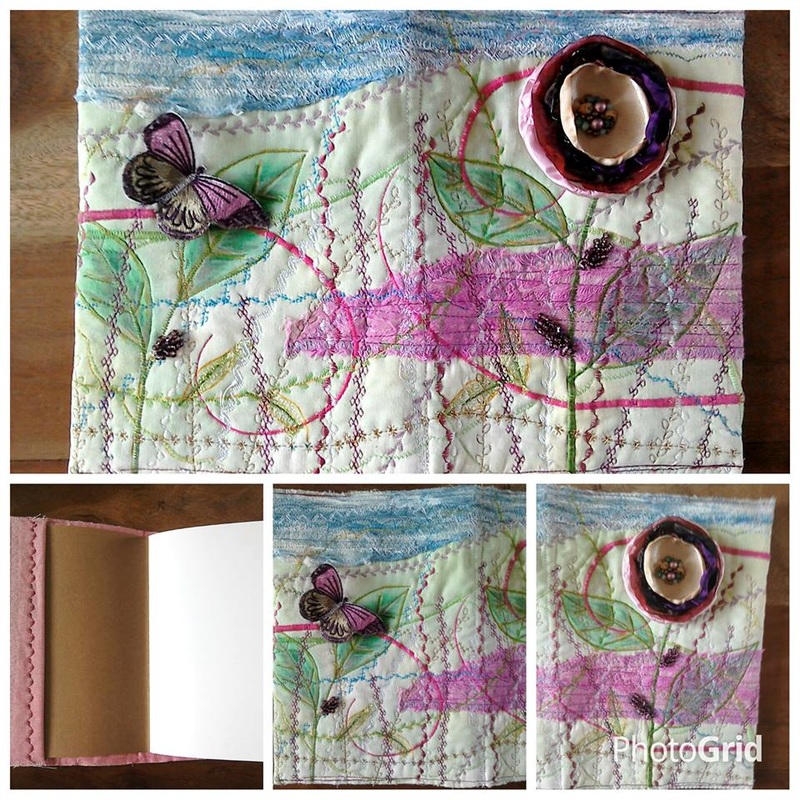
After the strips are nailed down, you can start embellishing. (You can also stop here, but that would be boring :-)) I usually do some straight line quilting in curvy lines, you could also do free motion. Then add more decorative stitching if you’d like, or attach some yarn by zig zagging over it. You can also add beads or buttons, or an applique. Keep the pattern handy to show where the front of the cover will land, and keep the edges where the flaps are free of any bulky embellishments. The edges can be dreadful, they are going to be trimmed off later, it's nice not to have to worry about them. :-)
|
|
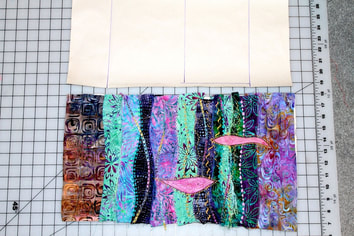
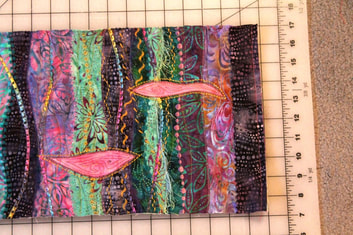
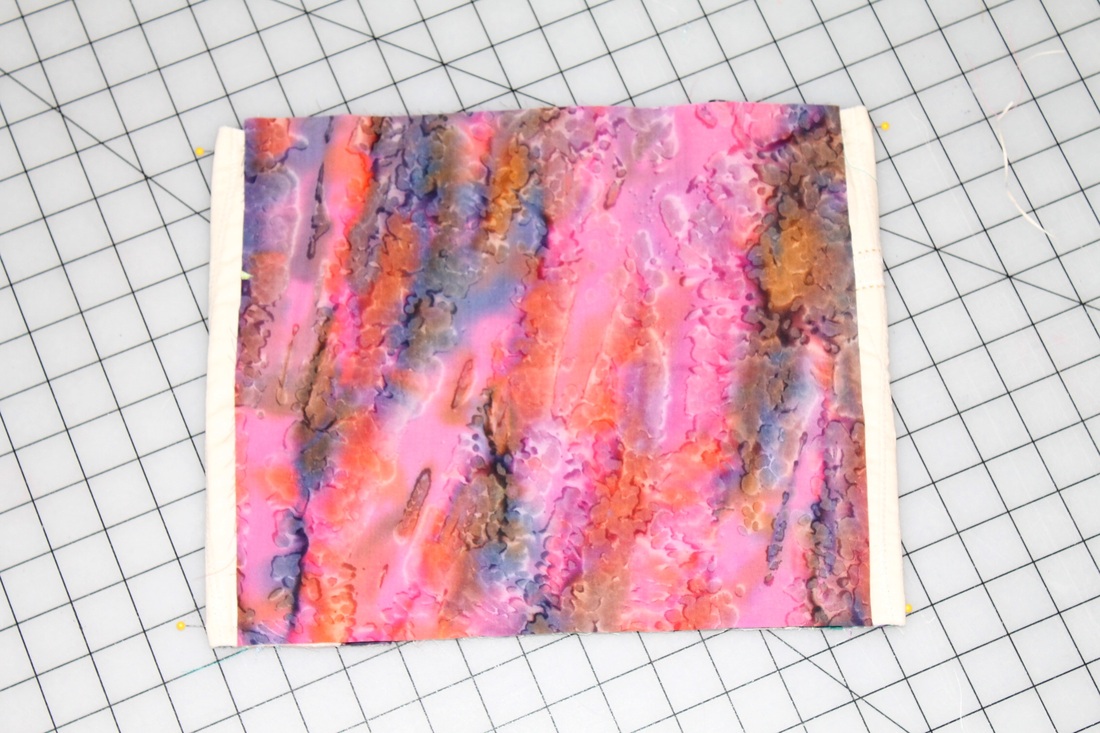
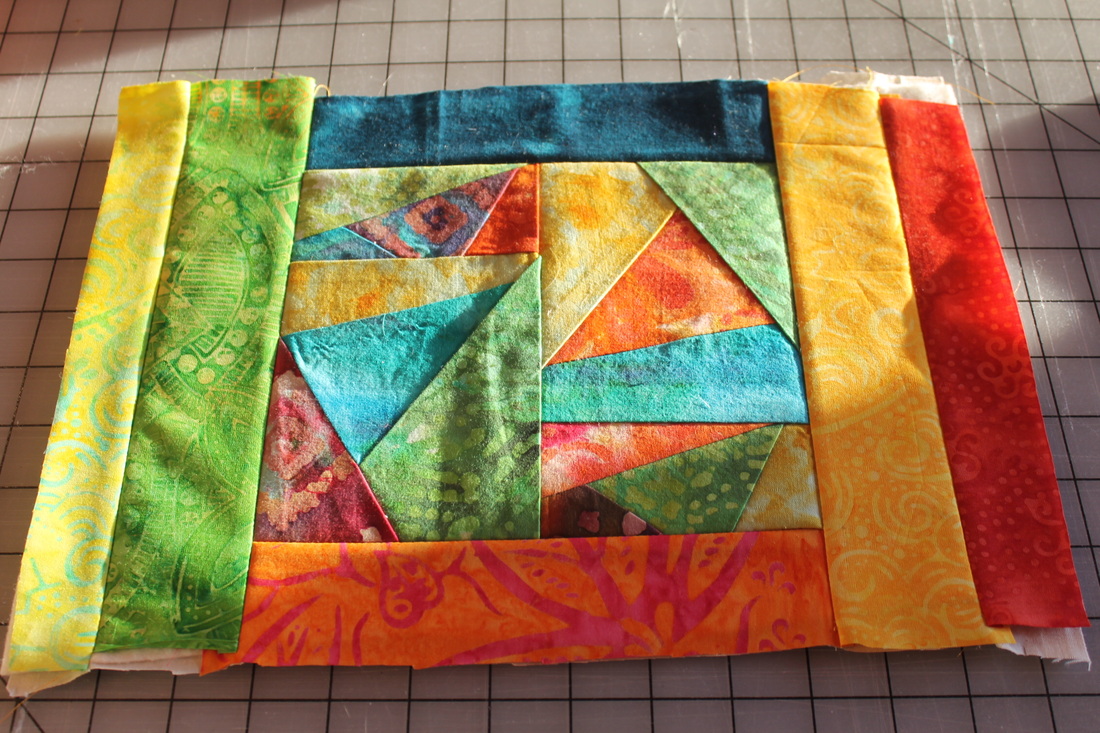
When you get it to where you like it, cut it down to size using your pattern. Cut 2 strips of fabric about 1 1/2 to 2 inches wide and as tall as your pattern for the binding on the ends. Lay your binding right side down as shown and stitch, using whatever seam allowance you’d like, I usually do 3/8 inch, about the edge of my presser foot. That determines how wide your binding looks. Wrap it around to the back and topstitch or stitch in the ditch from the front. There is no need to fold the back edge under again.
|
|
You're almost done! Well, unless you are following instructions and reading this through before you start. :-) The next step is to wrap the cover, inside out, around your book. I fold it in half first, and tuck the book in to get it centered, then fold the flaps in. Pin the flaps in place as shown.
|
|
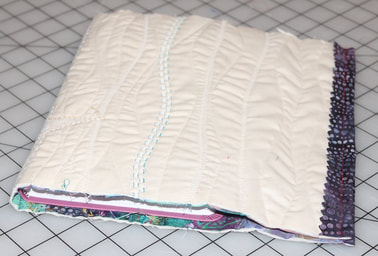
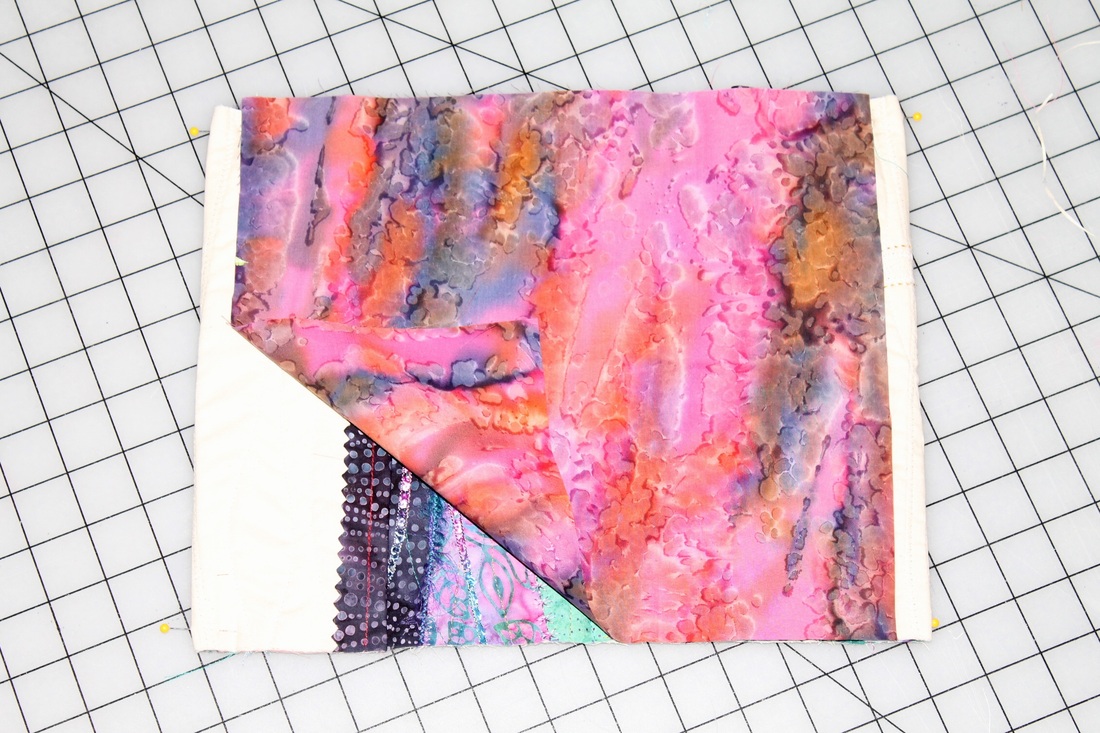
Take the book out, it should now look like the first picture below. Lay your lining piece on, face down, (mine is batik, same on both sides, sorry :-)) and about a half an inch from each edge. Stitch across the top and the bottom edges, using about 3/8 inch seam allowance, or about from your needle to the edge of your foot. I know it looks backwards, trust me :-)
|
|
|
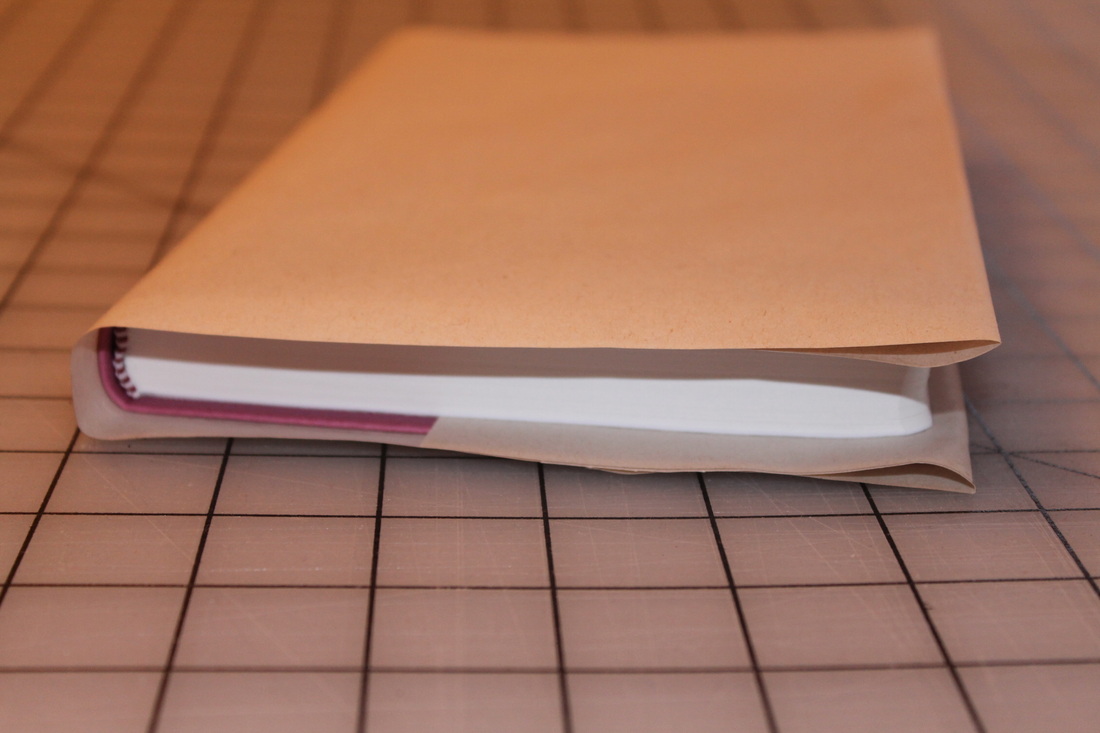
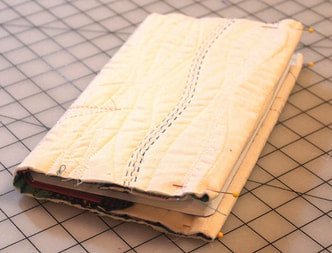
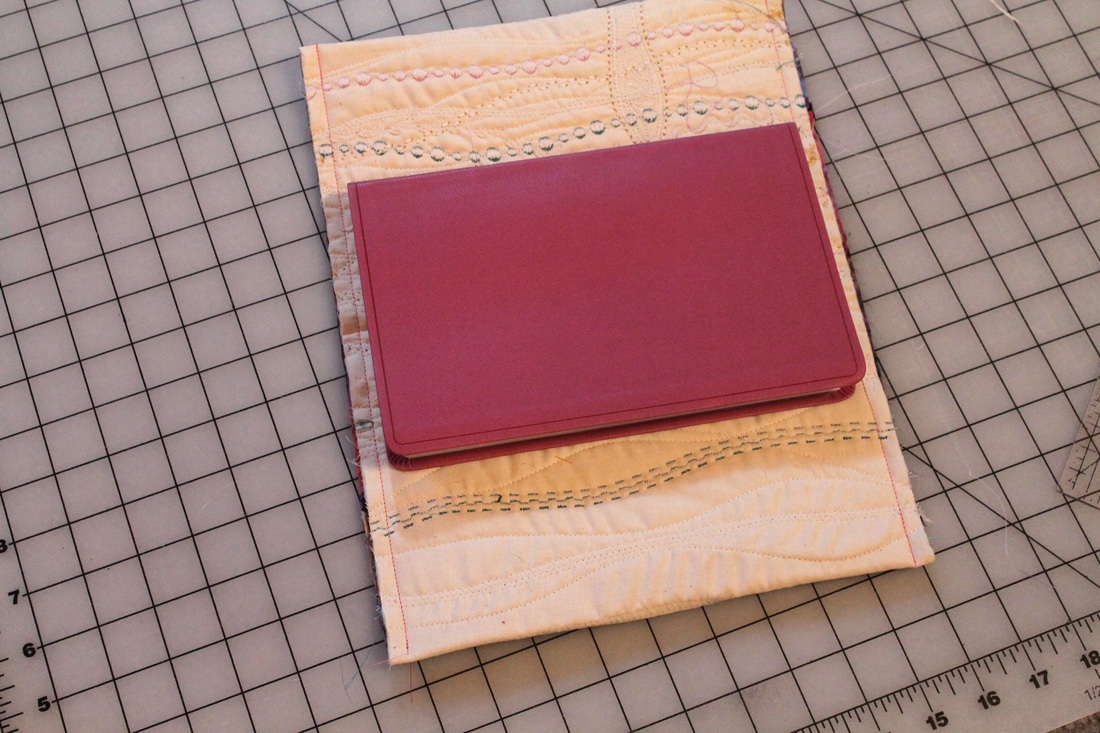
Before you turn it right side out, lay your book on it to make sure there is about 1/8 inch between the edge of the book and the stitching line on the top and the bottom, first picture below. If that looks good, clip your corners and turn right side out, first the lining, then the flaps. Now all it needs is a good pressing, making sure the lining folds in the right spot, and you're done!
|
|
|
|
|
|
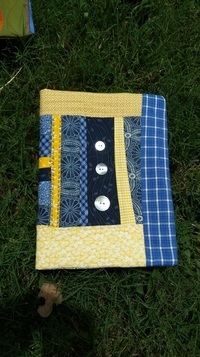
Alternate instructions for the more traditional looking cover, no art quilty techniques necessary :-) I started with an orphan quilt block, but it wasn't big enough to cover my batting. So I just added strips, stitching through the batting and muslin, until the batting was covered. I accidentally made my batting too narrow, so I "taped" some more on with fusible interfacing.... no problem :-) Then I did some straight line quilting. See directions above in black for the beginning and end instructions, cutting things out and finishing.
If you'd like, send a picture of your journal cover to me at [email protected], and I will put it on here. If you have a website or blog, I will post that as well. To see more of my patterns, click here! Check out my blog here. If you want to follow me, 'like' my facebook page, button in the sidebar on the blog. Happy sewing!
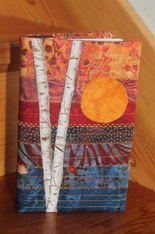
Send me your photo!
Sandra Todd 9-14
|
Helene Corbett 4-15, not necessarily using this tutorial, but gave me permission to post, so fun!
|
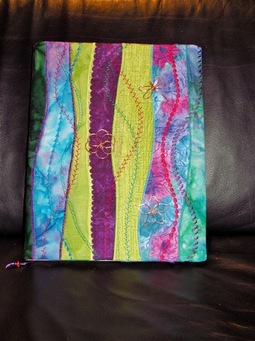
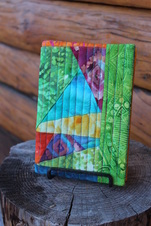
Rose Francis 7-15
|
Rose Francis 7-15
|
Rose Francis 7-15
|
Heather Wind-Mulder (with copper wire embellishments!)
|
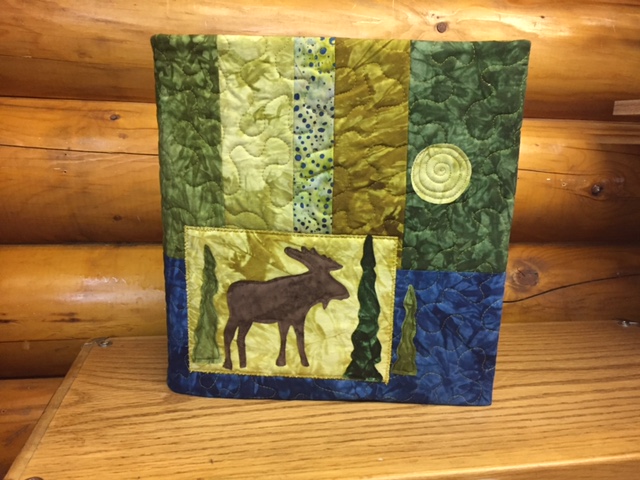
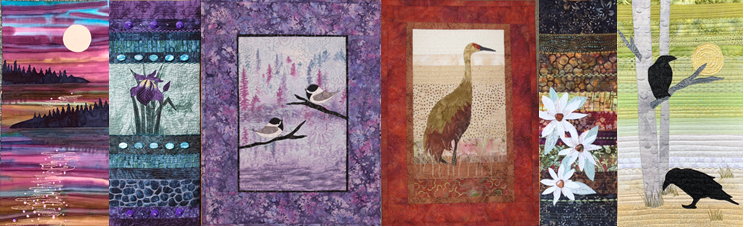
Larger format photo album cover, the same directions still work. I used scraps and applique patterns from the Moonlight Moose kits. Click the photo to see those.
|
|
|
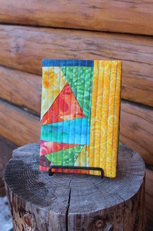
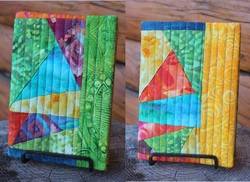
This is the same as the previous one, just take the book out and put it back in upside down to make it reversible.
|
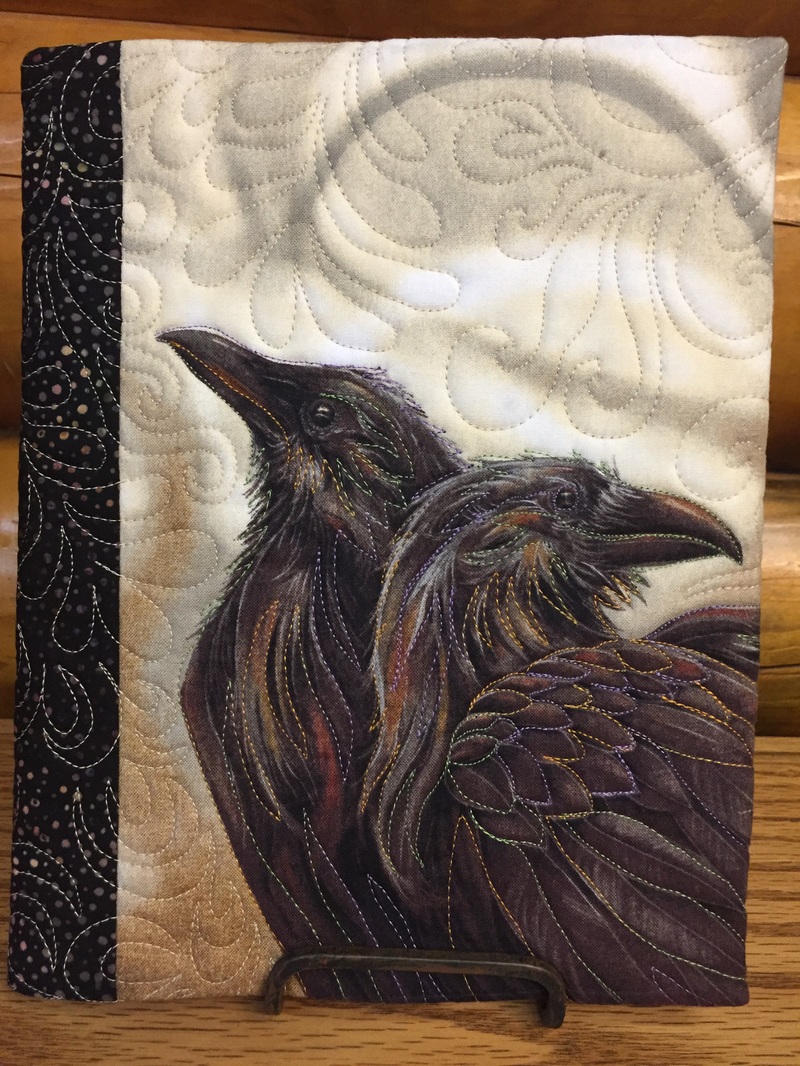
Using a pre-printed panel, this just has two pieces of fabric for the outside, then quilted. Just make sure the panel lands in your 'rectangle' you traced to show where the book front is!
|
|
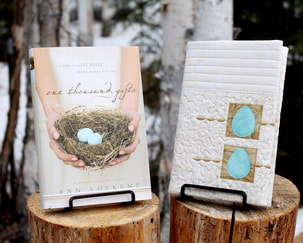
Fun project! A quilted journal cover specifically to match Ann Voskamp's book, One Thousand Gifts. This book has been life changing for me, I highly recommend it, and her blog, http://www.aholyexperience.com/!
For the most part, the instructions are the same as for the quilted book cover tutorial below. Click here for some images and instructions specific to this design. |

|
|