Inktense Frog Quilt Tutorial
|
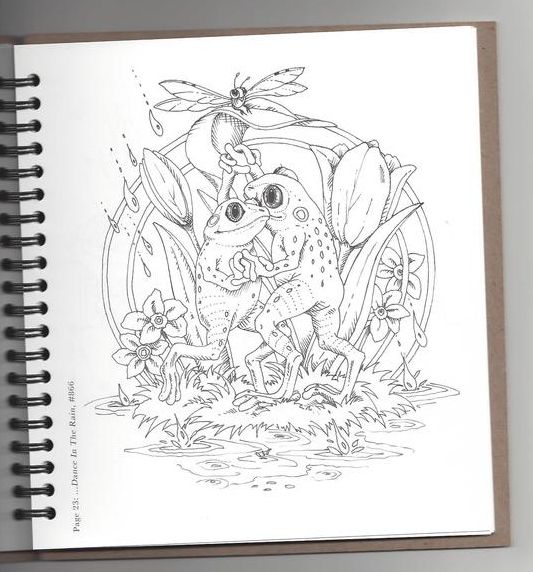
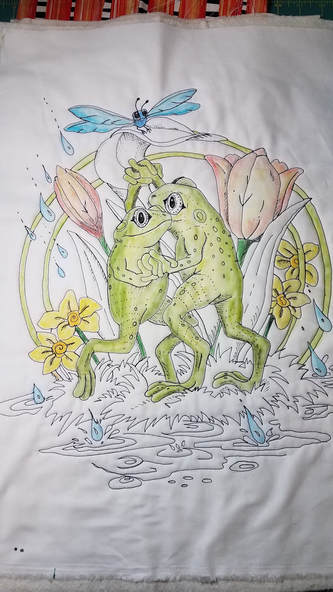
This was a really fun project, but then I think I say that about all of them! I found a great coloring book by Jody Bergsma, so I'm guessing I will do more of these. At the front of the book, she gives permission to use the images in many ways, as long as they are not sold. This was a gift for my mom, called Dancing in the Rain.
|
|
|
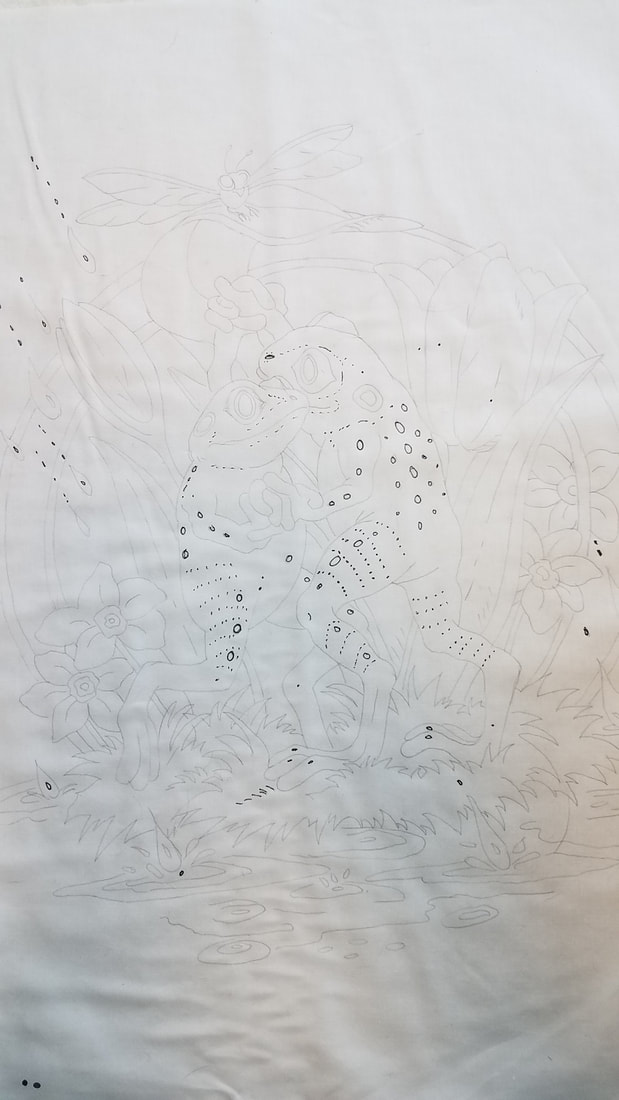
Step one: I started by scanning the coloring book page and enlarging it so that it fit on about 4 sheets of regular paper and printed it out. (I use Microsoft Publisher for that, just change the page size) Then I taped the 4 sheets together. My son rigged up a light box with a plastic container with a light in it, so I could trace it onto PFD (prepared for dyeing) fabric. You don't have to use that, any light colored fabric will work.
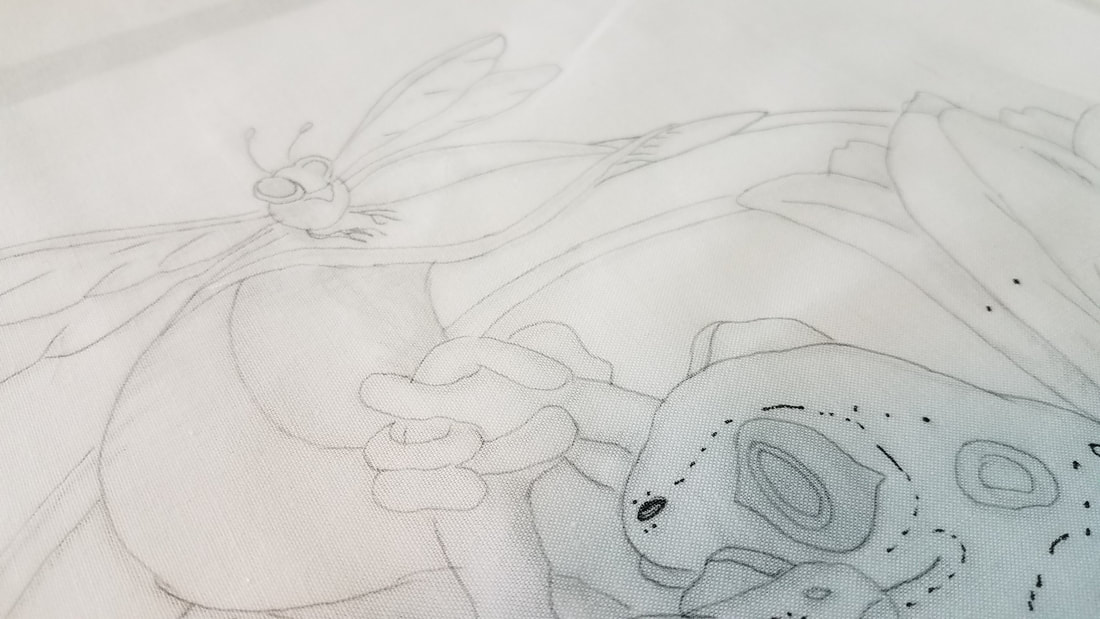
Step two: After tracing (I used a regular pencil, but you could use a fabric marking pencil or pen) I went over some small details with a Micron Pigma pen. Even I'm not crazy enough to stitch those tiny things!
Step two: After tracing (I used a regular pencil, but you could use a fabric marking pencil or pen) I went over some small details with a Micron Pigma pen. Even I'm not crazy enough to stitch those tiny things!
|
|
|
|
Step three: Stack the fabric with batting and muslin for a backing, it gives stability during stitching. You could also use your final backing, but I like to cover that mess up....
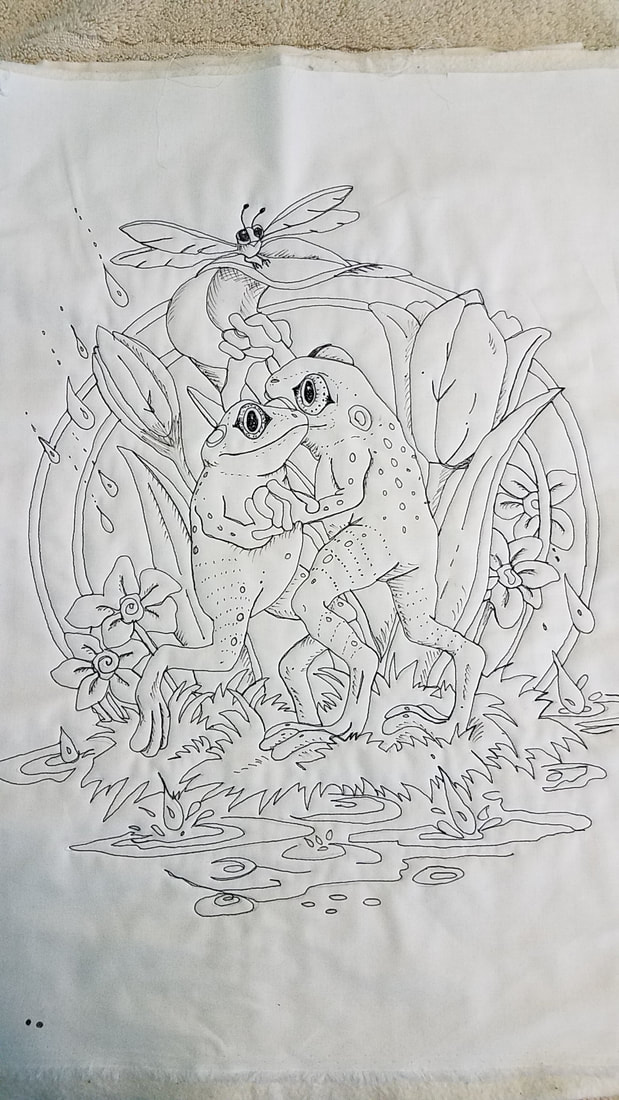
Step four: Start stitching! I used black thread for all of the outlines. Then I added more details with the pen. I didn't add all of the shading that the coloring book had, but that is up to you. I also don't leave tails and bury my threads. I just take small stitches at the beginning and ends and cut the thread. I also backtrack to get to a new spot as often as possible to avoid cutting the thread. |
|
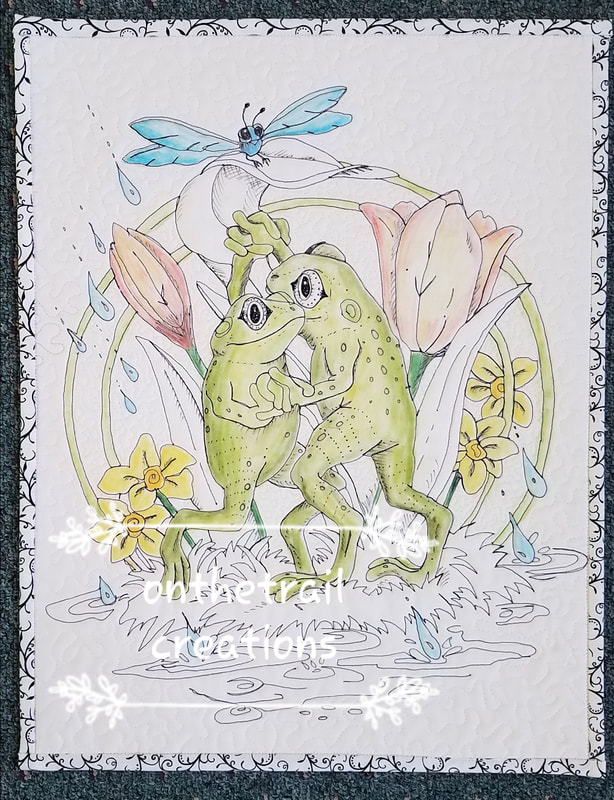
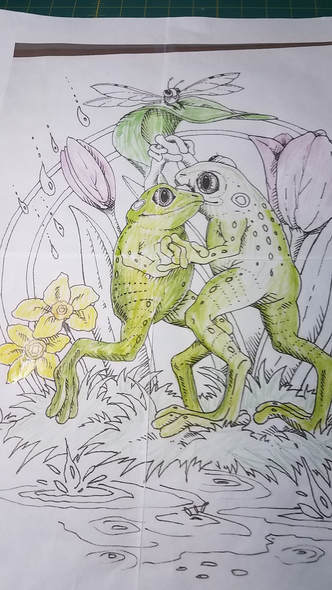
Step five: Now for the fun part! I started with my paper copy and did some practice coloring. It blends a bit easier on paper, so keep that in mind. Mostly, I colored lightly with a dry pencil directly on the paper (and then fabric), then used a Fantastix blender dipped in a small amount of fabric medium to blend it. Water will definitely cause it to bleed. Here is our Inktense tutorial for some general Inktense instructions!
|
|
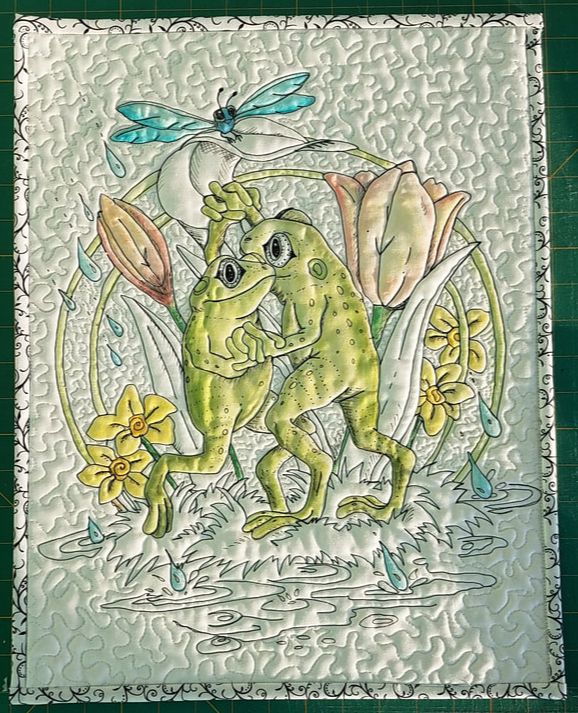
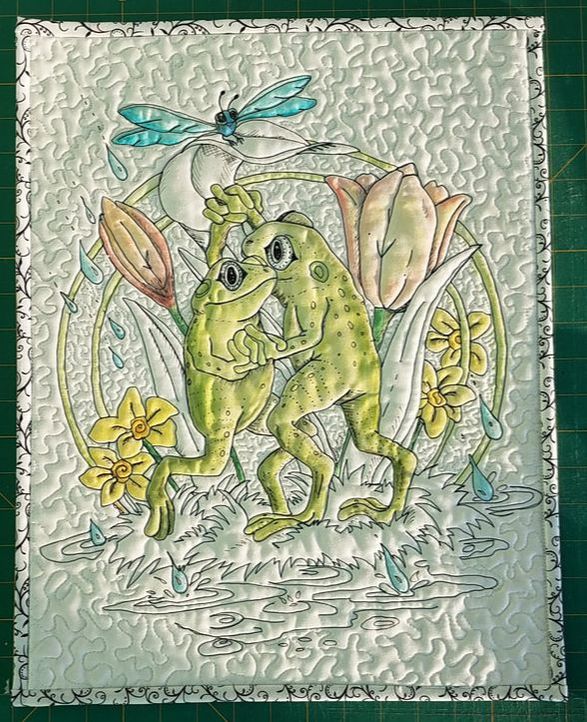
The first photo is on paper, the second on fabric. I used several different greens, and as you can see, I changed my mind about a few colors. I also decided not to color the whole thing, I thought in this case that would be too much green and the frogs might disappear, even if they were different greens.
|
|
Step six: After all the painting was done and dry, I did some free motion stippling with white thread in the background and larger white spaces. This gets rid of the wrinkles, and also causes the colored parts to pop up a bit!
Step seven: Then I added a new backing with spray adhesive, put binding on it, and it was done! (If it was bigger I would do some stitching through the backing also, but on this small of a project you can get away with not...) This lighting (below) shows the final quilting better than the first one at the top of the page. I hope you will try it!
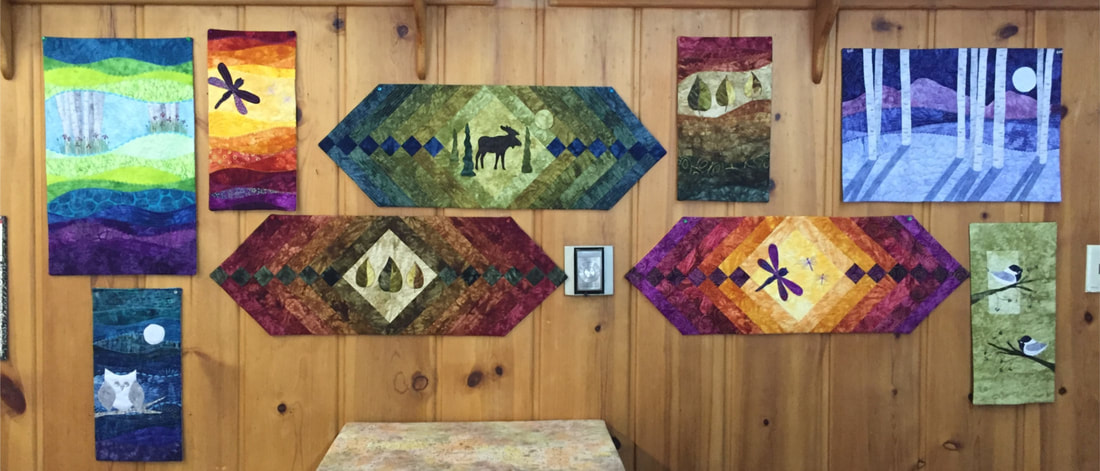
We also have lots more tutorials, (tutorials tab) and some fun kits and patterns, click the photo to the right to see all of those! (Not all pictured)
Step seven: Then I added a new backing with spray adhesive, put binding on it, and it was done! (If it was bigger I would do some stitching through the backing also, but on this small of a project you can get away with not...) This lighting (below) shows the final quilting better than the first one at the top of the page. I hope you will try it!
We also have lots more tutorials, (tutorials tab) and some fun kits and patterns, click the photo to the right to see all of those! (Not all pictured)
|
|