|
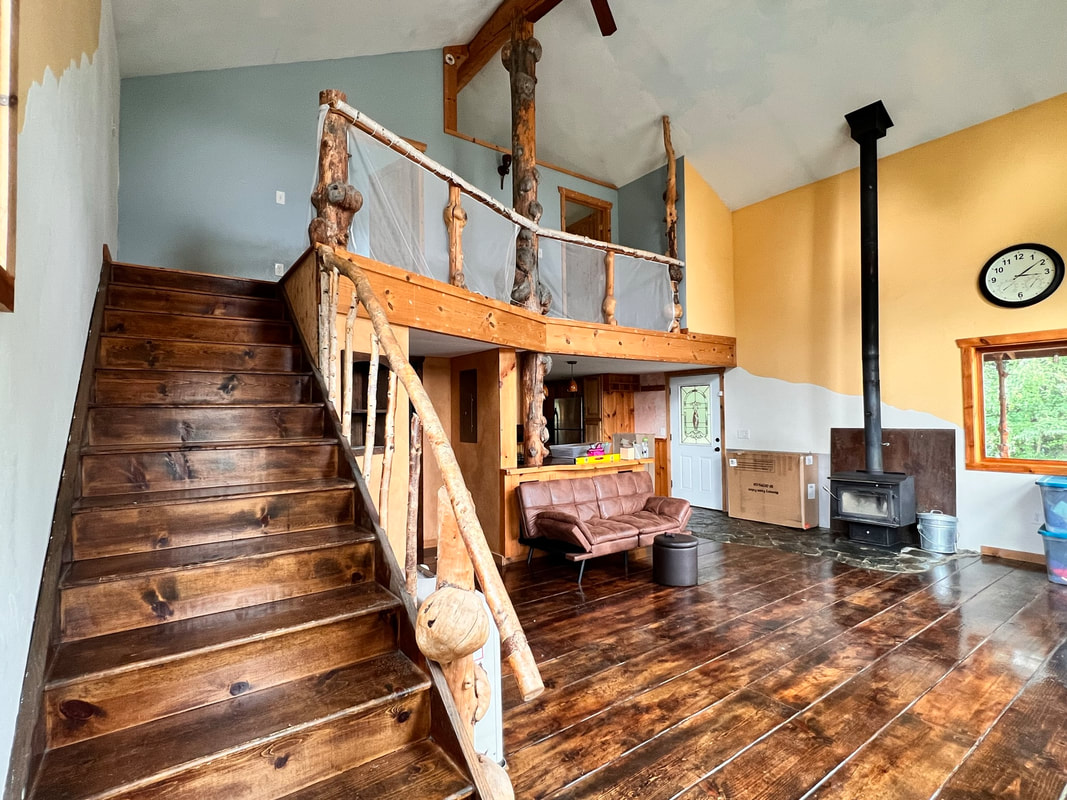
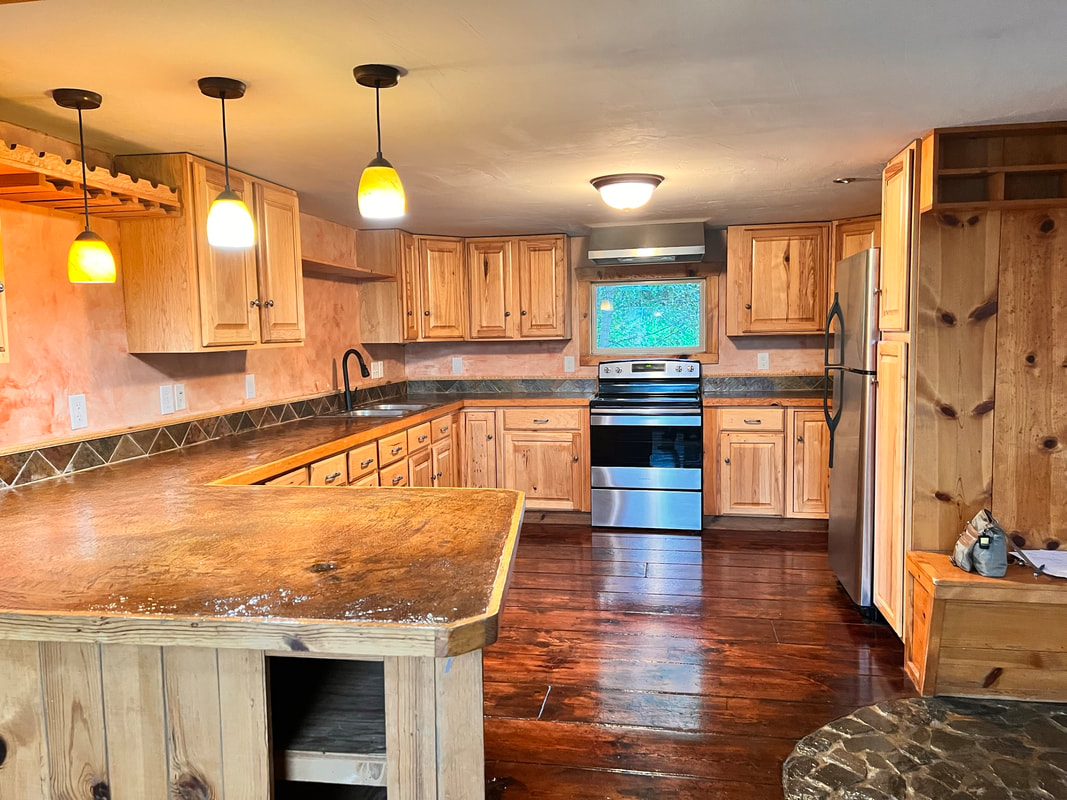
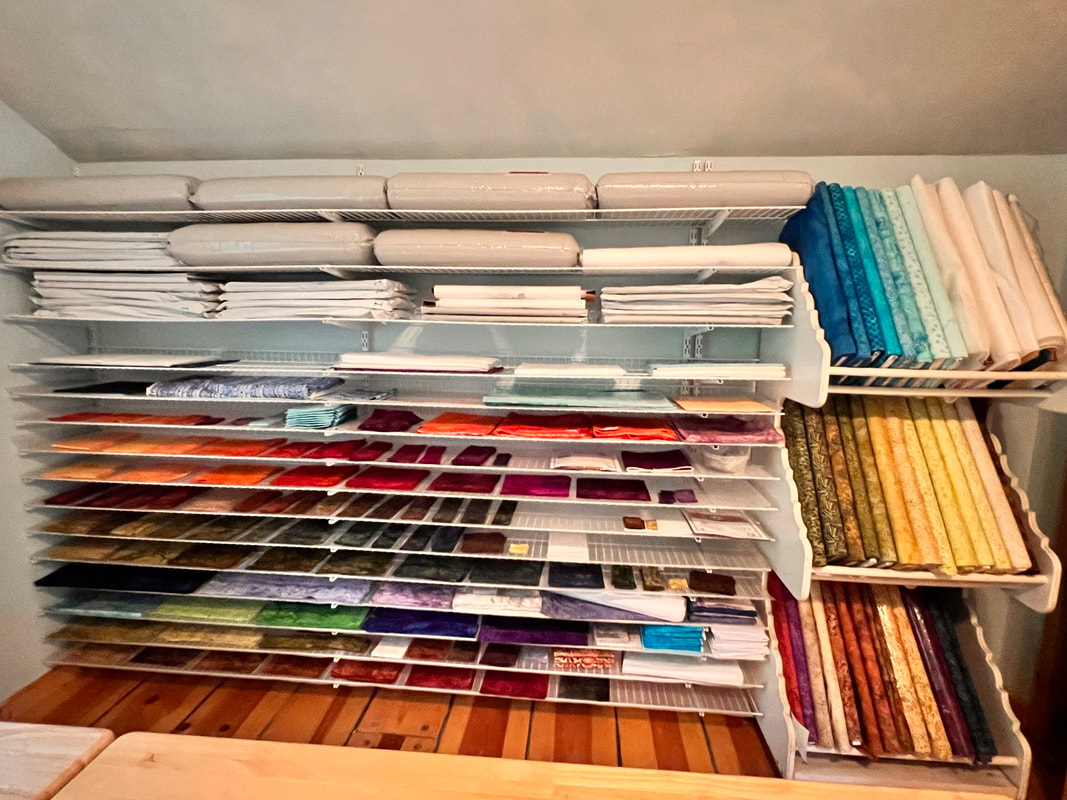
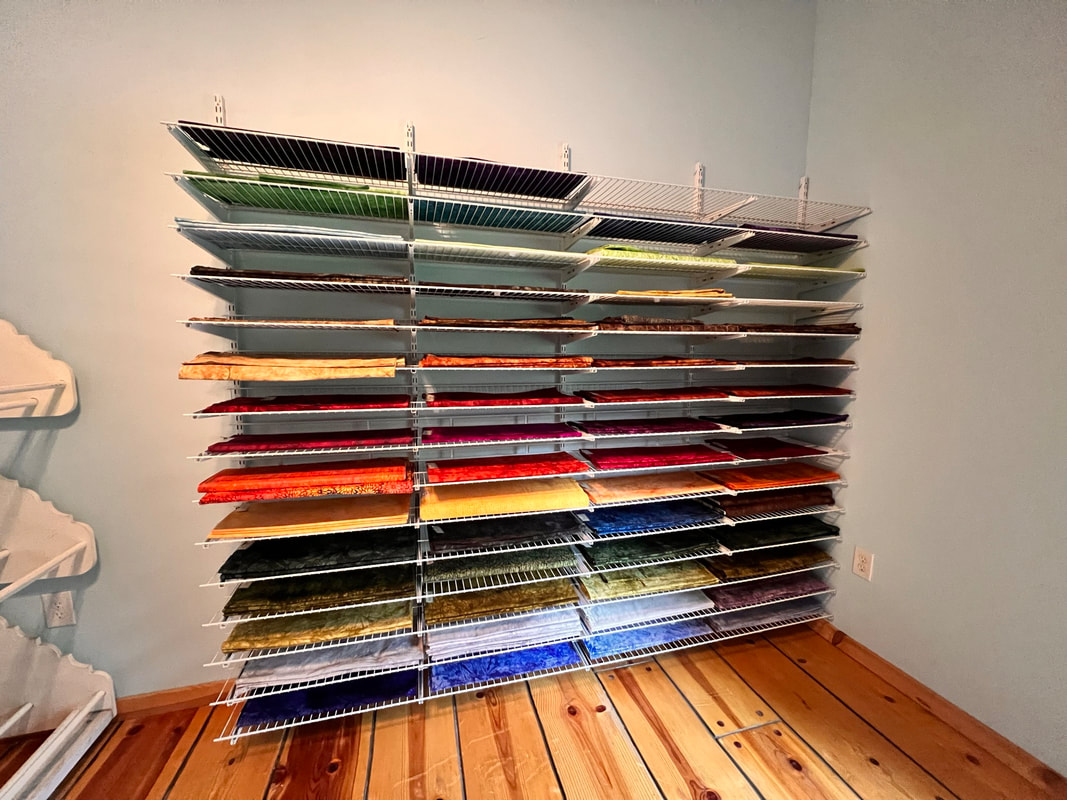
We are definitely having a busy week of moving things into the new studio, both from the room in town and our house. Setting up shelves, figuring out where everything will go.... We got the kit packing up first so there would not be interruptions in orders! I'm also finally nailing down some details for some events this fall this fall. I'd like to have an open house, an in person class or two, and an online but live version of my Simple Secrets class. Here's the plan so far: Simple Secrets for Starting Art Quilting, Live Version! When: October 9-November 17, Six weeks. What: Each week will have a module/topic/lessons. And each week there will be at least one live Zoom meeting for questions or for me to explain things live. (And hopefully recorded for anyone who can't be there.) I'm busy thinking up some fun surprises to include in this version! And I'm excited to try this format after having only self paced classes so far. More details and registration coming soon. Because it will involve so much of my time, the price will be higher than the self paced version. However, if you are in that one, you will get the entire cost of it deducted from the new one! And, I'm planning a physical box of goodies to go with it! New Studio Open House For local people, I'd love to have you come and see my new spot! When: October 6 (First Friday), 5-8 pm In person classes No details for this yet, stay tuned! But I'd love to start doing these regularly. If you are local and have a few friends who would like to do either free motion or wall hangings, (or something else😂) let me know! I probably will only have room for 3-4 people, the first class will be an experiment... Here are a few pictures of my new place. It's coming together, so I will post more when it's done! Happy sewing, Beret
0 Comments
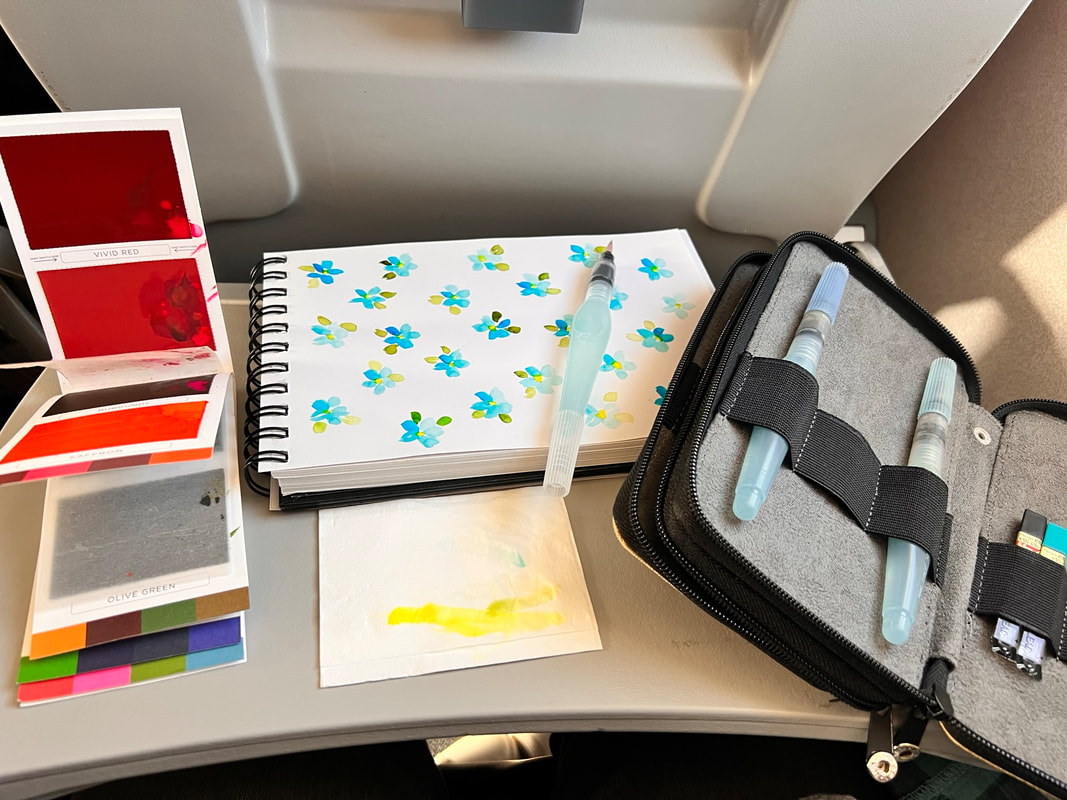
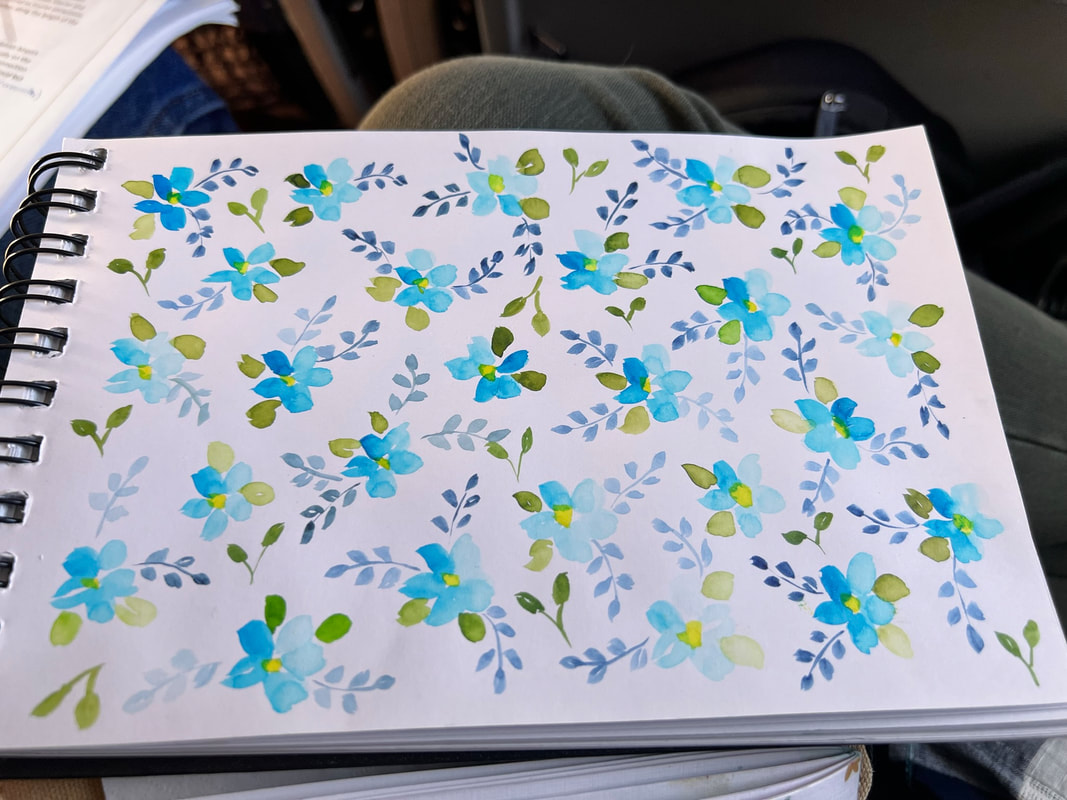
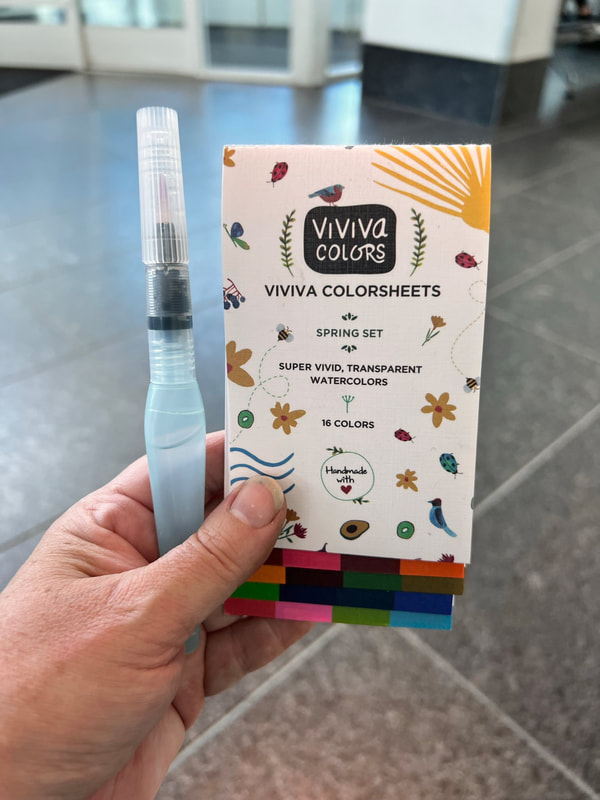
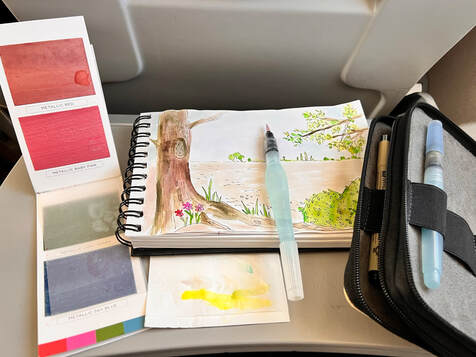
Well... I'm finally back from my trip, and ready to get back into things! I hope you enjoyed my little mini series on really simple ways to start art quilting, and of course I hope you tried something in there. I'm all about finding ways for you to be successful in your art quilting journey. I have found that in the classes I have been taking recently, I do better with more of a schedule, so I'm still working on a more guided version of my Simple Secrets for Starting Art Quilting class. Details to come, as I came back to a bunch of quilt shop orders, a quick trip to Anchorage, and my news, A NEW STUDIO!! Yep, after almost exactly three long years, I have space again! It's a cute cabin just down the road from our house, so I will get forced exercise out of the deal too, ha! I will share photos soon, might end up on Instagram first, so look there too! We haven't even started moving in yet, but we'll get started this weekend! On our trip, I was able to go to the venue where I will be doing my solo art show next summer, in my home town of Grand Marais, MN. It's a beautiful log building on the shore of Lake Superior, so fun! And now I'm very motivated to start making the bazillion art quilts I need to have for that, so I'll probably show some of them here, and maybe even try to make enough to sell a few before then, which I rarely do! But I have so many ideas now 😃 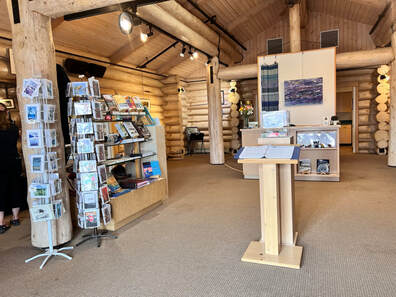 And now for the tip: I always bring some art supplies when I travel. (that's not the tip🤪) I started doing more watercolor painting a few years ago, and it's so portable, so that and a sketchbook are usually what I choose. There are so many portable watercolor sets, but I think I found one of the most, as it's made of paper 😀 But, I'm not that good at painting, so like art quilting, I have found some ways to 'cheat' (it's not cheating!). This time it was using repetition, which, incidentally, is one of the reasons quilters love fabric. Most fabric has a repeating design, and our brains happen to love that! So, if you can only paint a little kindergarten-y flower, just make a whole bunch of them and it's great!
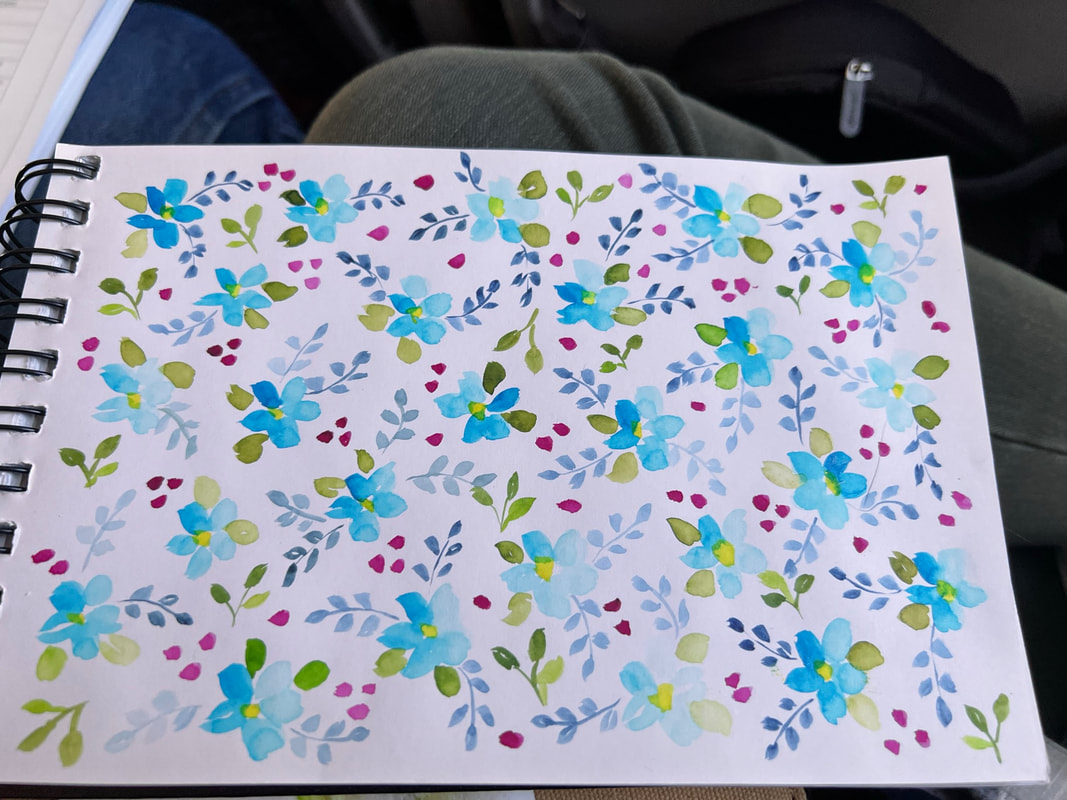
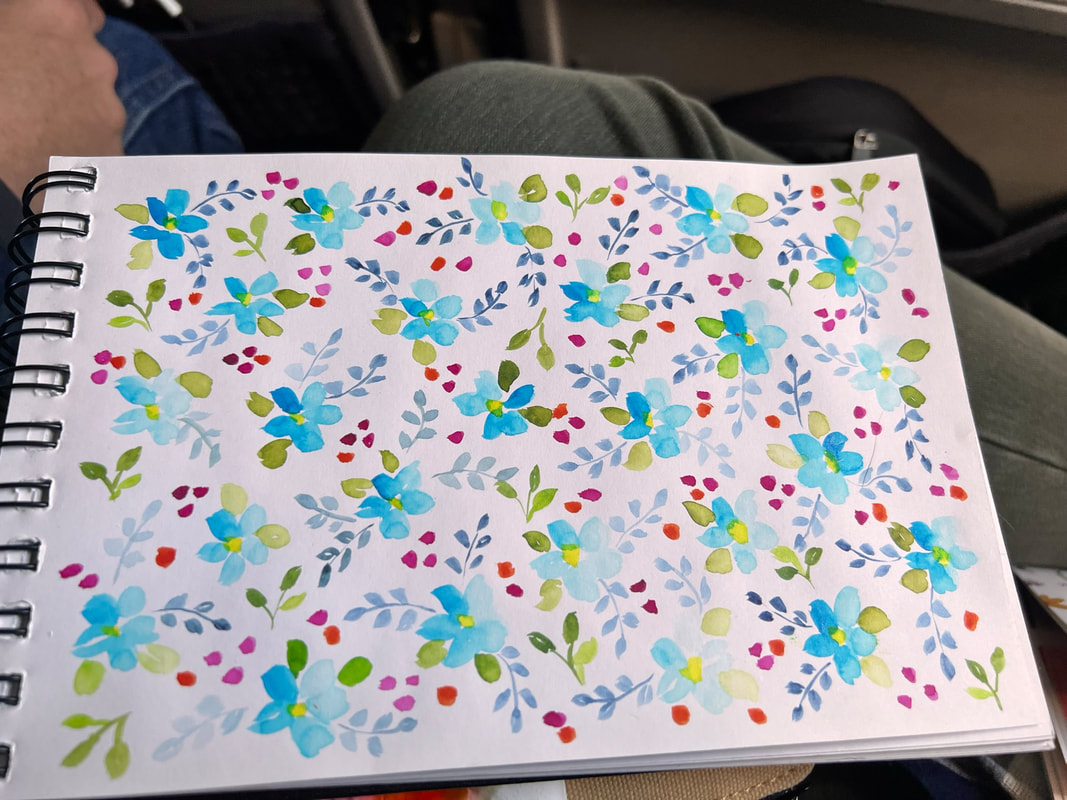
Then I filled in the background with some more repeated simple shapes, and at the end it looks like something 😂 Here is a photo of the outside of the paint I found, and also how much of the water I used from my water brush for this whole painting. Water brushes are the best way to make painting portable! Bonus tip: I was watching Winnie the Pooh with my granddaughter, and I noticed the background artwork was loose watercolors with minimal details added with black pen. The bushes and branches had a few actual leaf shapes, but mostly just little marks, a few leaves gave the impression of all leaves. I love finding these little tips (still looking for that perfect word/phrase, that implies discovery or surprise as well as a concept, hmm...) I couldn't have painted this before I saw that, and I have gobs of those for art quilting too. Tips to suddenly make something seem more doable! If you made it this far, stay tuned for more class info, and also photos of my new space! Happy sewing! Beret
So far in this series, we have covered backgrounds, foregrounds, and inspiration. I’ve given you the tip of the iceberg for each of those; there is lots more! I’m always looking for simple ways to help people get over the hurdle of getting started. I definitely like the more advanced techniques too, still gathering ideas for a Simple Secrets class Part Two! Things like creating a pattern from a photo, or using Inktense, the possibilities are endless! But my biggest thing is still getting people over the hurdles of getting started. Color can definitely be one of those hurdles, right? My kits are popular partly because the fabrics are already chosen for you. (Most are available as pattern only though, if you want to try your own! Still need to work on the collage ones. But they also have loooots of different fabrics, so that’s another reason kits are handy! 😅) I could probably do a whole class just on color. I love color theory, and learning principles that make it easier to choose them. For this email though, I’m just going to give you a couple of tricks secrets hacks (still need a new word… you guys had some good ideas, but I feel like the perfect one is still out there…🤪) to simplify the process! If you look closely at almost anything I’ve made, you will notice that I like to use gradations of color and value, sometimes both. That basically means that I don’t put anything next to anything else that isn’t similar, except for the main subject; that needs contrast. But for backgrounds, there usually is never a big jump between fabrics, but more of a smooth transition. But even simpler than that is to use either a monochromatic color scheme, or black and white plus a pop of color. All three of these are beginner friendly ways of choosing colors. And they can still look great! All of the ideas I’m giving you are ways to make art quilting easier, but that doesn’t mean not as good. They can still be quite effective. The vast majority of my hundreds of art quilts use these basic principles, including all of the ones that have been in magazines 😊 Here are a few examples of the three methods I mentioned: gradation of color and/or value, monochromatic (shades of one color), and black and white with a pop of another color. I hope that helps give you some confidence to choose the colors for your next project! Remember, small ones are a great way to try something with little risk of time and materials, although it’s never wasted no matter what. And again, this is just the tip of the iceberg! I’m still working on a plan for a more guided version of my Simple Secrets for Starting Art Quilting class. I’m trying to decide between a concentrated 6 ish weeks or spreading it out over a whole year, with maybe one lesson, a live Zoom, and a project per month. Any opinions? Still traveling, looking forward to getting back to work soon! (And I’m so thankful I can say that! Mondays are seriously my favorite day of the week, I love this a lot 😂) Happy sewing! Beret
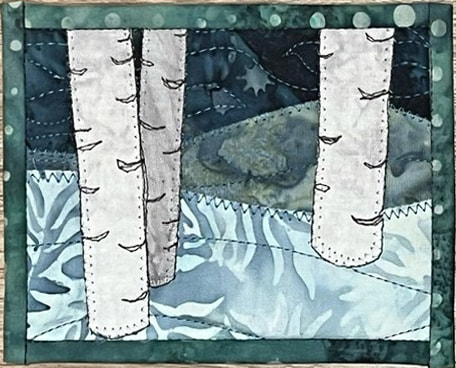
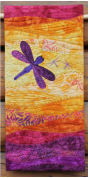
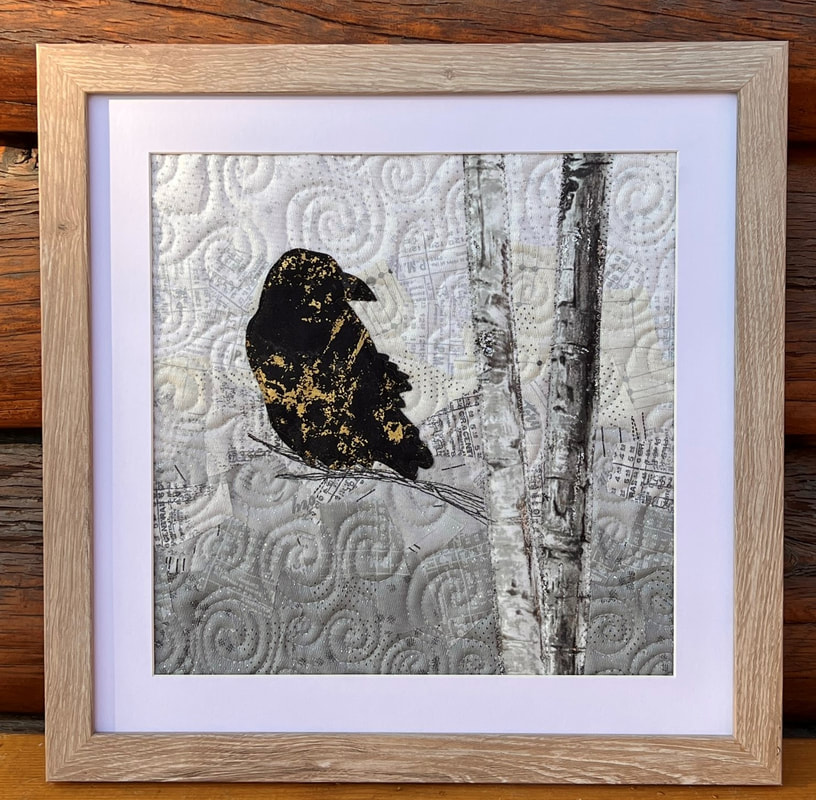
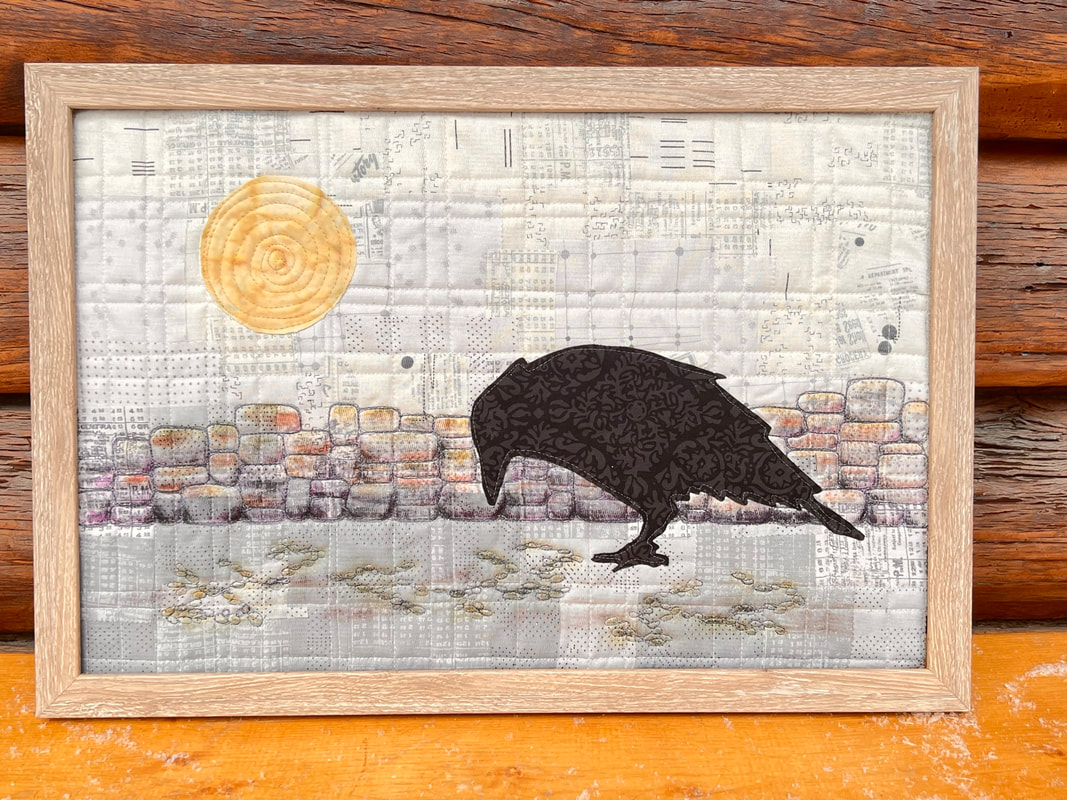
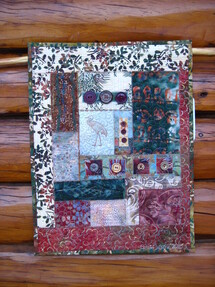
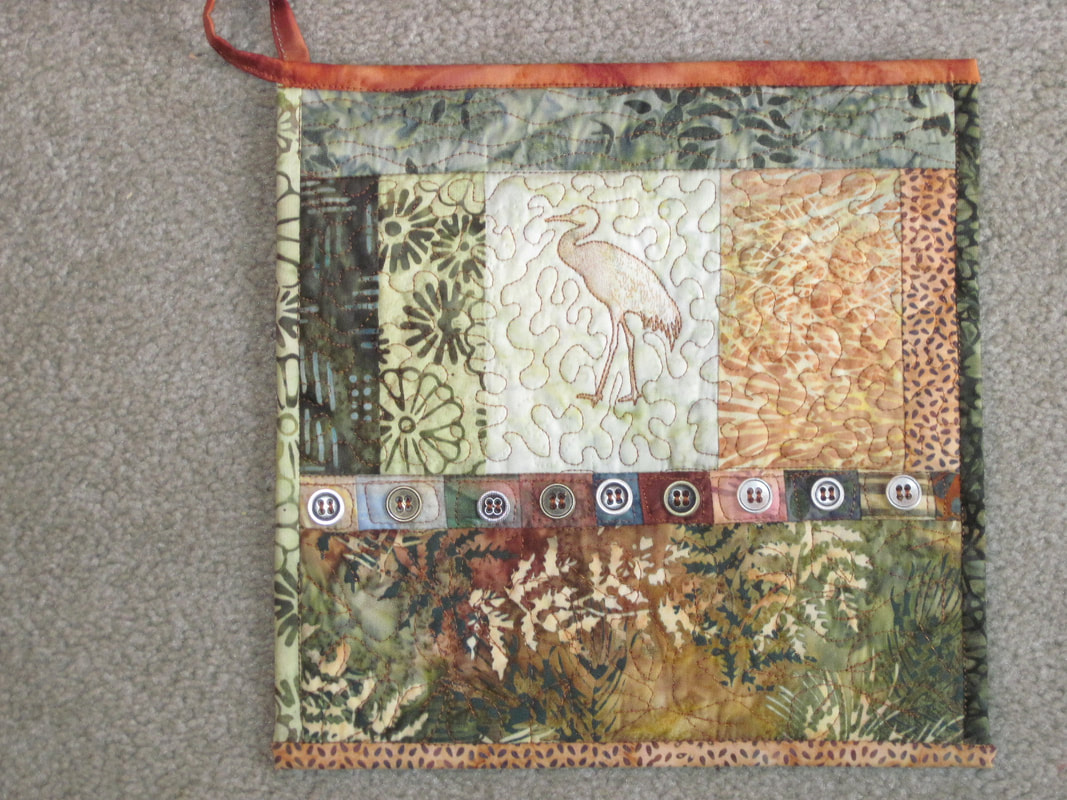
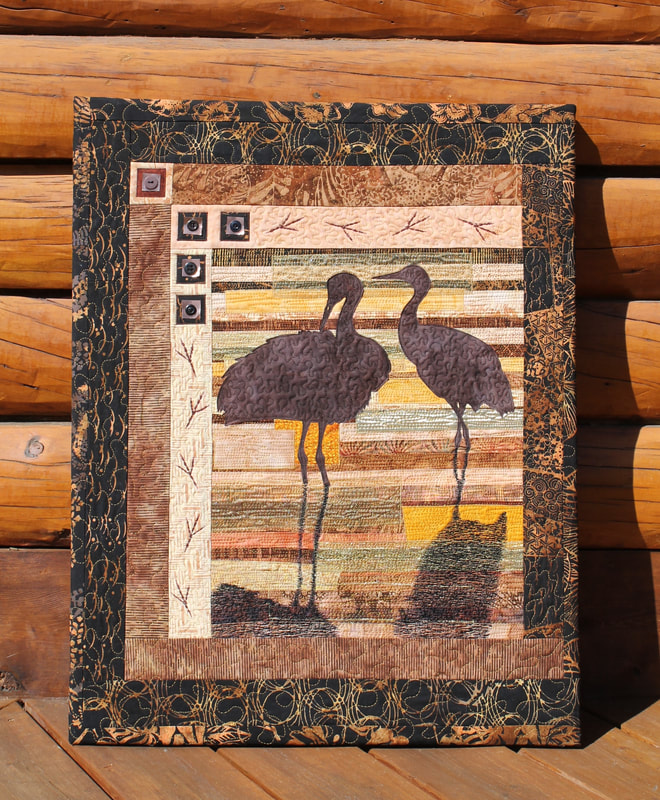
Ok, it's time for me to tell you about one of my biggest secret weapons: borders. If you have a traditional quilting background, you are probably quite familiar with borders, but maybe not the way I do them 😂 Borders are another kind of 'cheater' method for making art quilts look more complicated than they are. My borders are rarely symmetrical. I often have different colors or sizes on different sides of my quilts. But if you use enough borders, which are more familiar for you traditional quilters, it minimizes the space you have to fill with the 'art' part. How's this for a cheater art quilt? A rubber stamp, about 4 inches tall, (by local Fairbanks artist Maggie Hallam), the rest is basically borders. 😂 (terrible photo though, wow...😭) And a potholder made in a similar way. (Mostly decorative, thanks to all the buttons. They’re metal, and pretty flat though) The crane quilt has asymmetrical borders, with decorations added to some.
Sometimes there's a bit of overlap between what is considered a border and a background, but it doesn't really matter what it's called. It's just another fairly easy way to add size and interest to an otherwise very simple quilt. As usual, this is just the tip of the iceberg for borders, there are lots of other ways to be creative with them! Just another thing for you to consider if you are designing one. I hope you are beginning to see that once you start breaking down the parts, they're not as complicated as they might appear at first.
Next week we'll talk a bit about color, another area that can be either really fun, or really challenging! Happy sewing, Beret |
Beret Nelson's On The Trail Creations Blog Page
Beret NelsonI am a homeschooling mom of three fun kids, who are now old enough that I have a little time to pursue my passion for sewing! After several years of making quilted cards and art quilts, I'm now designing kits and patterns. Some of my designs have been in Keepsake Quilting and Art Quilting Studios magazine! I teach classes online, and am starting to do more traveling and teaching. I also have many tutorials, including some on YouTube. I am blessed to live in Alaska where I am surrounded by the inspiration provided by the beauty of God's creation! Free mini art quilt workshop for new subscribers!
"Like" my facebook page!I am also an independent distributor for Plexus supplements, since I credit them with enabling me to be healthy enough to do all these fun things! They target blood sugar and gut health, which are at the root of so many modern health issues. E-mail me for more info, or check out my website! I am as passionate about getting people healthy as I am about getting people creating :-)
[email protected] or https://plexusworldwide.com/beretnelson  Archives
June 2024
|


 RSS Feed