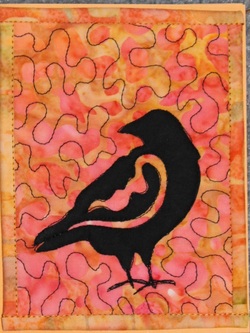
 Before I start my tutorial, a couple of people have asked me lately where to get the Transfer Artist Paper (see blog post from 1/23/13) so I will put a link again here: LesleyRiley.com. One person's e-mail didn't work, hopefully they will find this:-) Ok...making a silk screen out of organza is really quite simple. (I got this idea from a Quilting Arts magazine, issue 53, Oct/Nov 2011) Explaining it, however, is a bit difficult, as the parts involved are transparent, and therefore hard to photograph...The first time I saw it, it took me a minute to get my head around it, but then it was so simple. It works best for small projects, as it doesn't involve adding a frame. All you need to make the screen is iron-on vinyl (I use Heat-n-Bond) and organza, it doesn't have to be silk organza. First, cut out a square of the vinyl a couple of inches bigger than your design on all sides. The iron-on vinyl comes with a paper backing. Trace your design (more on choosing a design at the end) onto this paper, in the center of your square. It does not have to be in reverse. Next, and this is REALLY important, as I found out when I skipped it the first time:-), take a Sharpie marker and scribble all over the VINYL side of your design, making sure you go beyond all edges. (see picture below) If you don't do this, your design will be unbelieveably invisible when you are done:-) Next, use a utility knife or small scissors or razor blade to cut your design out of the vinyl. Unlike a regular stencil, it can have some unconnected parts, more on that later. When it is all cut out, peel the paper backing off, and lay it carefully (so it stays flat) onto a piece of organza, tacky side down. I start with a piece of organza a bit bigger than my vinyl. Trim the edges a bit so they are flush, and you are done! You could stabilize it with duct tape around the edges, but I don't find this necessary on small screens. To use the screen: I use silk screen ink made for fabric, by Speedball, I get it at Michael's or order online. All you do is take the fabric you want to print on and lay it on a slightly padded surface. I use a cheap vinyl tablecloth folded a time or two, which also protects my work surface. Lay your screen vinyl side down on the fabric, and put a small bead of ink across the top, above your design. (I use a plastic spoon for this) Holding the screen firmly with one hand, use a credit card to drag the ink across your design. Carefully lift the screen off the fabric. Usually you can get several prints before you have to wash the screen. Check after each one to make sure no ink crept under an edge somewhere. If it did, you need to wash the screen before doing another print. To wash, just gently rub it under warm water. If any edges of vinyl peel up, let it dry completely and iron again. I have used mine lots of times without having to do this. Choosing a design: When I first made the raven screen, it was a solid shape without the wing in the center. The larger expanse was giving me trouble with ink leaking under the edges, so I added the wing to try to fix that. It not only fixed it, but it is much nicer besides:-) If you have a separate shape like that, you can just iron it on separately after the main part is done. My raven feet are small, so I do those with stitching, but I probably could have put them on the screen too. When you design your screen, you just have to remember that whatever parts you remove from the vinyl, that is where the ink will go. You can make either positive or negative prints, depending on what you cut out and what you leave. You can do a couple of samples with simple shapes to experiment. Tune in next time for how to do a print with more than one color:-) Feel free to ask if you have any questions! 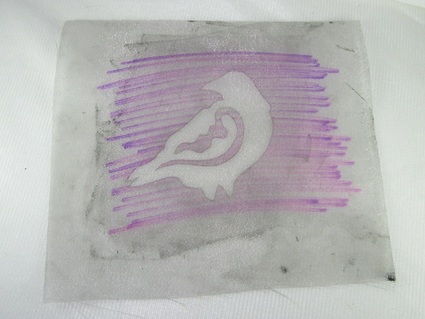
0 Comments
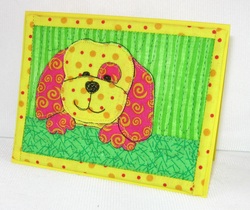 I asked my son for a card idea for today, and this is it. Very cute, but a bit tedious to make, I don't think I'll be doing it again on this scale, maybe a mini quilt....:-)
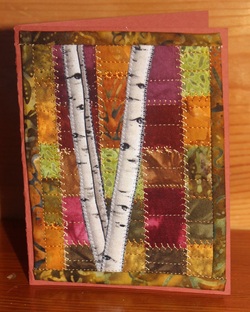 At first glance, it looks like I pieced together a bazillion little squares to make this card. But actually, it was made with the trimmings from my last two sets of cards (I usually make 4-6 of a kind at once) so I call it a bonus card. (One of the cards I used the trimmings from was in yesterday's blog) Sometimes I plan from the beginning to make them this way, it's a really easy way to get lots of pieces in the background with no regular seams at all. My Wildflower I card pattern has the instructions for making the background.
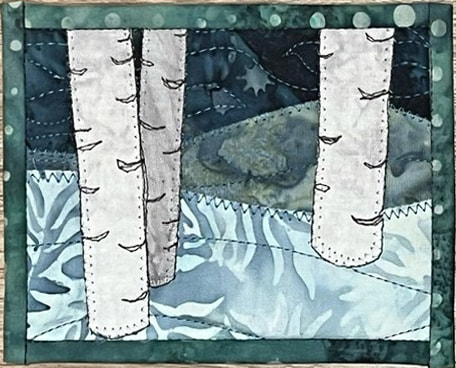
The birch trees are simply cut from birch tree fabric and stitched on with a narrow zig zag stitch. I normally buy fabric in 1/4 yard pieces, since my projects are small and I can have a bigger variety that way, but I bought several yards of this one. I'm very glad I did, because it has since been discontinued. My quilt shop is promising new birch tree fabric this spring! But there are plenty of other tree fabrics out there that you could use for this project. 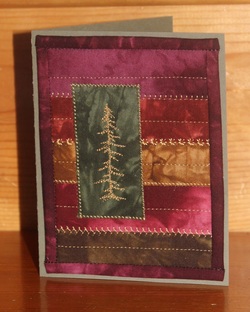 I have a limited amount of time to spend on my sewing while I still have three kids at home who come first:-) So I've been trying to balance spending time on my website and blog, and still be making cards for the summer season, which will be here before I know it...This week I've settled into a routine of making a set of cards and putting a picture on my blog. For now, that's a little bit of both, although I would like to get some more patterns up soon too!
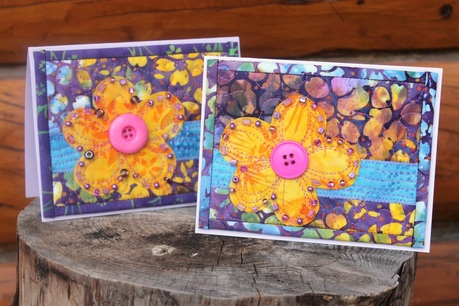
This card is made with Starr Fabrics again, they are so nice! 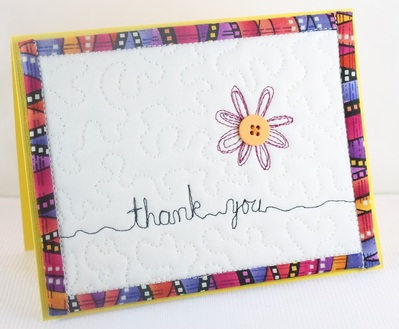 I'm experimenting with putting text on cards, something I haven't done much of. Transfer Artist Paper (see blog post from 1/23/13) is a good way to do that (be sure to reverse the image before printing), but this card was simple enough to do with free motion stitching. It's more forgiving if you try to make it look squiggly:-)
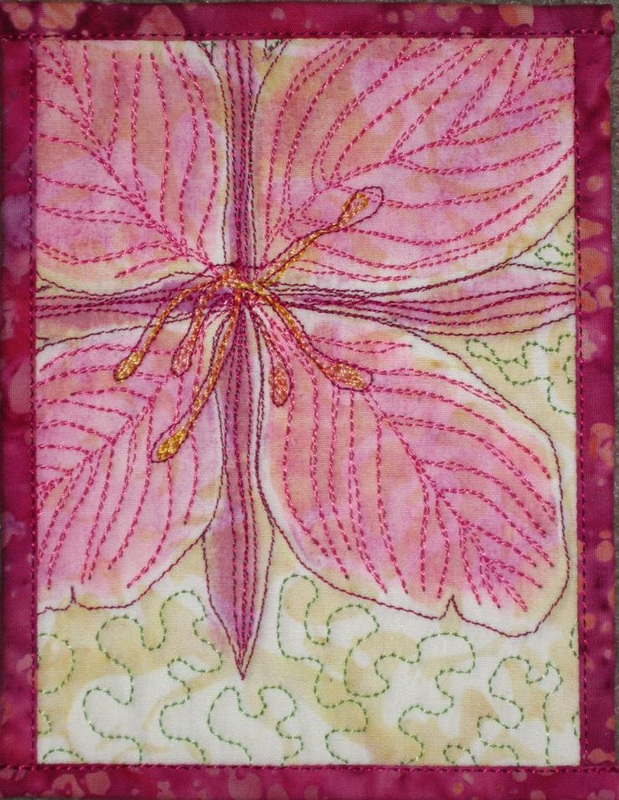
 The beauty of quilting is that I can have sunny flowers even on a dark and getting colder day in January:-)
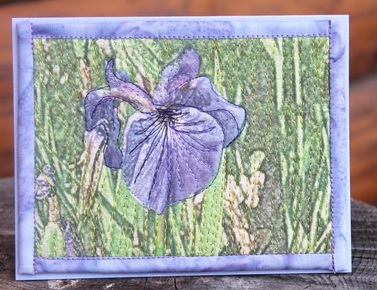 Just starting to experiment with Transfer Artist Paper, it's quite fun! It is transfer paper that you print on your printer (or you can even draw on it) then iron it onto fabric. It is less "plasticky" than other iron-on transfer products, and can be used on many other materials besides fabric. I tried several different fabrics, and they all worked. The brightest print will be on white PFD (prepared for dyeing) fabric, of course.
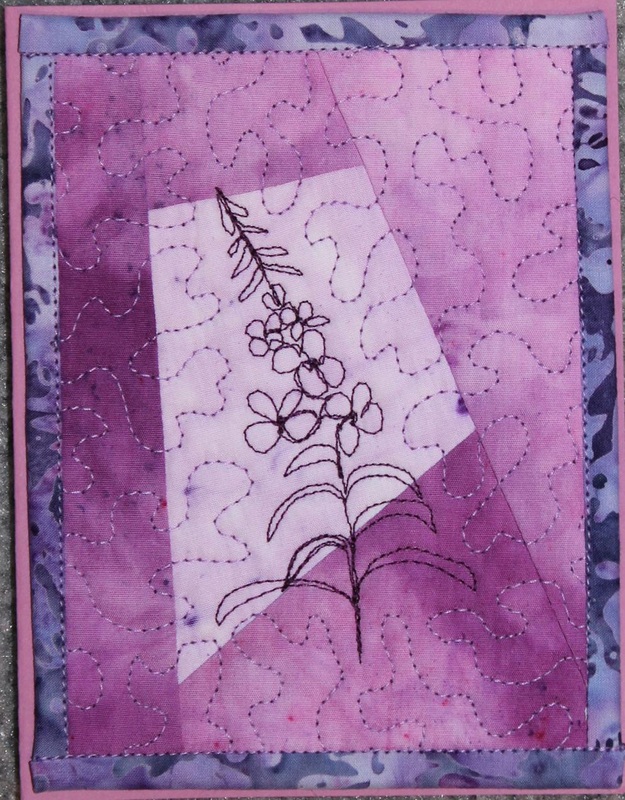
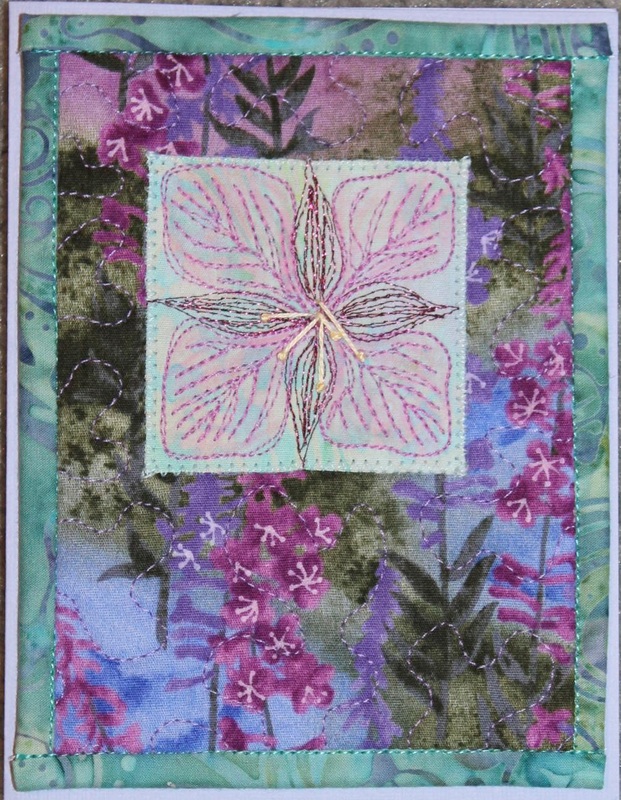
I first altered the photo (my own photo-copyright free!) in Photoshop to make it look a bit more like a painting. I then printed it on the TAP and transferred it to my fabric. Next, I added batting and interfacing behind the print, and free motion stitched through all of that. I'm looking forward to playing with it some more! 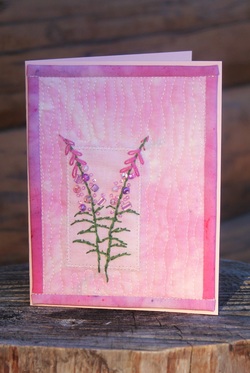 Every year at this time, the challenge is on for me to design fireweed cards that I like AND that I like to make. It's been a bit of a problem every year, but I may have come closer with this one. It is hand embroidery and beadwork, which is a bit tedious, but I can do it in my comfy chair in the evenings when I might otherwise be doing nothing...:-) The fabric is my own hand dyes too. I'll put some previous years' attempts below. The first one is thread sketching and watercolor pastels. The second one is inspired by Candy Glendening's fun projects. I asked for her permission to copy her style, which she gave me, but then I found it was harder to do than I anticipated, I still like hers better:-) The single fireweed blossom cards aren't always recognized as fireweed, so that's a bit of a problem with them...I guess I've never had one left over though!
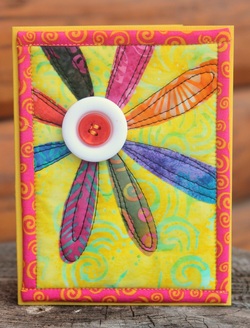
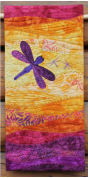
 My challenge to myself lately is to work on color selection and contrast. I don't think I quite got it this time...I'm sure it would help if I could let go of my obsession with batiks...they often can look muddy.
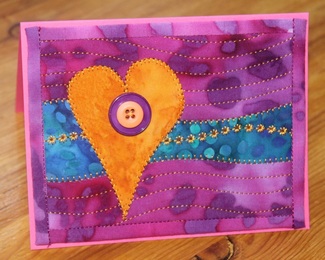 My next quilted Valentine card, I think fuschia and tangerine is my new favorite color combination:-)
|
Beret Nelson's On The Trail Creations Blog Page
Beret NelsonI am a homeschooling mom of three fun kids, who are now old enough that I have a little time to pursue my passion for sewing! After several years of making quilted cards and art quilts, I'm now designing kits and patterns. Some of my designs have been in Keepsake Quilting and Art Quilting Studios magazine! I teach classes online, and am starting to do more traveling and teaching. I also have many tutorials, including some on YouTube. I am blessed to live in Alaska where I am surrounded by the inspiration provided by the beauty of God's creation! Free mini art quilt workshop for new subscribers!
"Like" my facebook page!I am also an independent distributor for Plexus supplements, since I credit them with enabling me to be healthy enough to do all these fun things! They target blood sugar and gut health, which are at the root of so many modern health issues. E-mail me for more info, or check out my website! I am as passionate about getting people healthy as I am about getting people creating :-)
[email protected] or https://plexusworldwide.com/beretnelson  Archives
June 2024
|
 RSS Feed