|
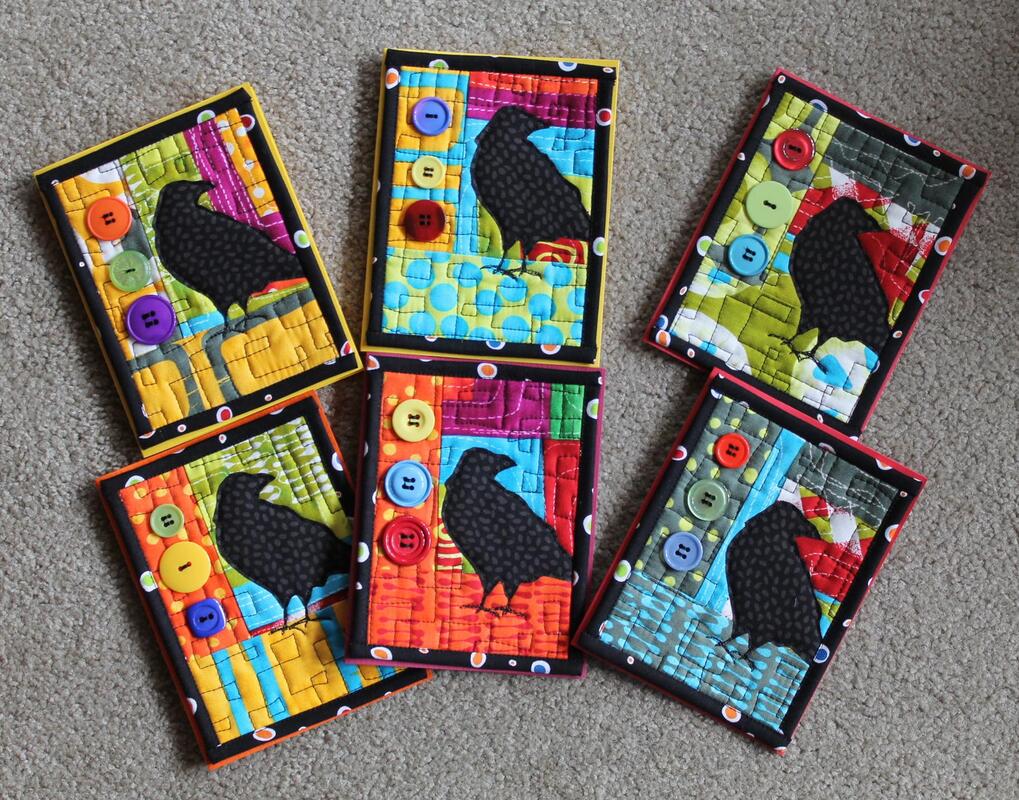
Inchies, or in my case, up to two inchies, are a really fun way to try almost any art medium, but of course I love them for art quilty techniques! I thought I had lost this tutorial, and some photos are still missing, but I found most of them! (I take so many photos every day, it's hard to keep them organized! I'm gradually getting better, but I need an assistant 😂) There are endless ways to make these, but here is how I did this batch. It's a great way to try some of the techniques in my 40 Ways to Use Your Free Motion Foot series! First, I took a piece of Peltex heavy interfacing, with fusible glue on one side. I covered the glue side with strips of fabric, fused them down, and added a little stitching. This doesn’t end up showing much, so might be optional. Then, I covered that with a little wool or silk roving, may have been a little of both. I covered the whole thing with a water soluble stabilizer and added more quilting. Make sure it’s catching a lot of the roving. I then washed the stabilizer off, and added some decorative stitching. This could also be done before you wash off the stabilizer. I cut it into pieces, around 1 ½ to two inches. This is where the photos end for this batch, but I found some from a couple of other batches to help show how I use them!
The first of those didn’t even have the wool or need the stabilizer. Just fabric strips and stitching, and then cut into smaller squares. The second photo shows some beads added, and how I would use them on a card. I did a triple zig zag stitch around the edges of both batches. These are a great way to try some techniques on a very small scale! An 8” square piece to start with would get you 16 ‘two inchies’, or 64 actual inchies! A very fun and easy way to try some fun stitches and materials. Let me know if you try it! Happy sewing, Beret
8 Comments
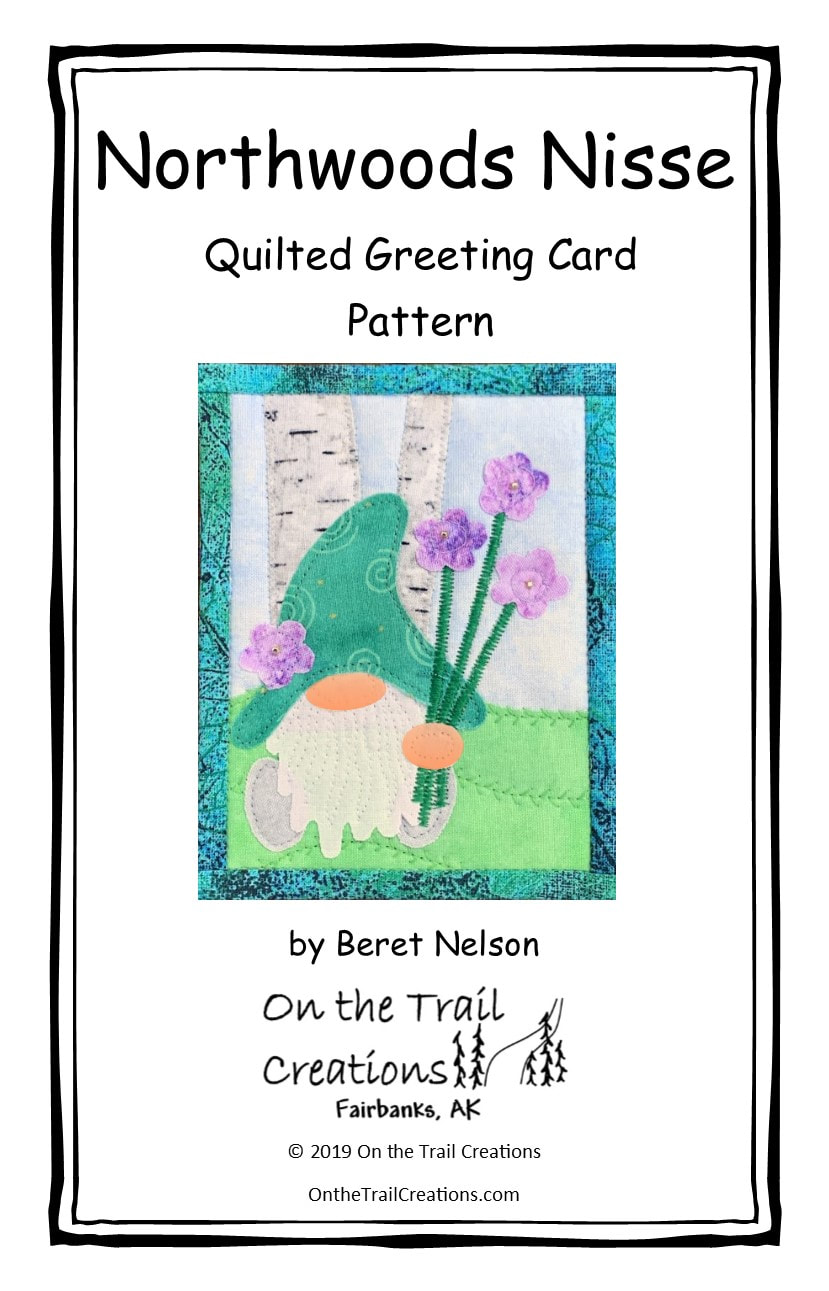
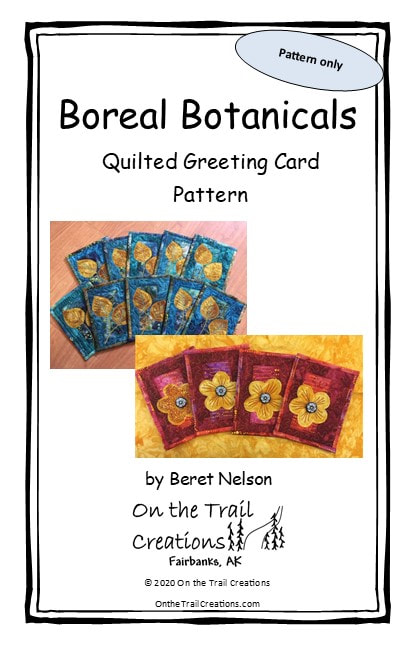
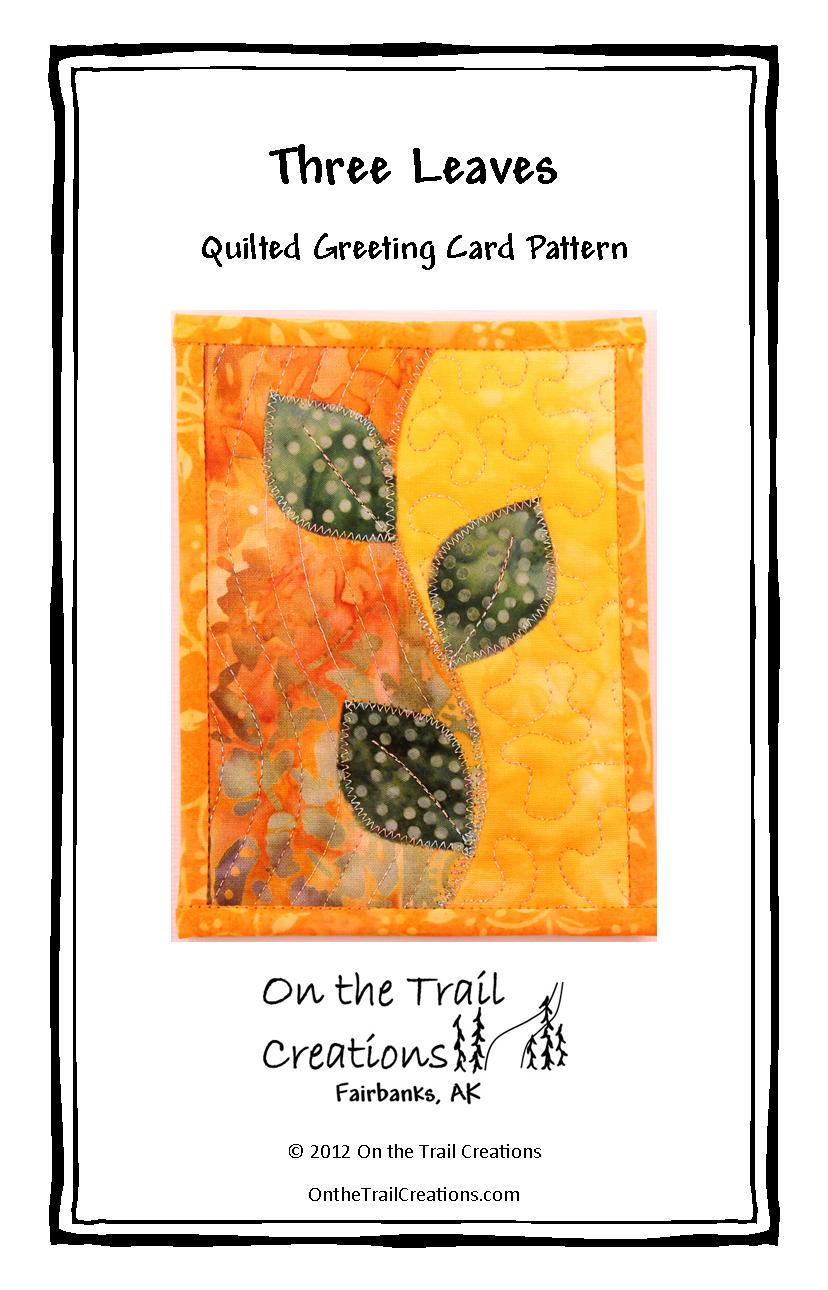
One of the reasons I started making quilted cards in the first place is because I could see digital communication starting to take over! It's still so much more fun to receive snail mail, right? And of course, a hand made card is even better! Depending on where you live, a kit may or may not get there in time, but many of my patterns are also available as instant downloads, (all of the designs pictured below are, plus more!) so those can be anywhere right away 😀 I love having all three options (digital, print, and kit) whenever possible. Here are a few of my designs that might make good Mother's Day cards. Or, if you have done my free workshop, you can design your own!
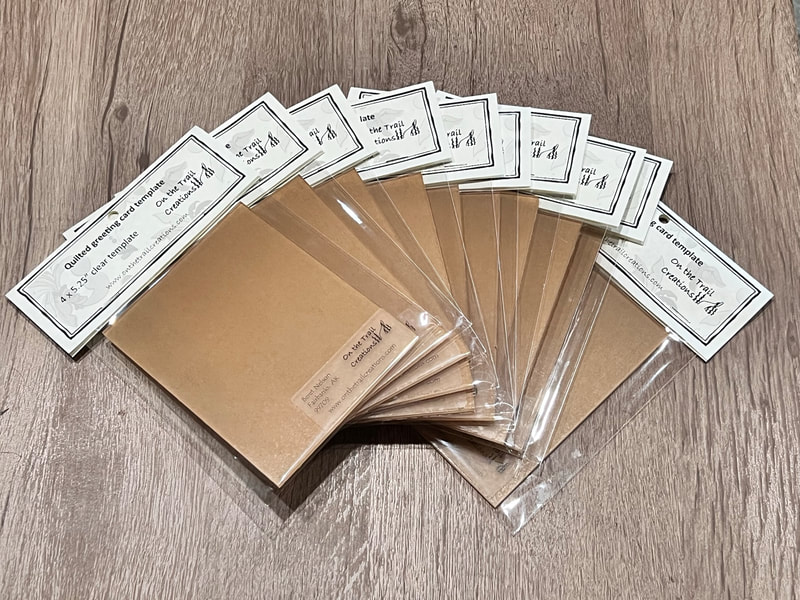
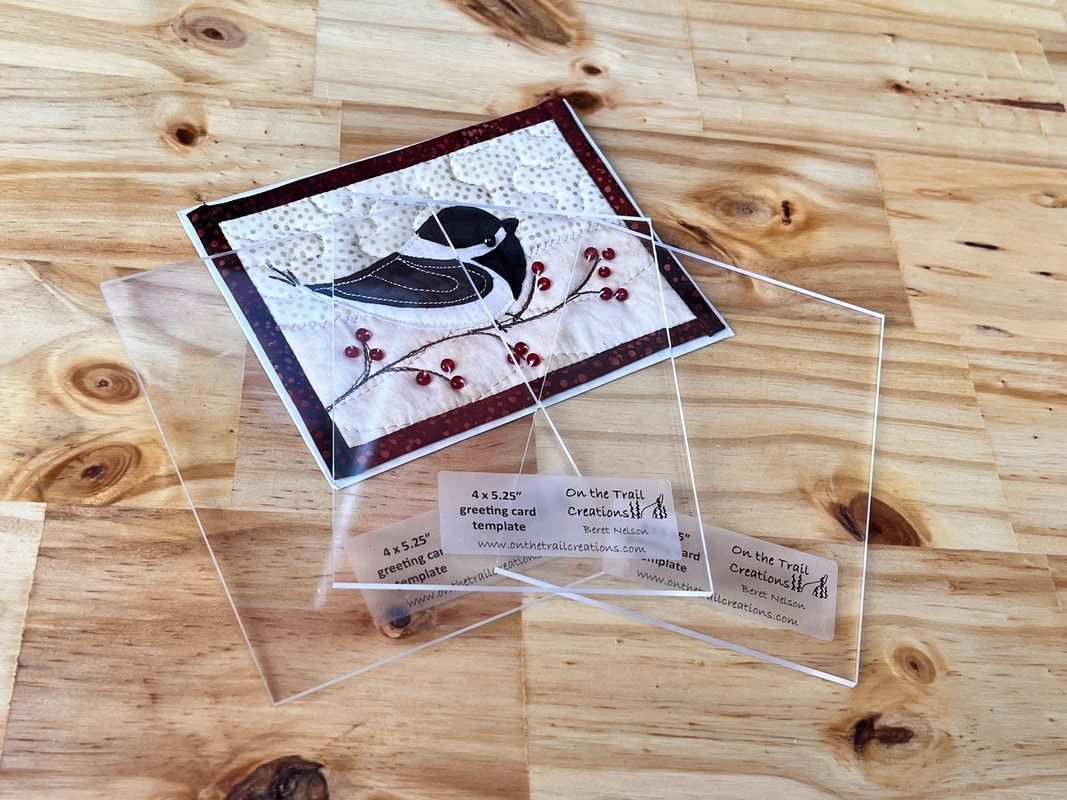
I also got another batch of my acrylic card templates, they were getting low! They are not necessary, but so helpful, I use them on every card I make! (They are also hard to photograph😂) Happy sewing! Beret
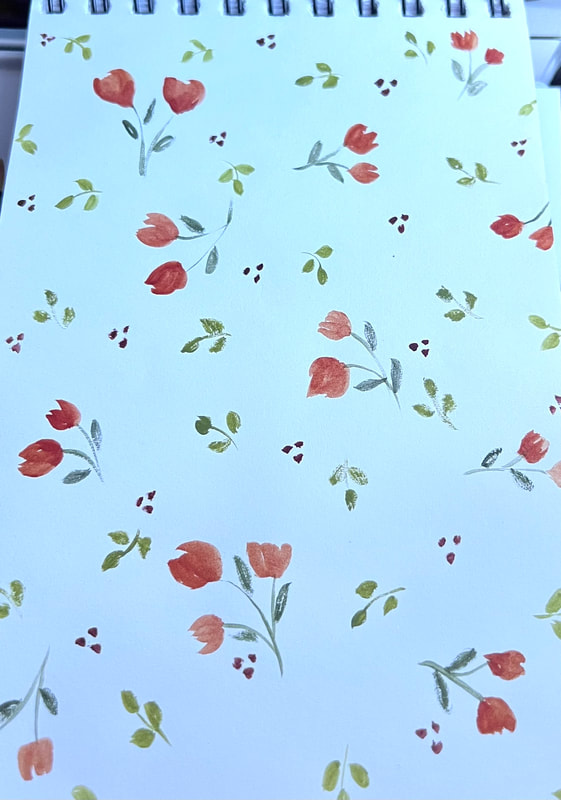
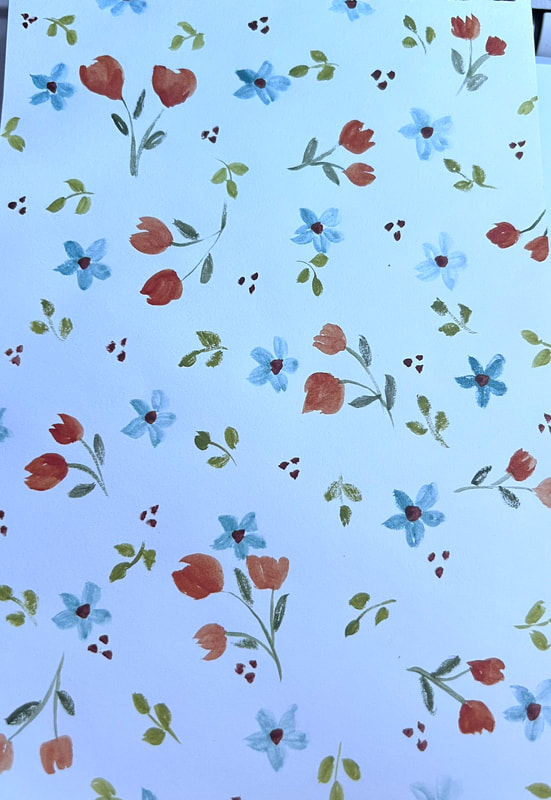
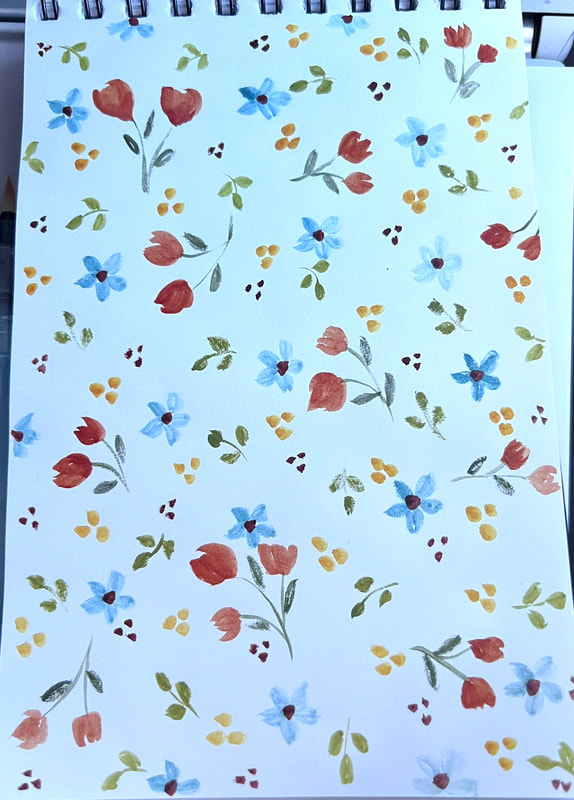
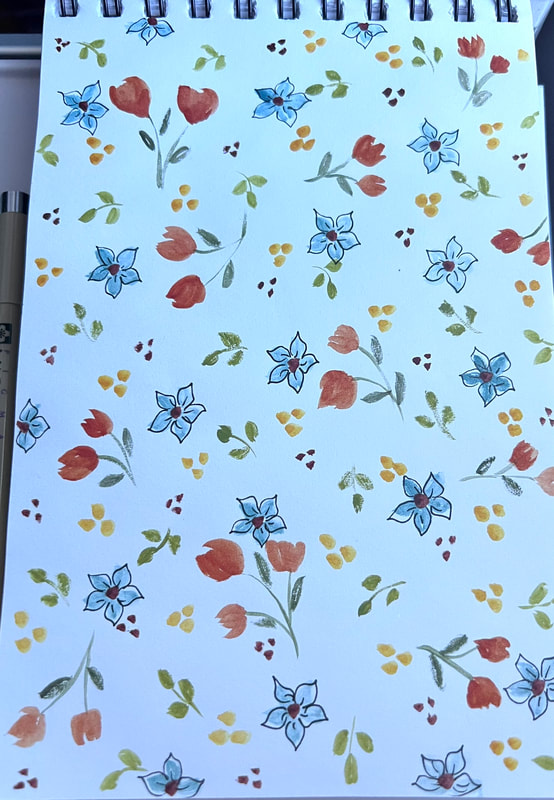
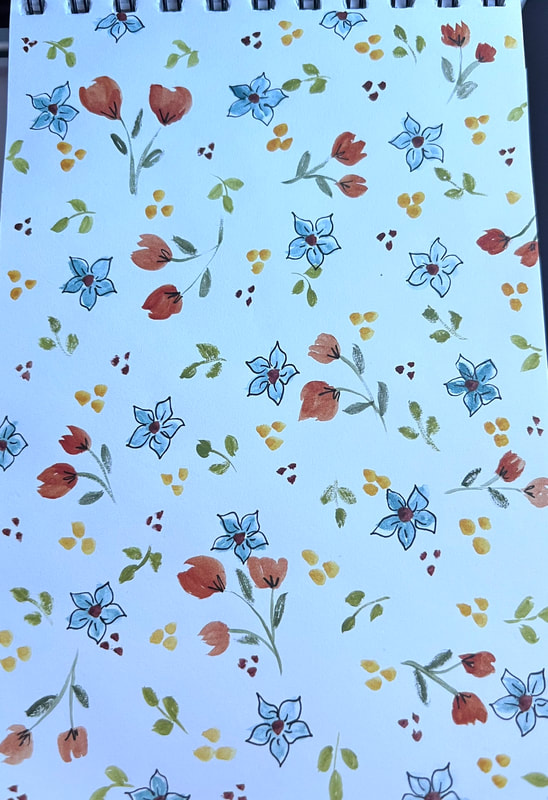
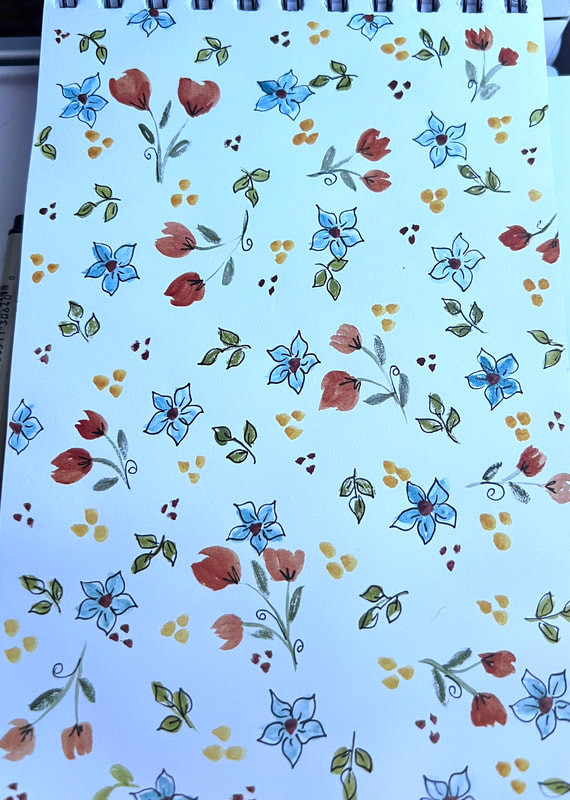
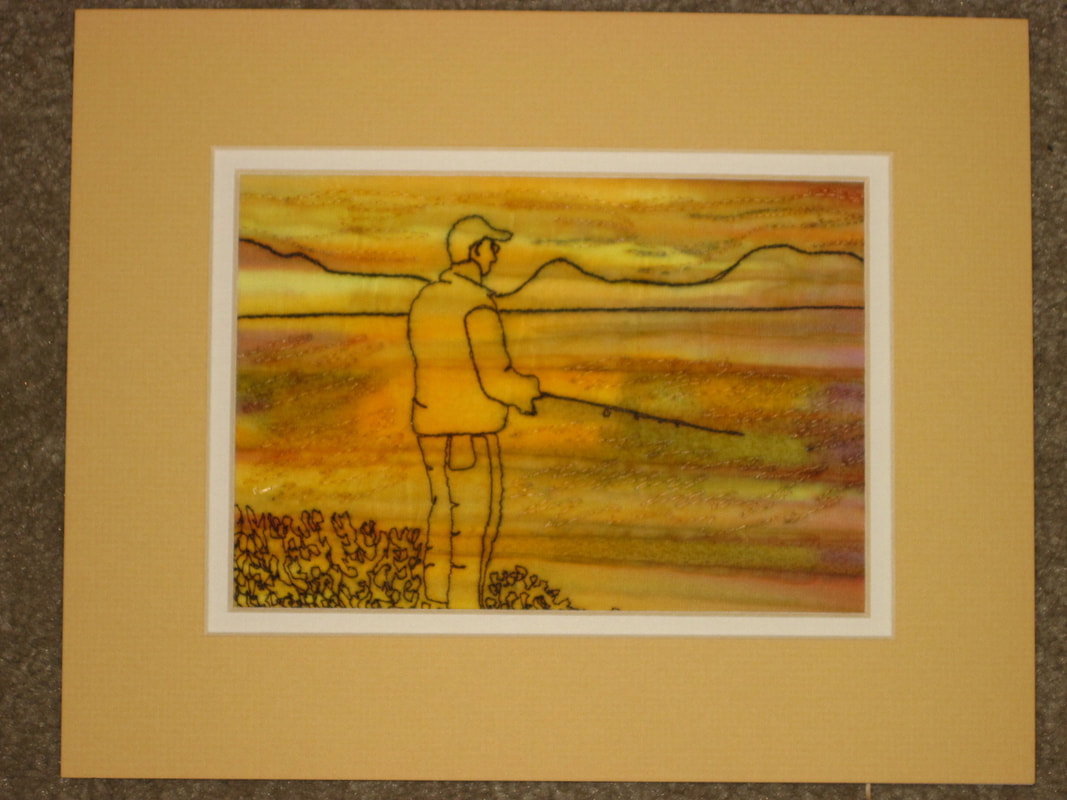
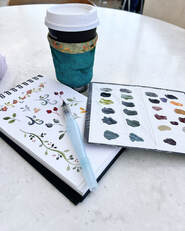 One of the biggest things I teach my students is that in order to design your own art quilt, you have to make some decisions. Of course I have ways to make that process much simpler, but it will always be a part of creating art. It is also the part that people usually find the most stressful. But it doesn't have to be! Here are a couple of tricks. First, you have to be willing to have things not turn out the way you want. Of course we want things to work if we spend time and materials on them. But if you really want to design your own, you have to practice, just like any other new skill. No one expects to pick up a guitar and play a song on the first try, but with art related things we kind of do have that expectation. (How many people think they can't draw, but have also not really spent a lot of time trying?) So first, let that one go! For my second tip today, I'm going to use an example from some painting I did on a recent flight. (I always bring painting stuff now, it's so fun! This time the woman next to me was crocheting, but I think she will be looking for water brushes soon.😂) One of the decisions you have to make is, "Am I done adding things?" This can be one of the hardest ones! Especially the farther you get into it, the more risky it feels to keep adding things. Something to remember here is that there is no 'right' answer. It might be fine to stop where you are OR keep going. So again, just think of it as experimenting! (Also, most of my art quilts have a busy background, but a simple foreground, so that makes it easier when you are starting out also, just plan on it being simple!) But here is a tip I use for both art quilting and painting. I take a photo after each time I add something new. With fabric, you can just lay a new element on, it's not permanent yet. With painting, it is, so I can't go back a step (another reason digital artwork is fun, there's an undo button 😂) But if I consider it practice, I still learn from it. This was in a sketchbook, it wasn't even watercolor paper, so I knew it was just practice. But I could also try to recreate it if I wanted to go back a few steps. This way I can look at each rendition and decide if I should have stopped sooner or if I like the final version the best. For the last few, I was adding details with a black pen. Which one do you like? I hope you will try this, whether it's with art quilting, drawing, painting, or some other medium. Playing is such an important part of learning art quilting, and drawing and painting help train your brain as much as actually working with fabric! Happy sewing! Beret PS: Of course there are gobs more tips on making those decisions in my Simple Secrets for Starting Art Quilting class! The self guided online version is always available😀 PPS: Scroll down for a few pics from my trip 😊
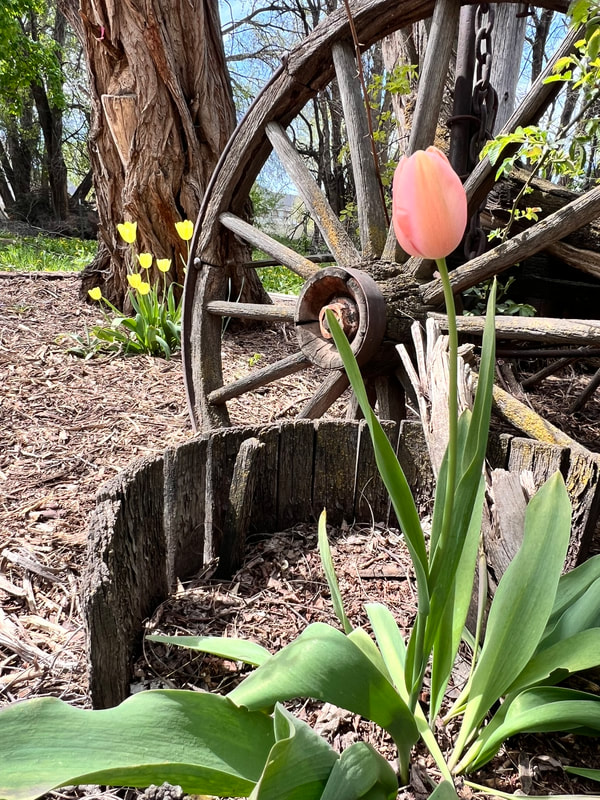
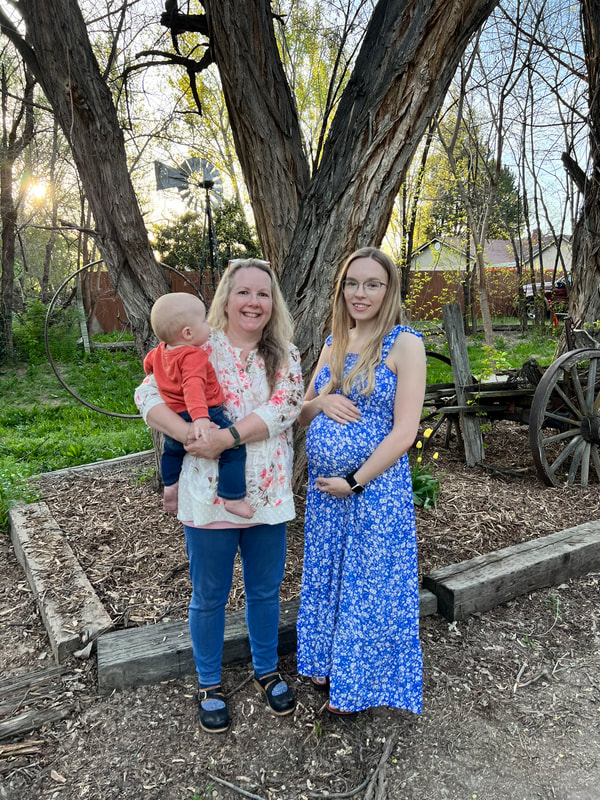
Flowers, grandkids, baby shower, baby birthday, so much fun! (The birthday baby belongs to my other daughter) Click here for a cute video of my granddaughter's sewing project! (On Instagram, and make sure to have the sound on!)
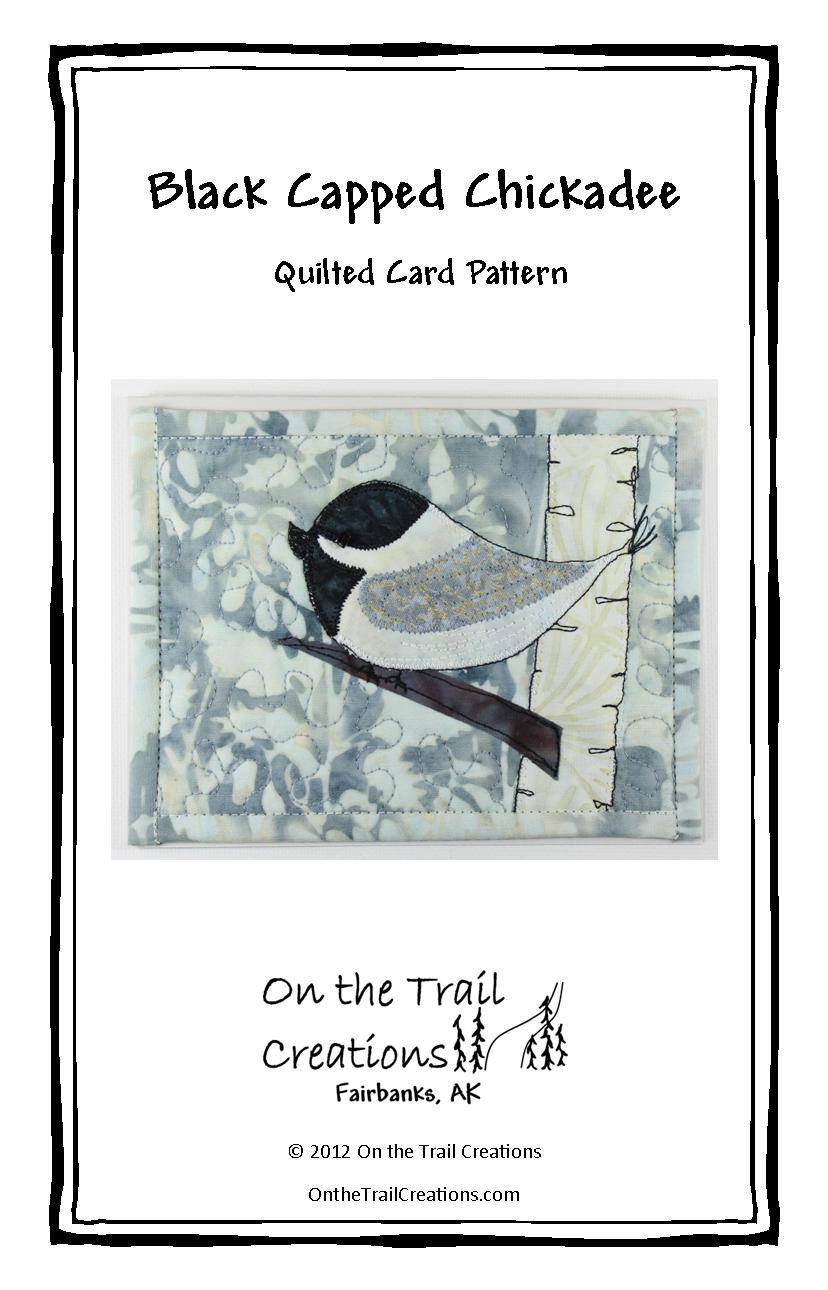
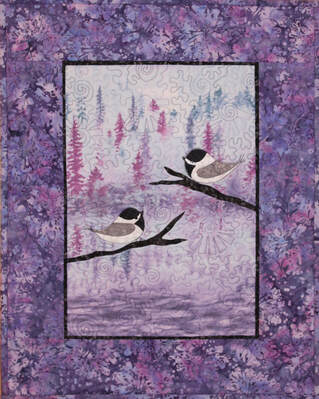
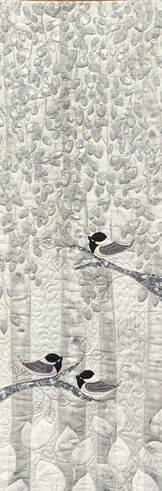
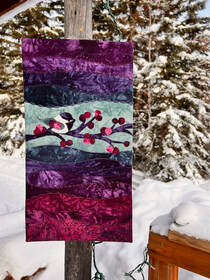 I finally managed to get a chickadee wall hanging kit made! I've been trying for years, but chickadees are tricky, as they have all three values in them. It makes it harder to find a good background fabric! This has my usual hand dyed fabrics from Starr Designs, I feel like they almost glow, especially in these jewel tones!
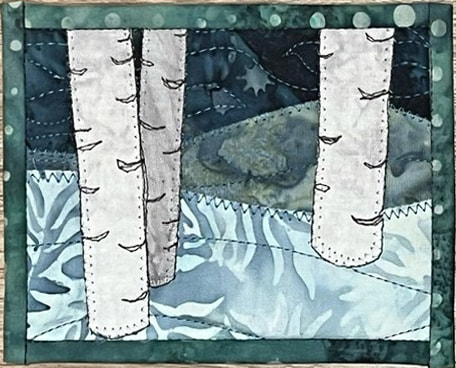
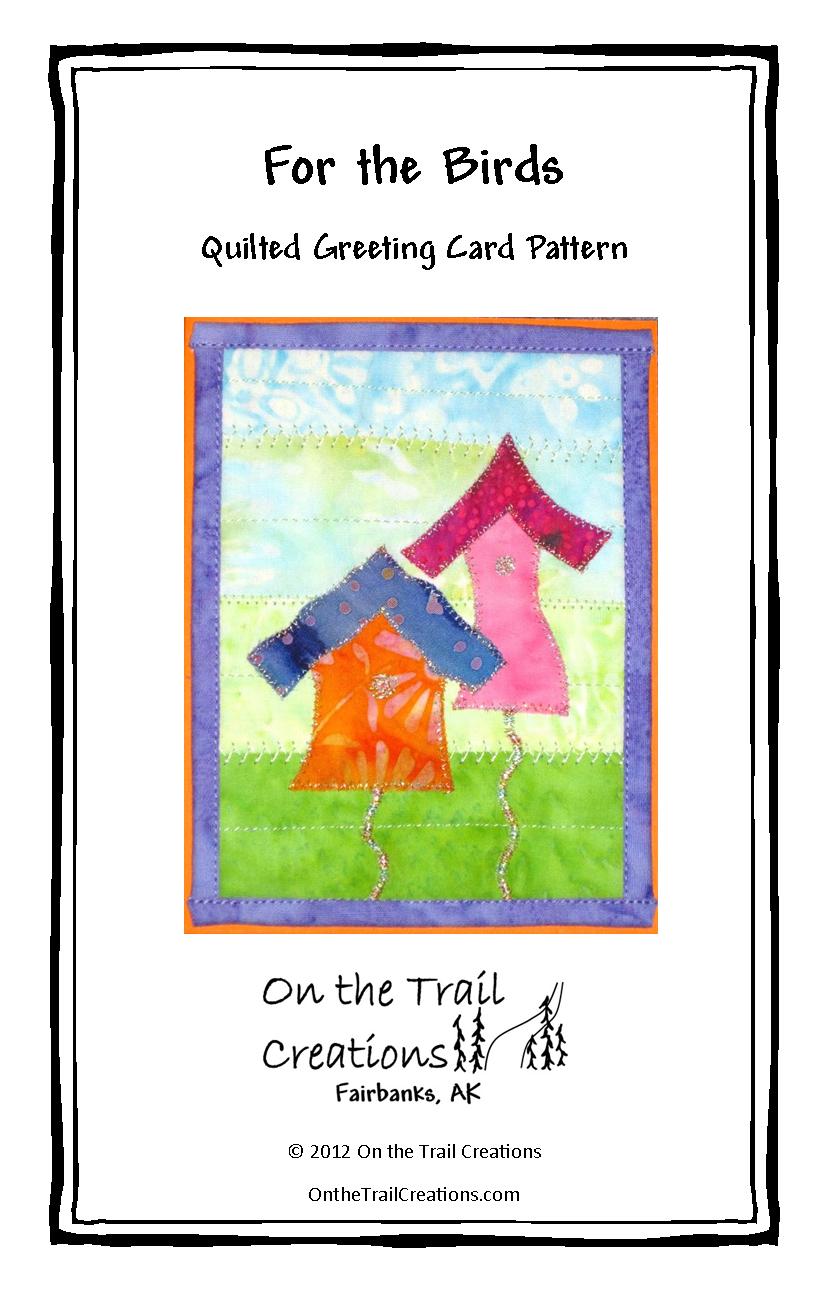
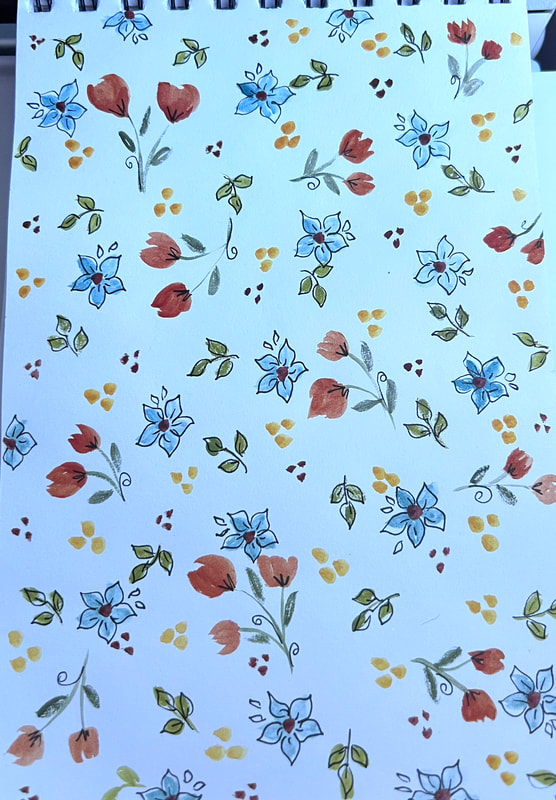
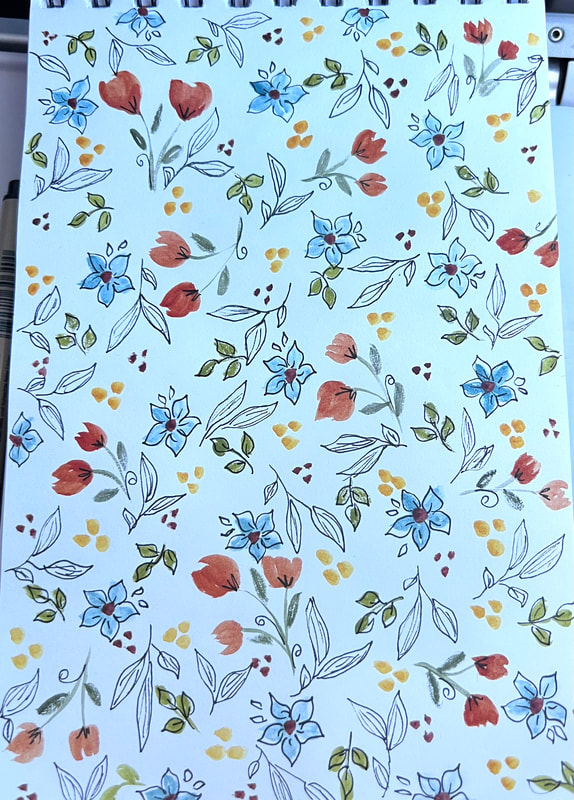
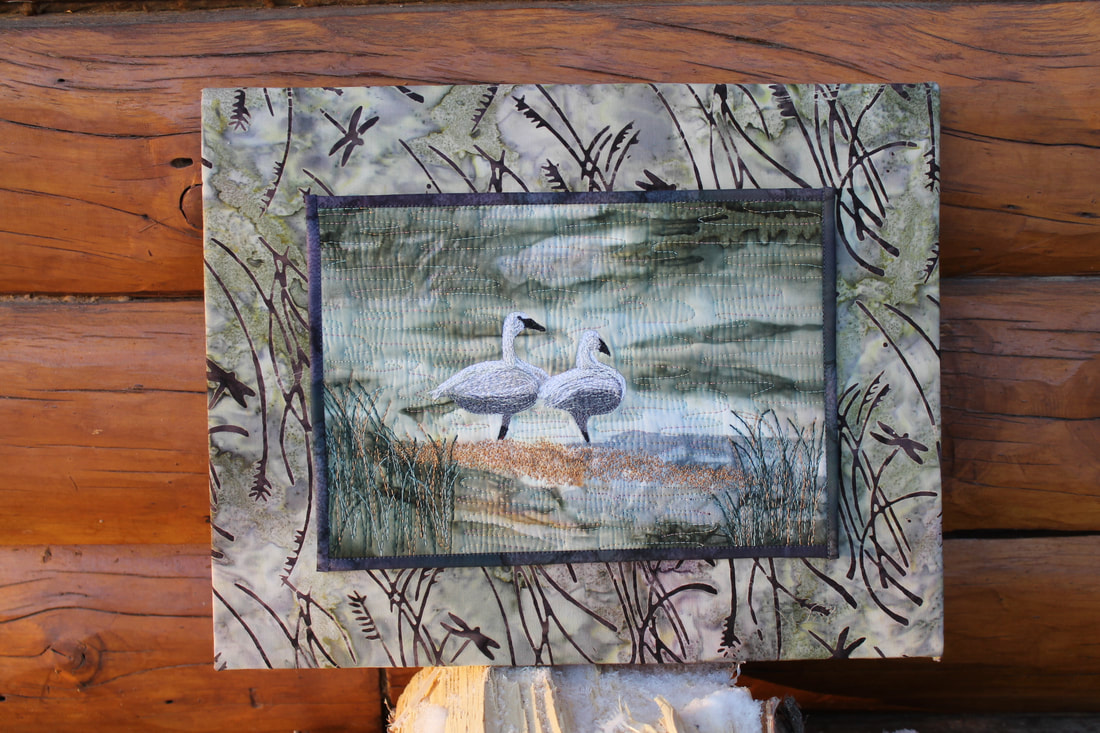
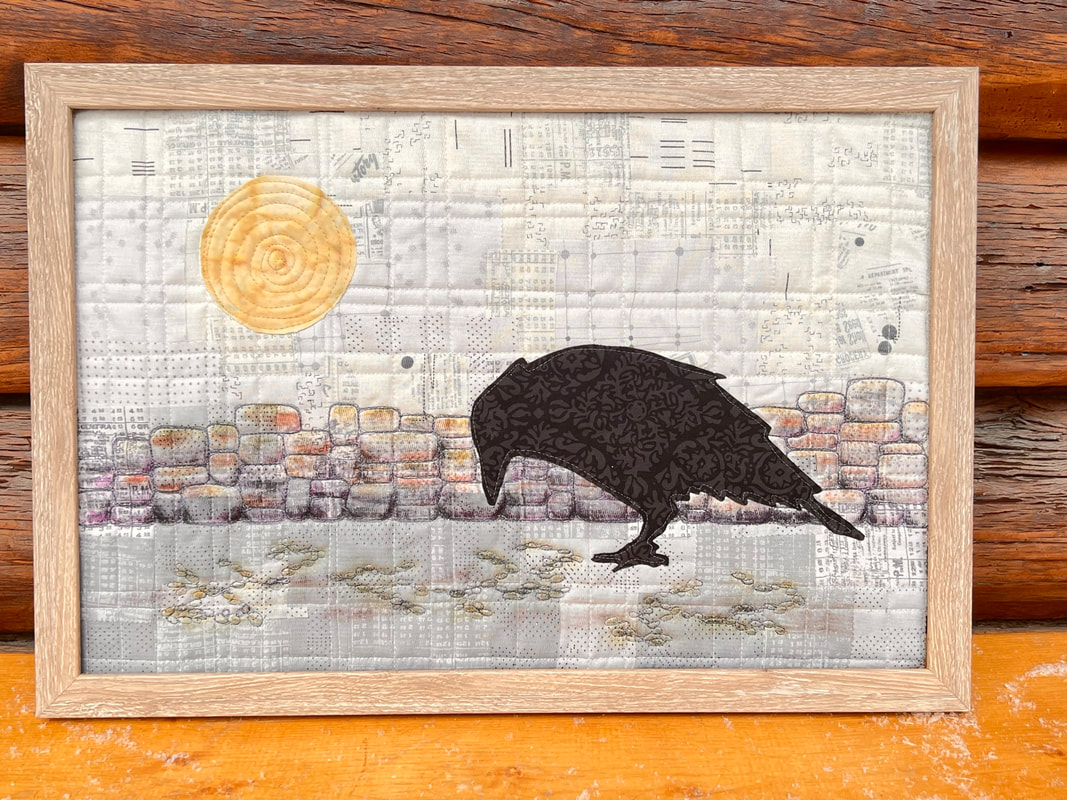
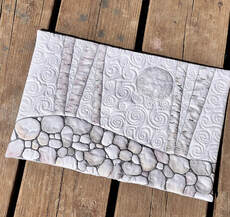
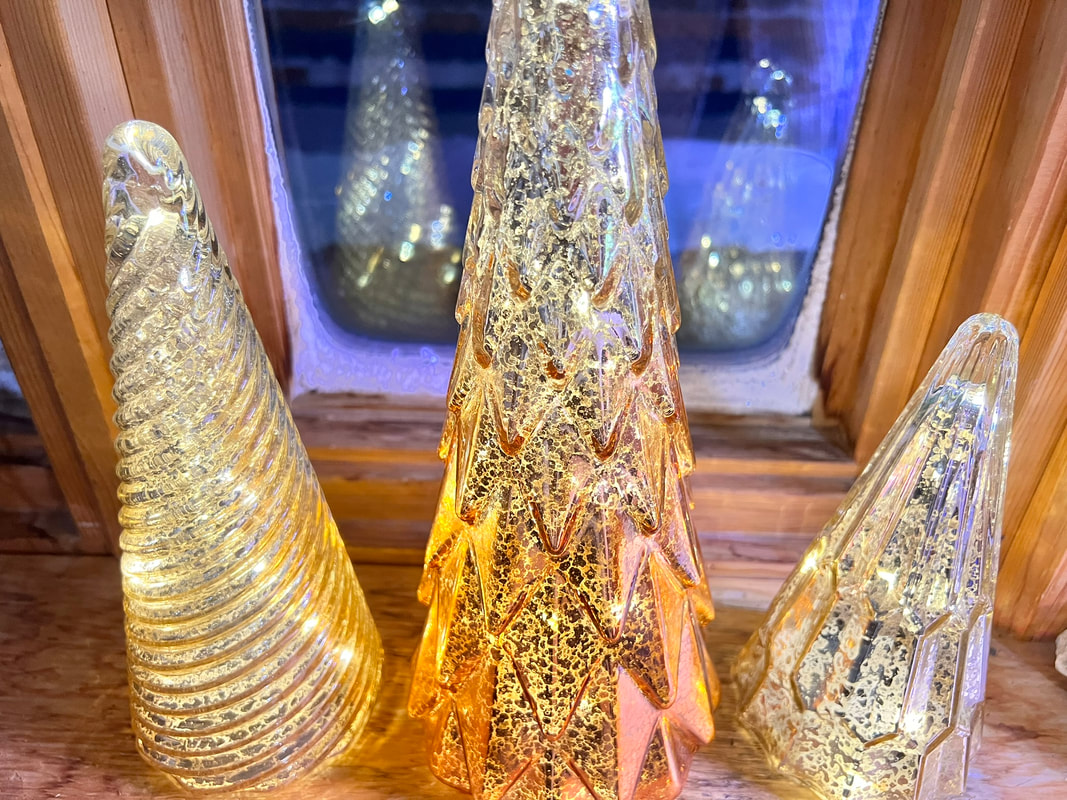
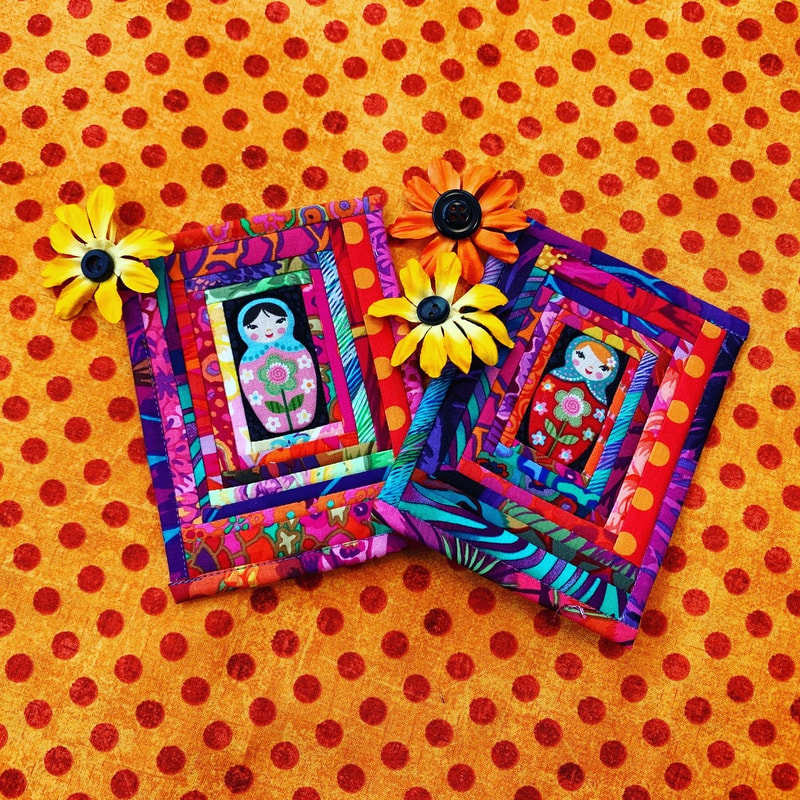
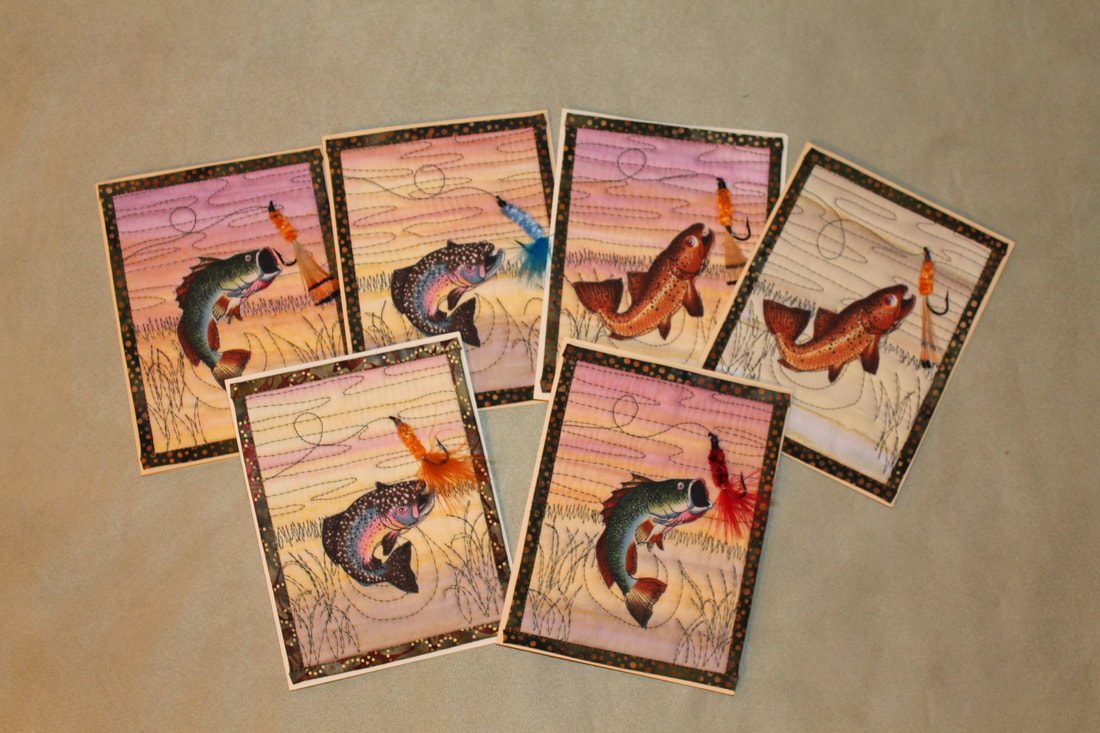
Happy sewing! Beret  In my 100 Days of Quilted Greeting cards series this week, the theme is cards that are dependent on a specific fabric. Sometimes it’s a mini panel, and sometimes it’s a motif cut out of a repeating pattern. One of my favorite art quilting tips is to make the fabric do some of the work, and look at fabric maybe a little differently than you are used to! For example, there are fabrics with landscapey items printed on them, like rocks, clouds, grass, etc. I don’t really love using those, although I do use tree fabrics, usually to fussy cut the trees out to put on a different background. (But I often make my own trees too.) But it’s fun to look for fabrics that give the impression of something like rocks, sky, water, tree bark, and lots more. I think this is one reason I like the Starr hand dyed fabrics so much. Their texture could be many different things found in nature!
Of course, I always love the hand painty looking fabrics for backgrounds. They do so much of the work!
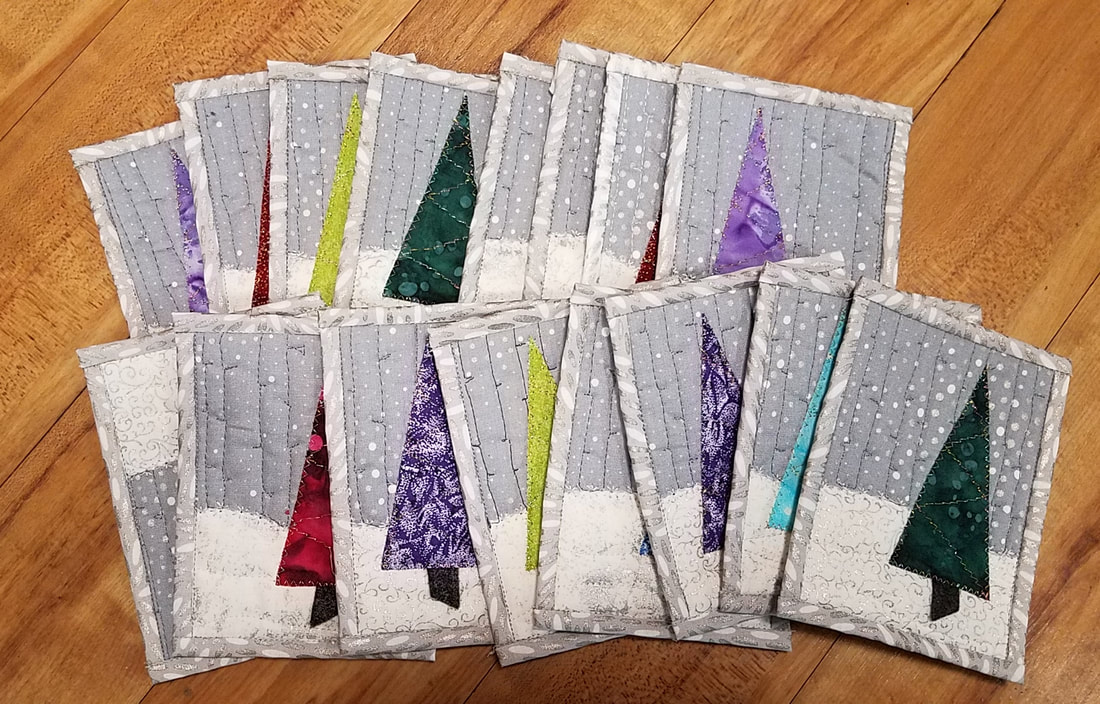
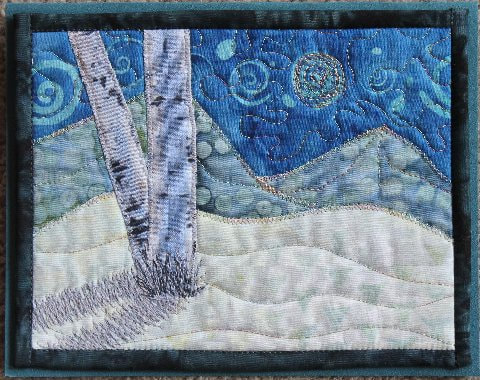
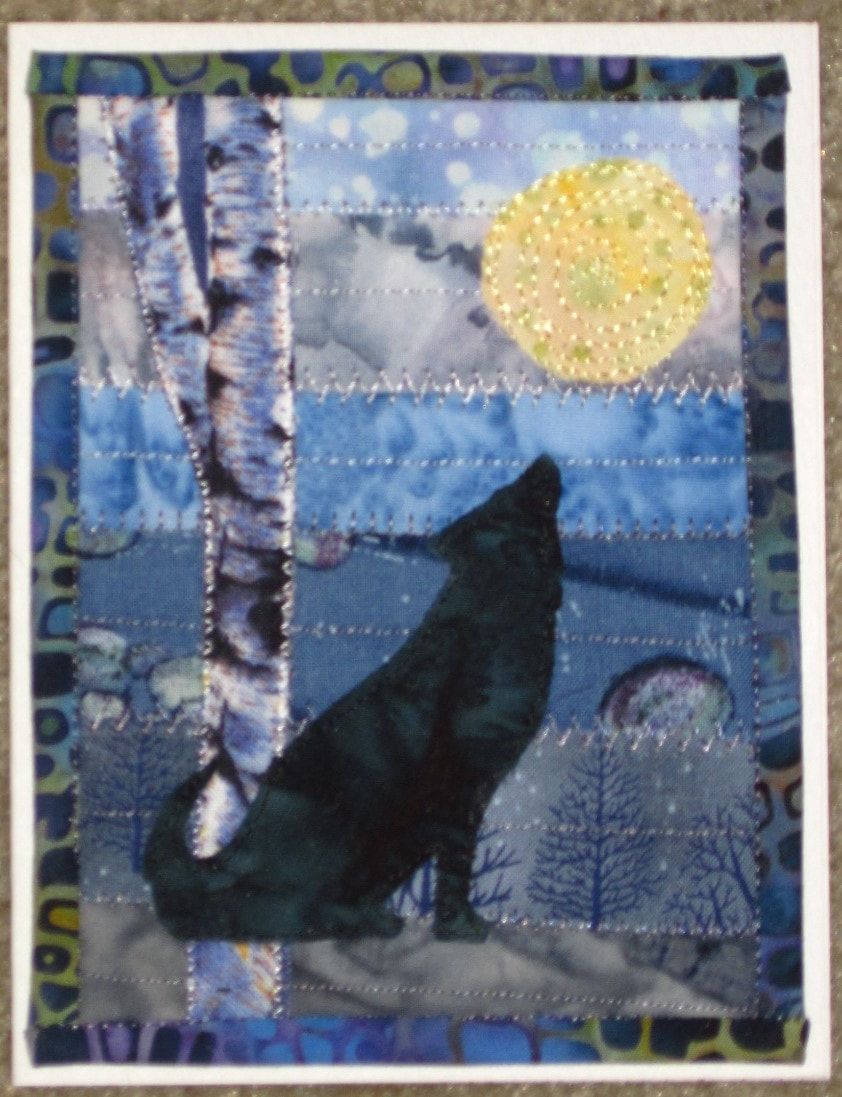
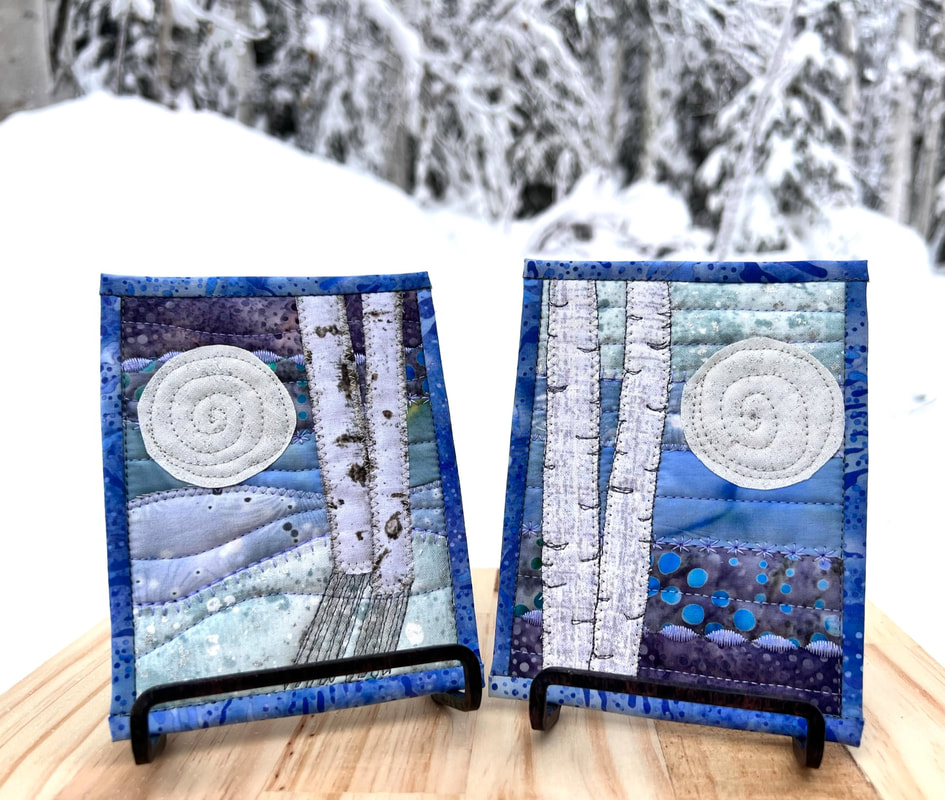
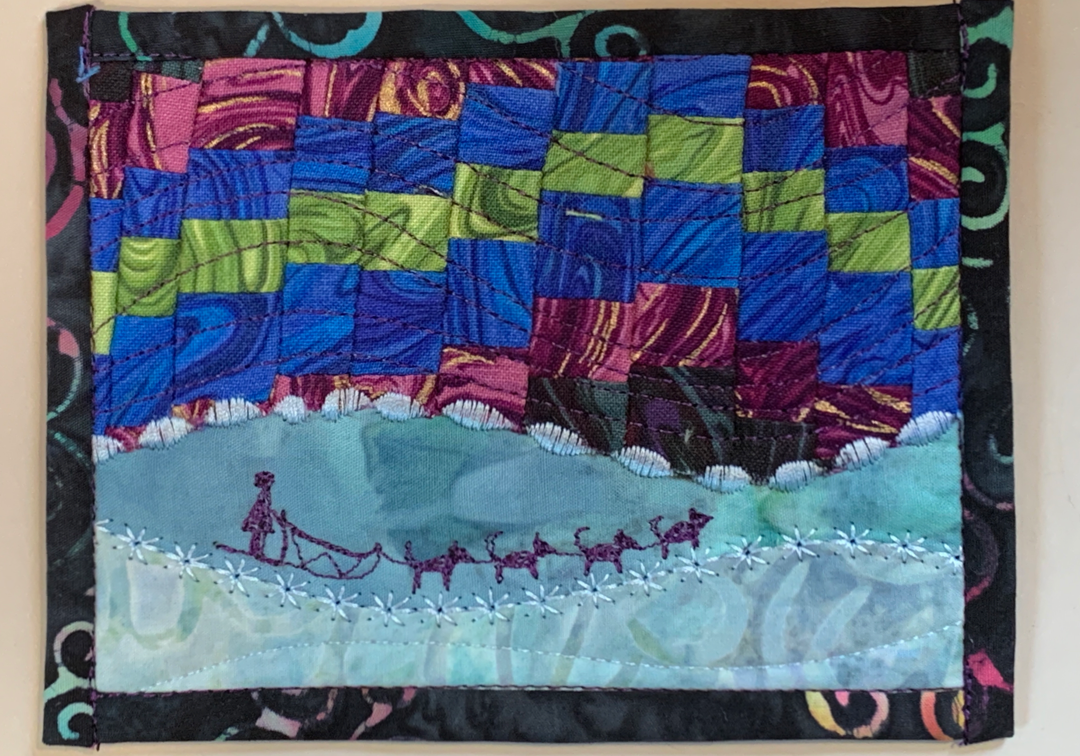
Here are a couple that give the impression of snow, without being actual snowflakes.
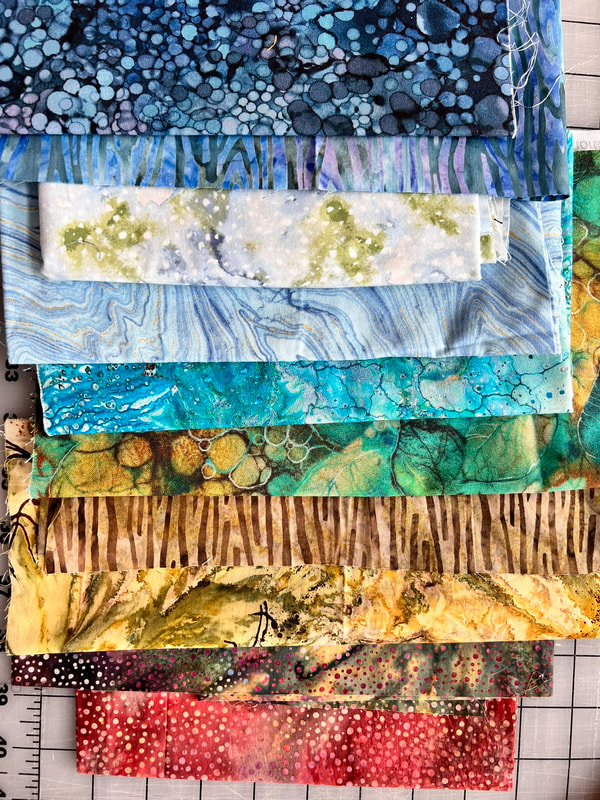
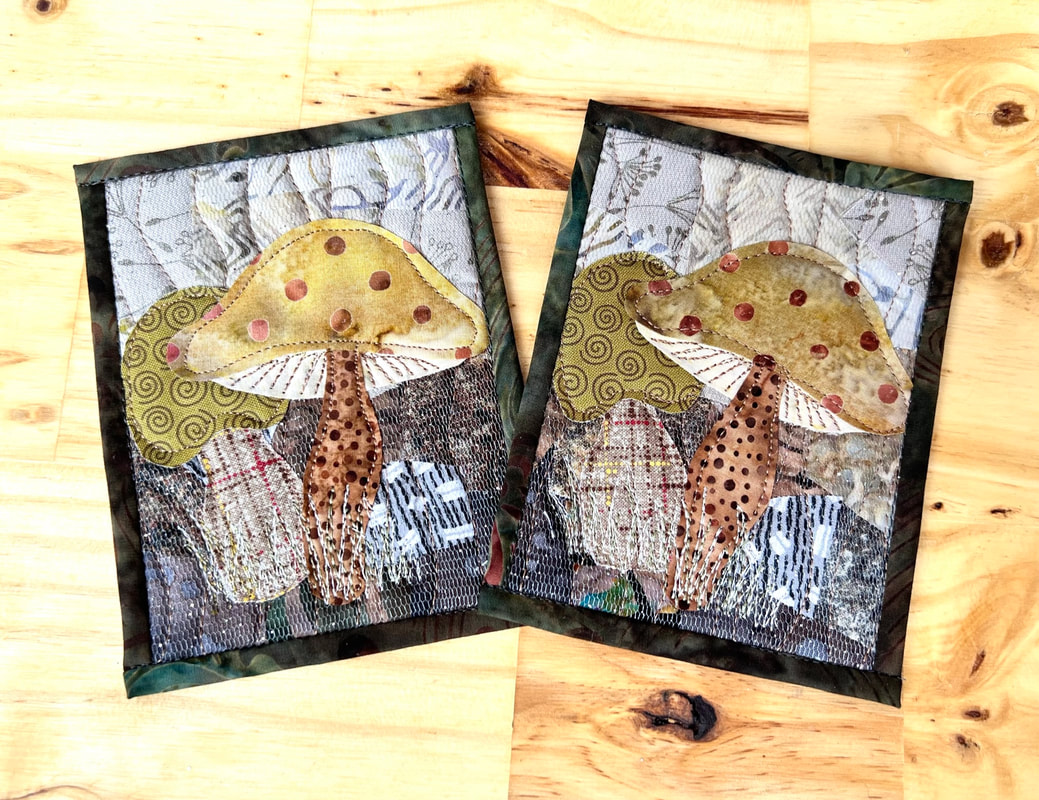
Batiks are another good place to look. The first one looks like it could be a fall forest in the background, and the second has swirls in the sky, which I love 😀
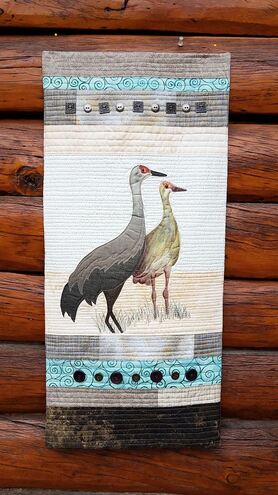
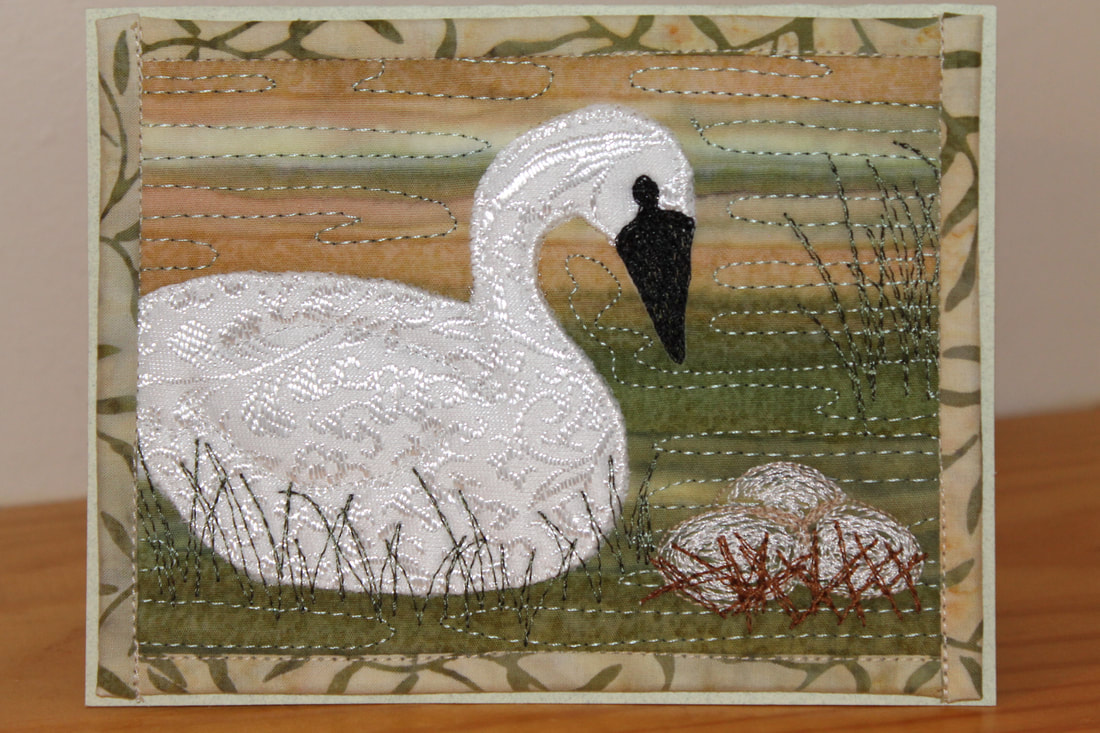
And panels without a lot of foreground are often a good option for backgrounds too.
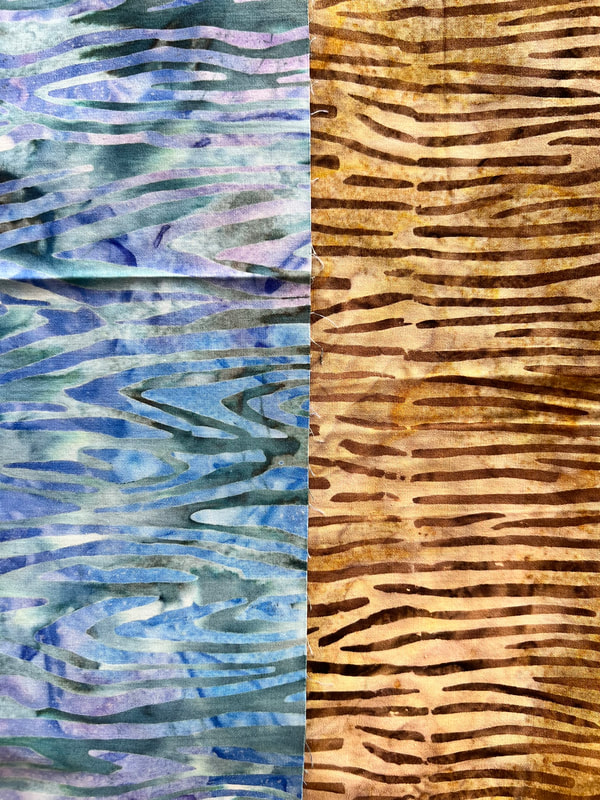
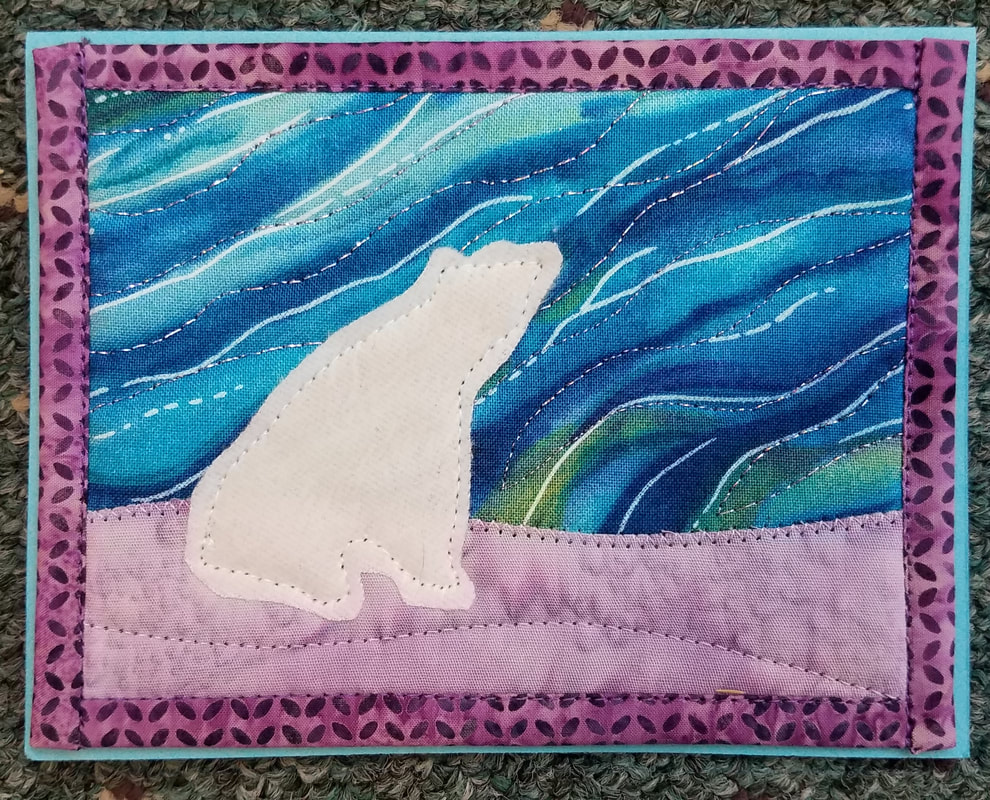
In the first photo below, the two fabrics are very similar. But because of the color, the blue looks like water, and the brown would look like tree bark if it was turned the other way. What do you see in the fabrics in the second photo? I think it's cool that there are so many repeated motifs in nature, it shows they were all made by the same Artist! Rivers, veins, and tree branches all look similar, or bubbles, rocks, and fish skin! I hope you will look at fabric with different eyes, and let it help you do some of the work! However, I have a huge caution here: Value and colors are still the most important. If a fabric looks like tree bark, but the coloring really doesn't go with the rest of your project, you are better off finding one that is a better color. Look at them from a bit of distance to see if they are all playing well together. Happy sewing! Beret
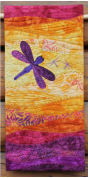
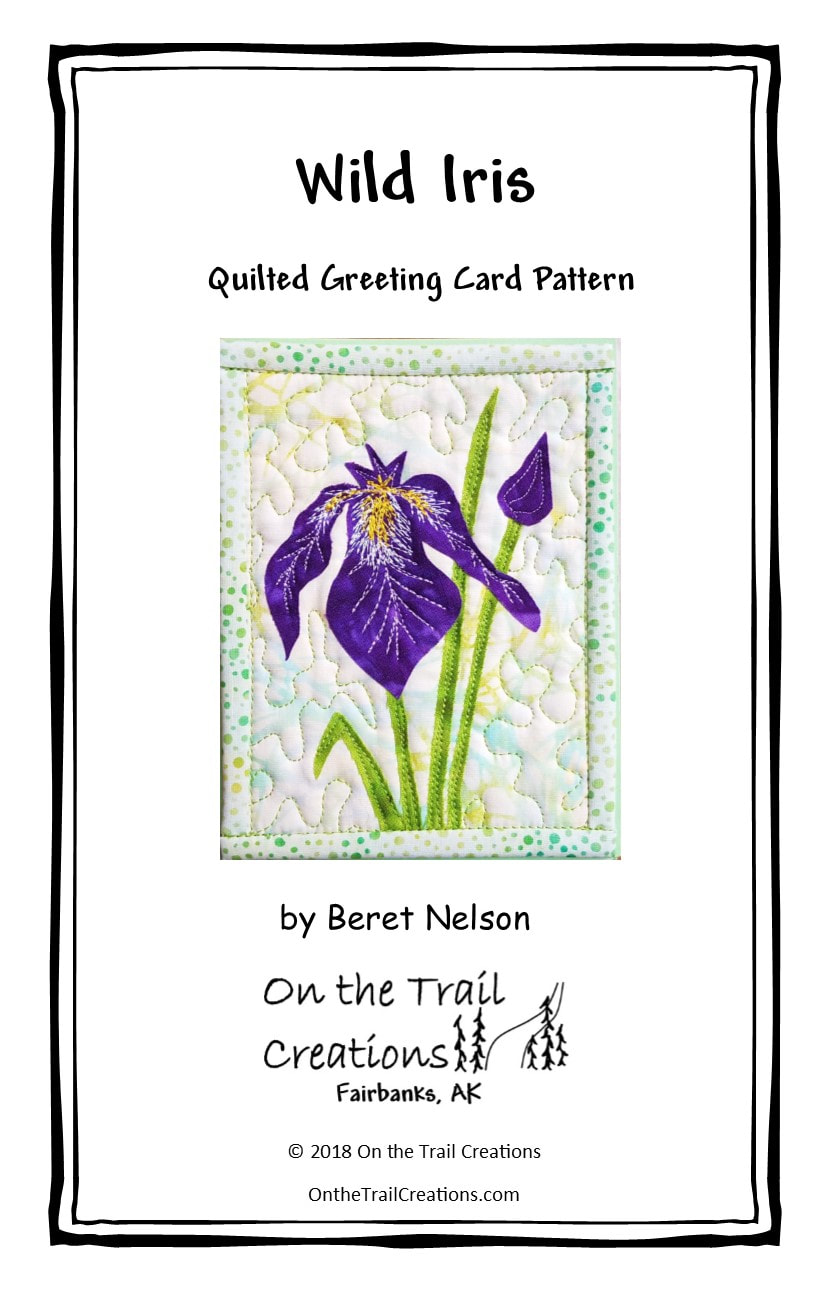
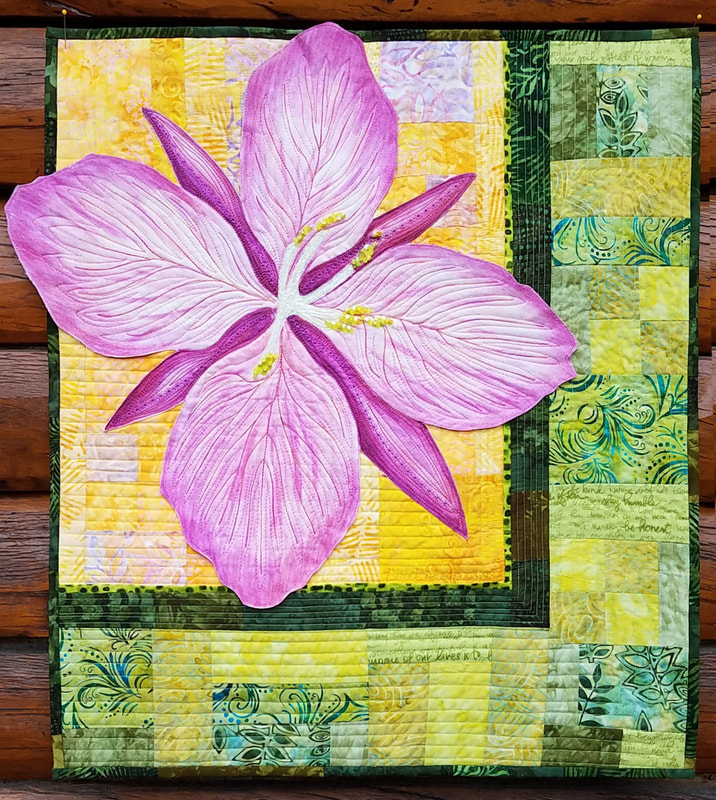
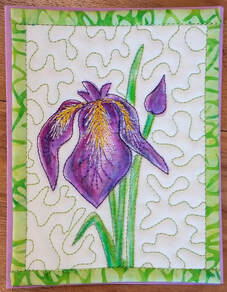
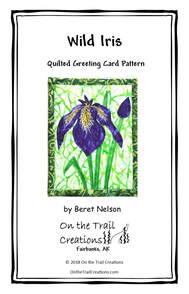
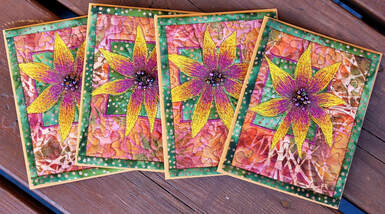
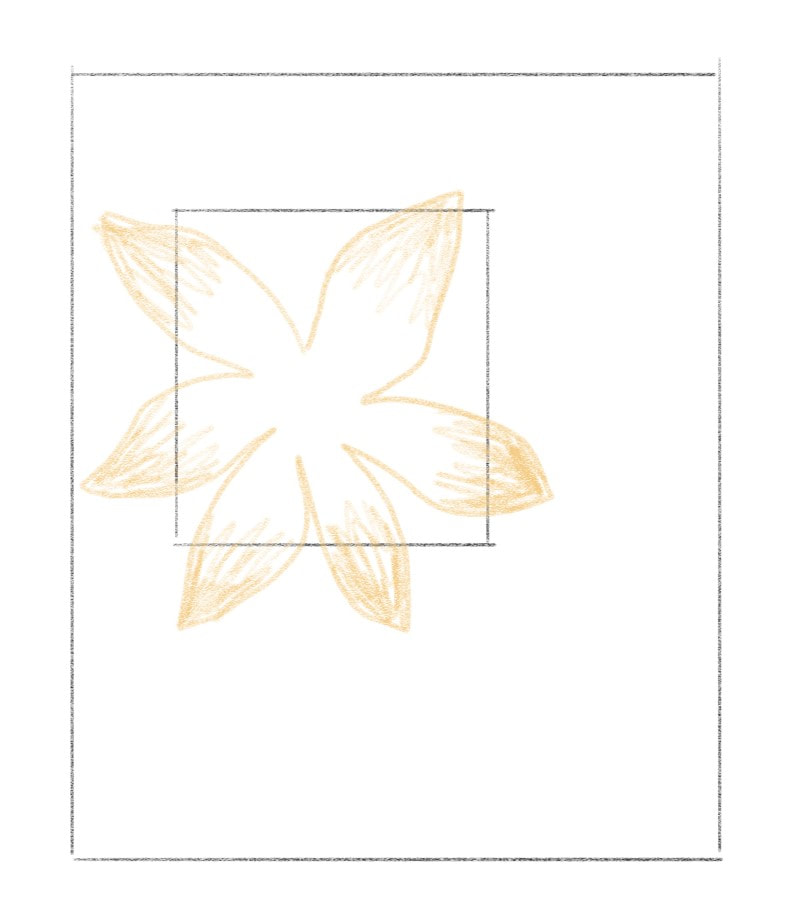
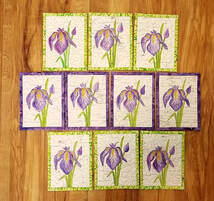 This week's 100 Days of Quilted Greeting cards (on my social media) theme is flowers. Thursday's post was about my iris design, which I have done with both applique and Inktense. The applique version is available as a card kit or pattern. Then I have a youtube video for the Inktense version. (I will link all of them at the end.) We were also talking about Inktense a bit in my class on Thursday, so I thought it would be fun to look at some of my other Inktense projects too! Maybe I will try to do another one of those Saturday Zoom calls in a few weeks with an Inktense project, that sounds fun😀
My goal is to post here every week, and also share it in my newsletter. But I have been finding myself in the habit of just doing the newsletter and neglecting my blog, trying to fix that! (Although there will always be some things that only subscribers get, so sign up in the sidebar if you haven't!) This week's theme for the 100 Days of Quilted Greeting Cards series is thread work, one of my favorite things! Thursday's card was this version of Black Eyed Susans, made in memory of my Aunt Sue a few years ago. It looks fairly complicated, but it's not once you break it down, so I will do that here!
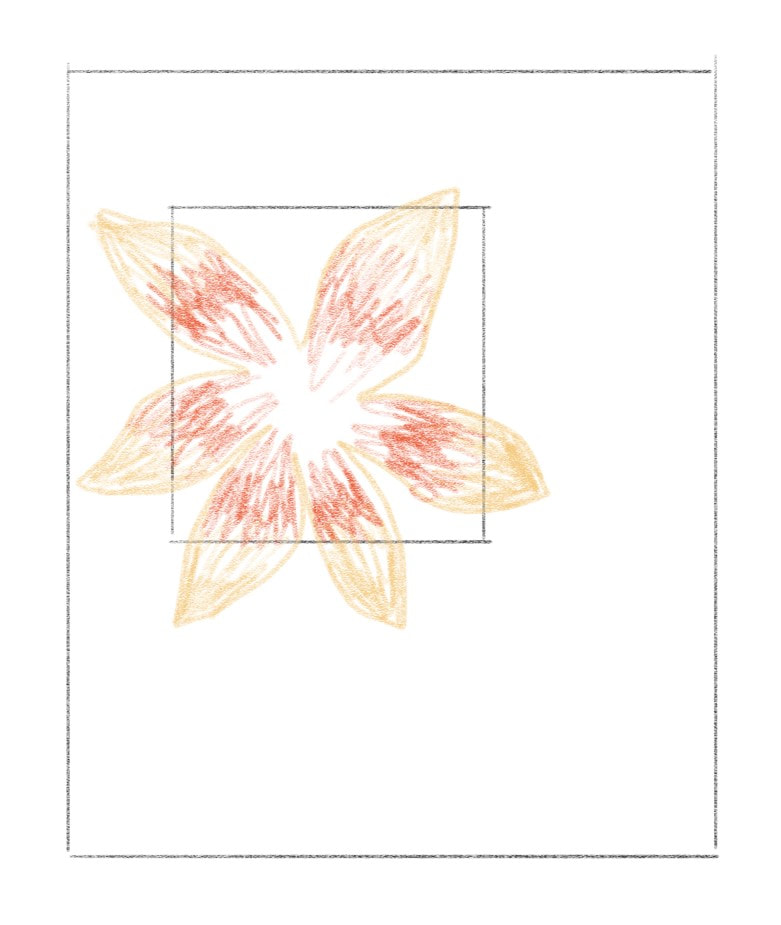
Note: I think it's more common for people to do thread sketching through just the fabric, and not the batting. I more commonly stitch through the batting too, but there's no right way. Try both! Every layer adds stability, so I would definitely use a hoop if I had fewer layers. A hoop is the best stabilizer of all, so I do sometimes use one for dense stitching.  If you think you can't draw a flower shape, well, neither can I 😂 This is very sketchy, and as I always say, kindergarteny. I tried to vary the petals a bit, although that would probably have happened anyway😂, but otherwise, this is not a realistic flower drawing, just 6-7 petals in approximately a circle. I probably sketched it with a chalk pencil on my background, then outlined it with thread, using the outermost color. Then I start coloring them in with thread. Think of your sewing machine like a pencil, only you move the paper instead of the pencil. I use the free motion foot, of course, and I like a topstitching needle, but really, just try what you have. Most of my thread is 40 wt, which is average/most common. I'd love to collect more thinner threads, 60-80 wt, because although it takes more stitching to cover an area, you also have more control. But again, just try whatever you have! For the first color, stitch densely at the tip, then more loosely toward the next color. You want each color to overlap a bit for shading. The second color is more dense in the center, and looser at both ends. The third color is the most dense toward the center of the flower, but if you do beads like I did, or a button, you really don't need much in the very center.
Then I added beads and binding. (Binding video in the card workshop linked a couple of paragraphs up.) You can apply the same technique to other shapes too, of course! And if you try it, I'd love to see! Reply to my newsletter, or email me at [email protected].
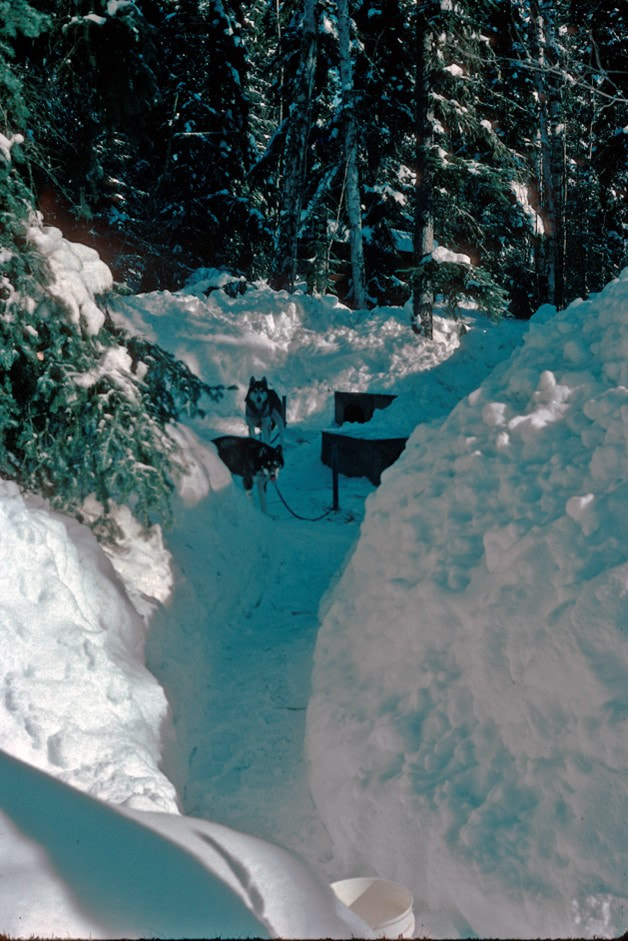
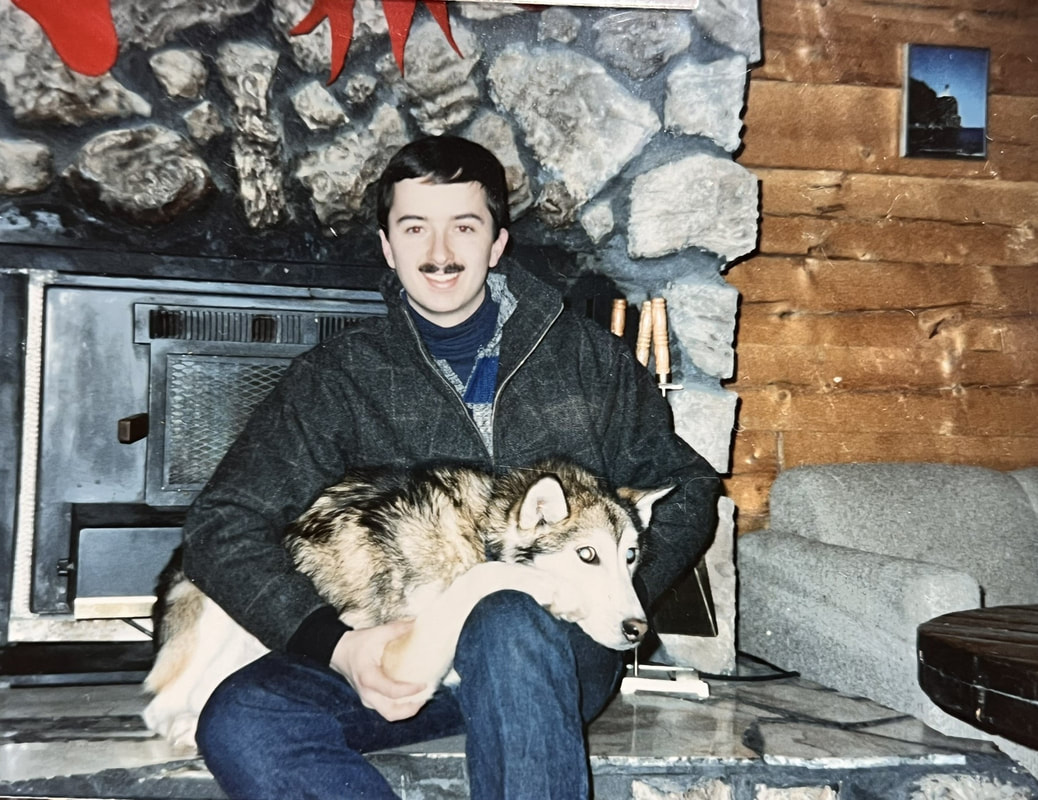
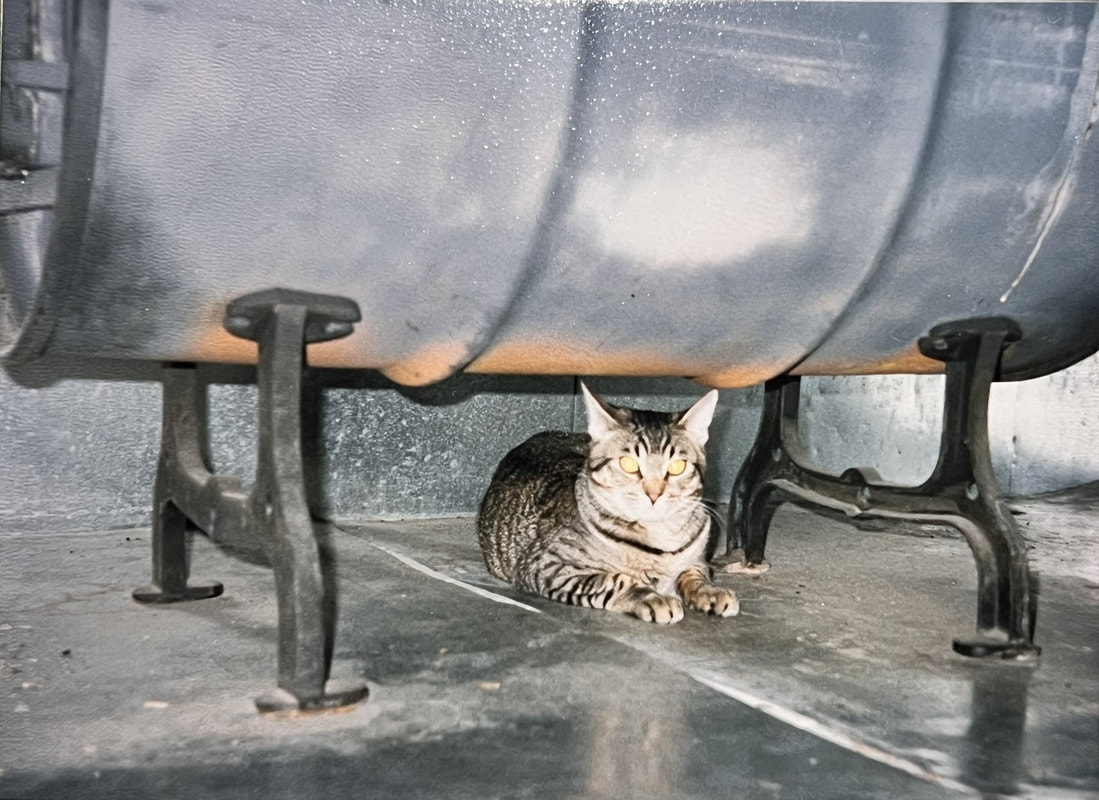
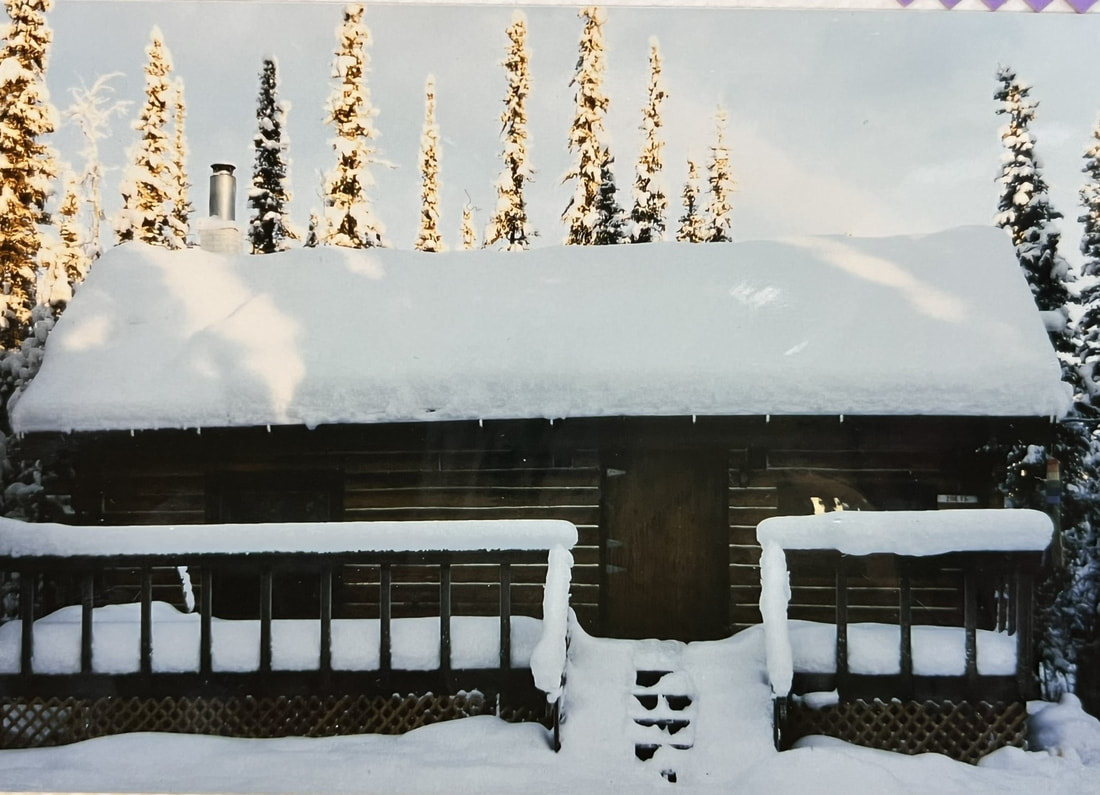
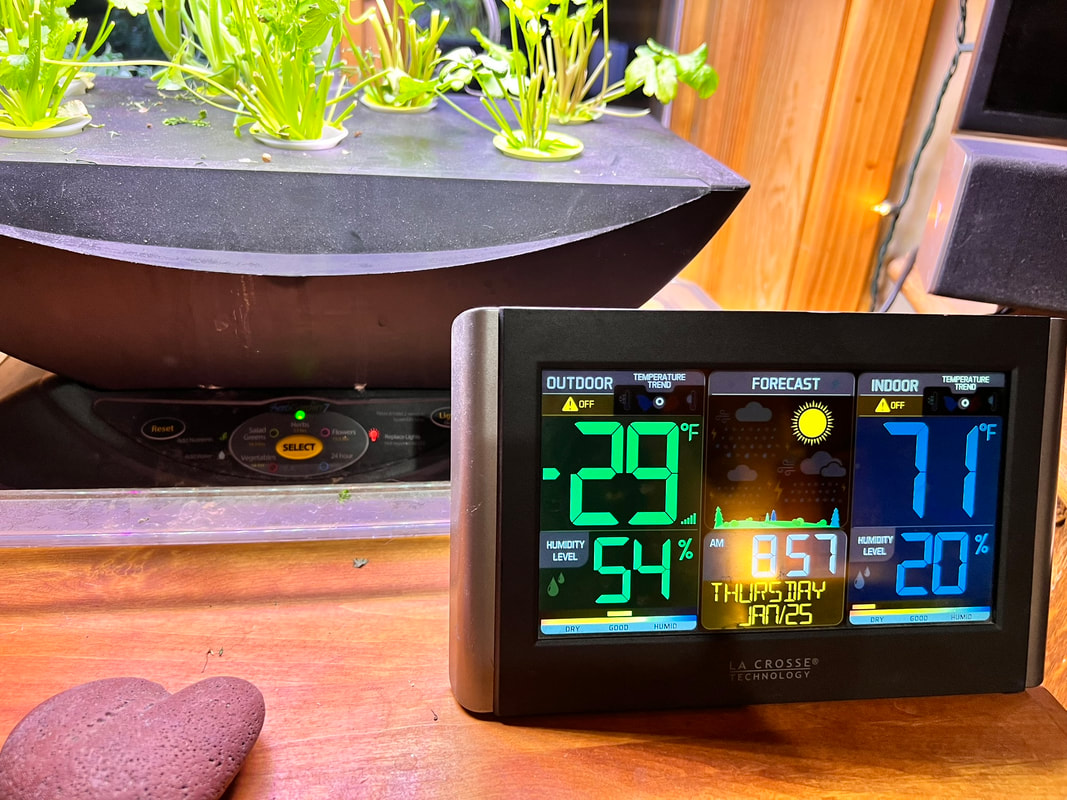
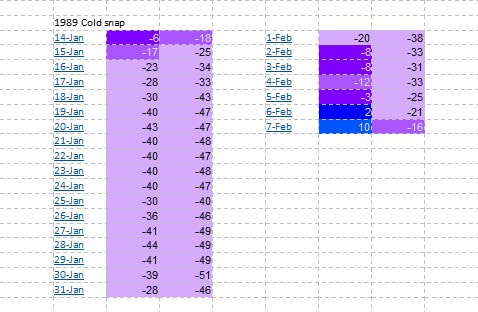
Happy sewing! Beret We're in the middle (day 4, hopefully it's the middle and not the beginning😛) of a cold snap here in Fairbanks, so I decided to hijack my own blog for the day to tell one story of extreme cold that we have experienced! We have lived in Fairbanks twice; from 1986/7-1994, and 2006-now. The first time we lived in several little cabins, a total of five years with no running water. (That was because one, it is much cheaper, and Brett was a full time student, and my teaching job at a small private school was almost volunteer 😂 At my interview they wanted to know what my husband did so we would have income. Umm... 😂 He did have part time jobs, and I assured them our tiny $100/month dry cabin would enable me to afford the job😂 And two, we had 10 sled dogs, so we couldn't be choosy about where we lived😂) In the winter of 1988-89 we actually lived one mile from where we do now. (On Yellow Snow Road😂 There may have been multiple dog teams...) We have lived in several places including upper and lower Michigan in between, so it's funny to be back in almost the same spot. However, there's enough elevation difference between that cabin and our current house that it was much colder there! We had a record breaking cold snap that lasted several weeks, and it ended up being a bit of an adventure! (Involving a stray sled dog, propane issues, heating oil issues, water issues, truck battery issues, to name a few 😂) 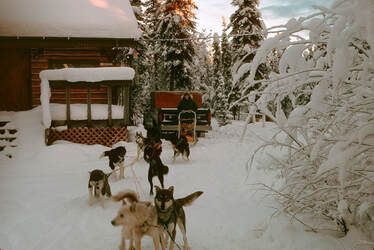 A day or two of extreme cold is one thing, but when it becomes extended, lots more things start to go wrong! Our cabin had a barrel stove, a fireplace, and an oil furnace. We did have running water at this one. (Well, usually... 😂) It was also a leaky log cabin; we could actually see light through a couple of cracks up high in the logs. The downstairs was divided into two main areas, so the woodstove and fireplace didn't do much for the other half. (Upstairs was just a loft.) The bathroom was in the farthest away corner, also by one of the doors, so it was a challenge. (If I had a dollar for the number of times I said I wished we had an outhouse...much easier to maintain😂) The shower actually had ice coming up the drain for most of the winter, so we gave up on that and took showers in town. (Common at laundromats here.) Pretty soon the incoming water to the toilet froze, so we gave up on that too, and just used a pitcher of water to flush. The outgoing toilet pipes were a never ending project for Brett for a few weeks! He had to crawl under the house with a space heater to thaw the pipes regularly. They had heat tape, but the cabin was built on permafrost, which meant it had to be elevated above the ground (to prevent thawing the ground, making it unstable). So there was very cold air space the pipes had to go through! Our kitchen stove was propane, and propane liquifies at around -30 degrees. So that ended up being out for about 6 weeks, and we were left with an electric frying pan and a crock pot. With the furnace and the barrel stove both running, it was still pretty cold downstairs, so we spent a lot of time in the loft! We had a chocolate lab in addition to the sled dogs, and we kept his water by the back door. One night it froze, so we moved it closer to t he living room. Eventually it froze on the floor next to the barrel stove! (They are far less efficient than the wood stoves of today. I'll have to look for a picture of the cat laying underneath it.😂 It looks red hot, but it was just rusty... But it DID have a fire going!) Then the trouble with the furnace started... We shared a vehicle, and our work locations and schedules were vastly different, so it was interesting. Brett was still in the Air Force that winter, which was about 35 miles from our cabin. We had moved in anticipation of him getting out soon and going back to school. I still worked at a sewing shop in town, 10 miles into his 35. He had to be at work at 7:30 am, so I got dropped off around 6:30-7. The shop I worked at opened at 10. 😂. All that to say, our days were very long! One day was extra long because my work was swamped and I had to stay late. I remember it being 14 hours that we were gone, and I was exhausted. We got home to a 35 degree house. 😭 It turned out it wasn't actually the furnace, it was the underground oil tank. It had been cold enough, long enough, that the oil had gelled. 😬 So our landlord's solution was to hook up a 5 gallon jug of heating oil directly to our furnace, which was in a closet in the living room. So we had a jug of oil in our living room. Near the wood stove. 😅 But the stove didn't get that hot, so it was fine. 😂 (And still there were stretches where Brett got up almost hourly to put wood on the fire.)
We also had trouble with the truck. (We had a garage at our very first house, in North Pole, where we lived for 18 months, but have never had a functioning one since. We have had two that weren't, one involving a man with a bloody knife, but that's another story... 🤣) Even with all of the winterization and plugging it in, the truck still froze a couple of times. (I was in college before I knew plugging in cars wasn't standard😂) We were stuck at home for a total of 9 days in two stretches due to the truck. Someone let us borrow a giant heater that I thought looked like a jet engine. Brett shoveled a bank of snow around the base of the truck to hold in the heat, then aimed the heater under it, and eventually got it going both times. Thankfully our jobs were both understanding, as everyone was in the same boat!
Right before this cold snap, on Christmas Eve, a sled dog had followed Brett and our dogs home from a run. He had a collar, but leaving signs around never turned up his owner. (This was the third sled dog that had wandered in and refused to leave. One of those involved an 8 inch long gunshot wound, and another story, but I digress again...😂) We named him Nisse (Norwegian gnome), and since we didn't have a dog house for him, we gave him a whole bale of straw, which he turned into a big nest, kind of like Big Bird's. 😂 That ended up being all he had during the cold snap, but he did great. Brett gave them hot food a couple of times a day, and they were fine, they're made for it! The rest of the dogs had houses with plenty of straw, and the chocolate lab lived inside. Our source of water was an underground tank that we had water delivered to. Thankfully that never froze. But one evening I was saying I hoped incoming water pipes didn't freeze, because we didn't have any spare water. Then my brain went duh, we have water now, lets fill whatever containers we can find. Well, that turned out to be a good idea, as the pipes froze that night. The landlord came and worked on it, and I used warm water drained from the hot water heater to wash my hair. 😂 Now, if you haven't lived in Alaska, this all probably sounds crazy. But to us at the time, it didn't seem like we were living an epic adventure, it was just life. And anyone local who has lived here very long would just laugh at this story, and say, "That's nothing, you should hear MY story..." 😂 People have often told me I should write a book, as this is the tip of the iceberg, but my life has just been my life, so it doesn't really seem noteworthy. 😂 Hopefully after this cold snap I won't be adding stories, but here are a few pictures from today. Frosty windows, (inside) due to the exactly 100 degree temperature difference from one side of the (double paned) glass windows to the other! I tried to add a video of the swirl of cold you can see coming in the door when the dogs go out, but it wasn't cooperating... I'll try facebook 😛 We are now blessed with a well, ten inch thick walls, a very efficient wood stove, car batteries have improved, and probably more that I'm forgetting. the cold is making my walk to my studio a little more interesting, but we have always had good outdoor gear, so I haven't even gotten cold. My bunny boots weigh three pounds each, (yes, I weighed them😂), but they're warm! Thanks for joining my little trip down memory lane! Beret
Whew! I finally got done with my mini art quilt/greeting card workshop, which I have been wanting to do for a long time! In the workshop, I will show you a few of my 'secrets' for making art quilts that look more difficult than they are! I'm also getting ready to do the live version of my Simple Secrets for Starting Art Quilting class again in a few weeks, so this is kind of a sneak peek. (I’m thinking Feb. 26-Apr 5 for that, watch here to know for sure. And of course it's always available in the self guided version.)
In the workshop, (all pre-recorded videos) I will show you how to make this little greeting card sized art quilt. (and it includes how to turn it into a greeting card). Except for a bit of the binding, which has some repetition so I didn't show it all, I did every step in real time, and I think it's about 45 minutes total! I've made about a million, so it might take you a bit longer for your first one, but they're pretty quick! It's basically my Moonshadows pattern, (but without the moon… and the shadows…), and I will show you how to make the pattern yourself, so you can apply it easily to other designs. Everything you need is in the free workshop, but I thought it would be fun to add an optional bonus VIP live Zoom call for questions (and show and tells if anyone wants to!) That will be in about two weeks, on Saturday, February 3, at 3:00 pm eastern. If you want to join in the fun, register on the workshop page, for $10. The workshop itself is available anytime, just save the link (button below) or this email somewhere! (Please do not share the link though, it’s only for current and new newsletter subscribers Anyone new who subscribes will automatically get the link! I’m still doing my 100 Days of Quilted Greeting Cards on Instagram and Facebook, I hope you are following along there! This week has been traditionally pieced cards, I will put a few below. The middle batch was made from orphan quilt blocks! Happy sewing! Beret
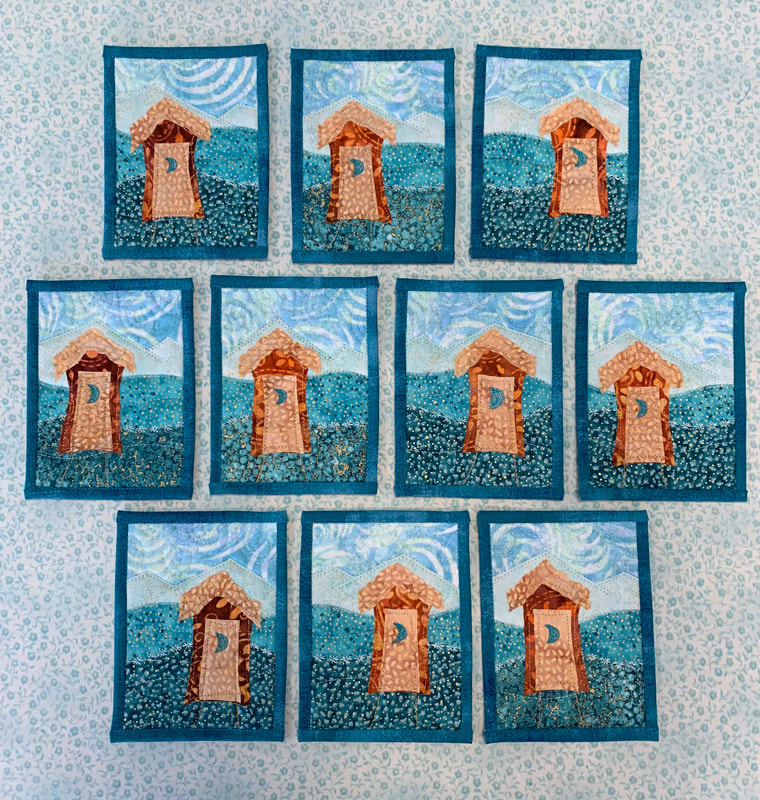
This week my theme for the 100 days of quilted cards that I'm doing on my social media accounts is landscape cards. This is a favorite style, so I had plenty to choose from😅 I have always thought it was the coolest thing that I could create a 'world' with just a few strips of fabric! The first row below goes from 2, to 3, to 4, to 6 strips in the background. I did add in a few that were done with other methods too. And everyone has made outhouse cards, right?😂 I'm already posting more than one card on some days, and I will still barely scratch the surface after 100 days 😂 They're fun and addicting! Happy sewing, Beret Cards with patterns or kits: Moonshadows Tundra Swan
|
Beret Nelson's On The Trail Creations Blog Page
Beret NelsonI am a homeschooling mom of three fun kids, who are now old enough that I have a little time to pursue my passion for sewing! After several years of making quilted cards and art quilts, I'm now designing kits and patterns. Some of my designs have been in Keepsake Quilting and Art Quilting Studios magazine! I teach classes online, and am starting to do more traveling and teaching. I also have many tutorials, including some on YouTube. I am blessed to live in Alaska where I am surrounded by the inspiration provided by the beauty of God's creation! Free mini art quilt workshop for new subscribers!
"Like" my facebook page!I am also an independent distributor for Plexus supplements, since I credit them with enabling me to be healthy enough to do all these fun things! They target blood sugar and gut health, which are at the root of so many modern health issues. E-mail me for more info, or check out my website! I am as passionate about getting people healthy as I am about getting people creating :-)
[email protected] or https://plexusworldwide.com/beretnelson  Archives
June 2024
|


 RSS Feed