 It occurred to me today that I didn't have any "3-D" photos of my cards on my website. It's perfectly obvious to me what they are, since I make them, of course...:-) but I've had people holding them in their hand at a bazaar (in a cellophane sleeve) and not know it was a regular card that opens...so here it is:-) This design is Wild Flower 1. To see all of my patterns, click here.
3 Comments
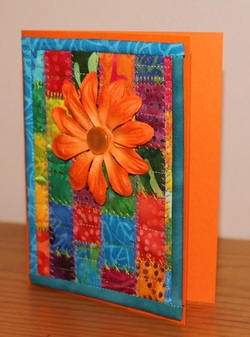
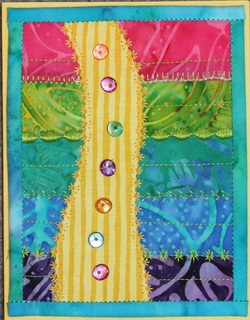 Today's technique is adding embellishments. This is a great way to add the final touch to a project, and it's also a great way to use all those cool buttons and beads and things we come across! Besides buttons and beads, there is yarn, old jewelry, charms, even the fishing flies my son likes to make...the possibilities are endless. Quilted cards are a good way to showcase an item that might get lost in a bigger project. What other embellishments do you use? 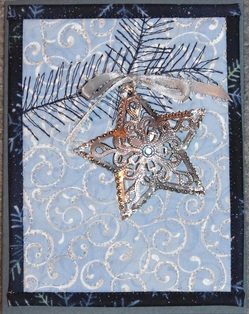  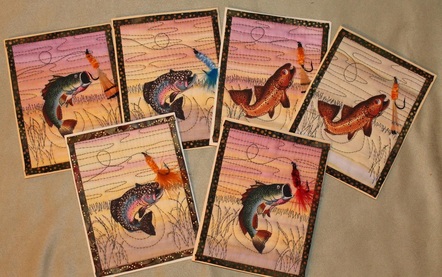 On a side note, my web hosting company has apparently discontinued the background design I was using...I picked a new one, but haven't spent much time on it, so it may change again, who knows? :-)
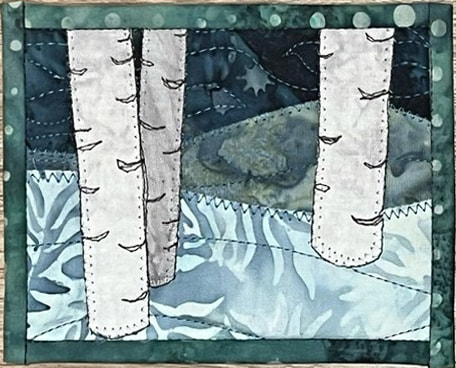
Applique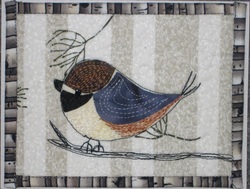 Using appliques on quilts is not a new technique at all, of course. Fusible web makes raw edge applique very easy to do. It becomes a little more 'art quilty' if you combine it with some free motion stitching or embellishments to add detail. The boreal chickadee has stitching and a bead for the eye, the crane has stitching to add a shadow/reflection, (I also used a colored pencil to add a little more shading) and the raven has stitching on the moon, as well as the feet, which are small enough to be difficult to do with fabric. 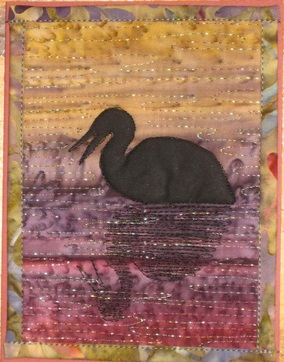 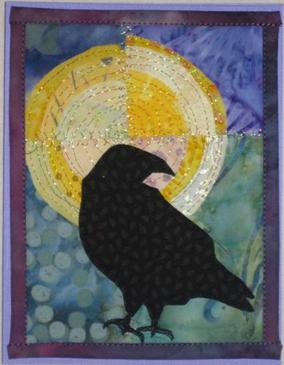 Thread Sketching/Painting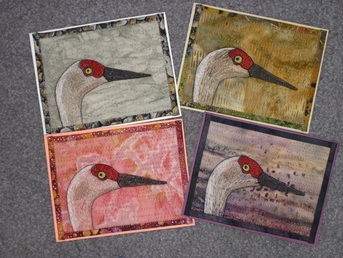 Drawing with my sewing machine is one of my favorite techniques. It takes some practice, but then it's very addicting! I usually draw my design on a water soluble stabilizer first, or you can just stitch freehand. Then I stack the stablilzer on top of my fabric, put batting under that, then put it all in an embroidery hoop. A hand or machine hoop will work, as long as you can get it under the foot of your machine. You could use another layer of stabilizer, either removeable or permanent in place of the batting, I like the dimension the batting adds. Set your machine up for free motion stiching, and start drawing. For more free motion stitching info, see my free motion quilting tutorial. 
 My quilted cards are a great place to try out new art quilting techniques on a small scale, with a small expenditure of time and materials. I thought I would post some of the techniques that I have tried, to hopefully inspire you to try something new too! Today's technique is screen printing. I have only started to try this, but it's lots of fun! I have been making screens using organza and fusible vinyl. (Heat-n-Bond) It works great for small designs, and is very simple to do. Step 1: Trace your shape onto the paper side of a square of heat-n-bond (I use about a 7 inch square, which leaves some space around my design) Step 2: Take a permanent marker and scribble all over the vinyl side...this helps your shape to show up better later, trust me...:-) Step 3: using a craft knife or small scissors, cut out your shape Step 4: Cut a square of organza fabric the same size as your vinyl square. They don't have to be exact, you can trim them to match later. Step 5: peel the paper off of the vinyl square, (which now has a hole in it in the shape of your design...) and carefully lay it sticky side down on the organza, keeping everything smooth and flat Step 6: fuse according to the directions on the vinyl Your screen is ready! I usually trim the edges since the vinyl and organza never match exactly. You can make the edges sturdier with tape, but I usually find that unnecessary. To print, lay your screen vinyl side down on your fabric, which is on a waterproof and slightly padded surface. A cheap flannel backed vinyl tablecloth folded a time or two works great for a printing surface. Place a small amount of fabric screen printing ink (I get mine at Michael's) across the top of your screen. Holding the screen firmly in place, use a credit card or plastic scraper to drag the ink across your screen. You can usually use it several times before it gets too messy and you have to wash it to use it again. Gently wash under warm water and pat dry. If any parts of the vinyl peel up, you can iron them back down. With gentle use, it should last for lots of prints! 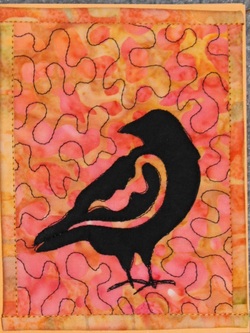 I do the raven feet with free motion stitching, but they could be part of the screen as well.  This one requires two different screens for the two colors. I used registration marks to line them up.
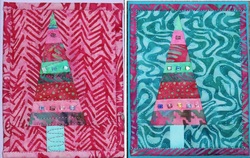 Christmas tree cards made from Hoffman Bali Crackers fabric.
|
Beret Nelson's On The Trail Creations Blog Page
Beret NelsonI am a homeschooling mom of three fun kids, who are now old enough that I have a little time to pursue my passion for sewing! After several years of making quilted cards and art quilts, I'm now designing kits and patterns. Some of my designs have been in Keepsake Quilting and Art Quilting Studios magazine! I teach classes online, and am starting to do more traveling and teaching. I also have many tutorials, including some on YouTube. I am blessed to live in Alaska where I am surrounded by the inspiration provided by the beauty of God's creation! Free mini art quilt workshop for new subscribers!
"Like" my facebook page!I am also an independent distributor for Plexus supplements, since I credit them with enabling me to be healthy enough to do all these fun things! They target blood sugar and gut health, which are at the root of so many modern health issues. E-mail me for more info, or check out my website! I am as passionate about getting people healthy as I am about getting people creating :-)
[email protected] or https://plexusworldwide.com/beretnelson  Archives
June 2024
|
 RSS Feed